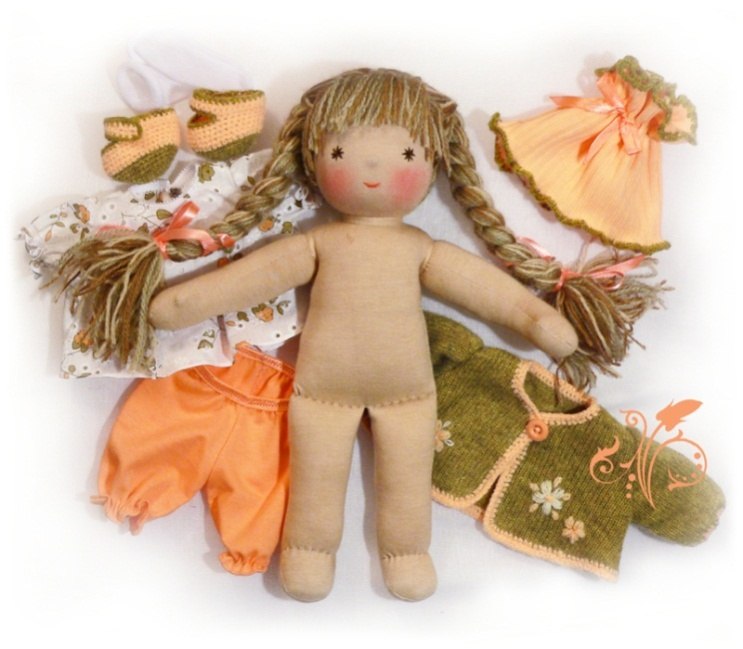
The Waldorf doll is of great popularity not only in our country, but also abroad. In this article you will learn how to sew a Waldorf doll at home with your own hands, which is made of natural fabrics.
Contents
The Waldorf doll made by yourself can become your child’s favorite toy. It cannot be compared with store dolls, because it is made only from natural fabrics, hypoallergenic yarn is used for clothes. It is pleasant for children to hold such a toy in their hands, the doll is pleasant to the touch and is slightly similar to a real man. Hair is made of threads, because the doll can be made hairstyles, and any clothes (knitted or sewn with your own hands) will suit it. Let's get acquainted with the process of creating a toy in different ways and in various versions.
Waldorf doll from fabric - pattern
Only hypoallergenic toys are suitable for children. In babies, the skin is more tender than in adults and they are more susceptible to harmful dyes, additives that are present in low -quality products. And the Waldorf doll is created only from high -quality materials. Naturally, mom sews the most beautiful and safe toy for her child, take into account taste preferences. Perhaps the daughters like dolls with blue, and maybe green eyes and blond hair. If mom sews just such a Waldorf doll, then the child will appreciate the works of his parent. Next, we consider an example of how to sew a doll yourself in just two days.
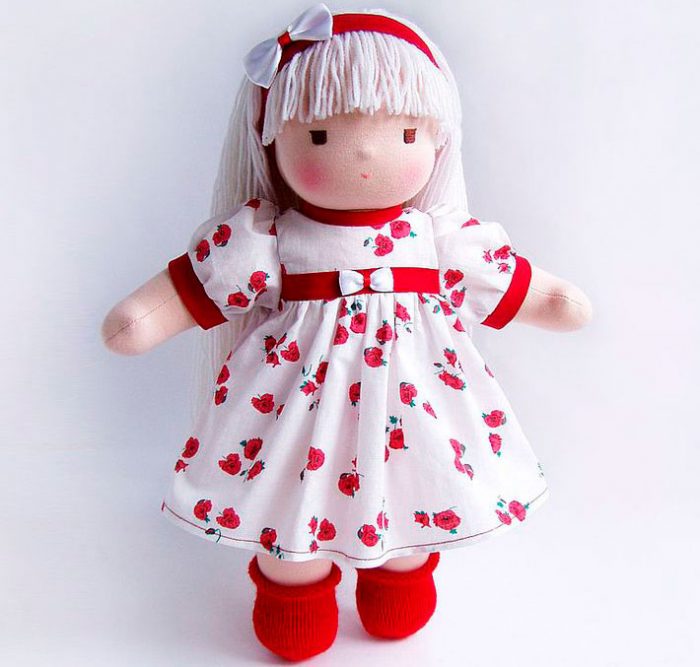
To make a toy, prepare the following tools and materials:
- Natural cotton fabric to skin color
- Vata, thread with a needle, white yarn for hair
- Scissors, centimeter ribbon, pins
- Chalk for transferring a pattern to fabric
- Materials for sewing dresses and small socks, hair hoop.
Master class on sewing dolls
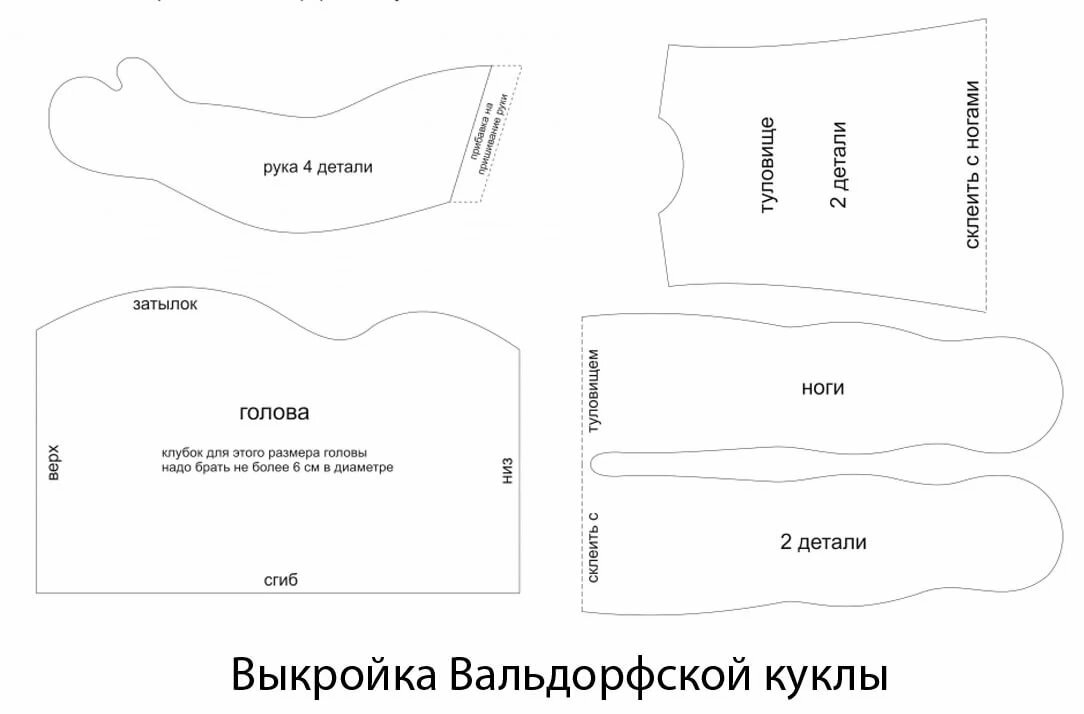
Below is a scheme-out-and-outer of the body of the Waldorf doll, which consists of four details: pens, torso, legs and head. Please note that the legs and torso need to be cut together.
How to sew a Waldorf doll?
- Make a pattern on paper, by the way, the sizes can be increased many times and sew a large doll. When you transfer the pattern to the fabric, leave the allowances without fail to make the seams.
- Start sewing a doll from your head. For this, a ball of the desired size should be made from cotton wool. Give your head a rounded shape. But this is not enough. Then you need threads. It is by threads that you need to form the necessary shape of the head of the doll.
- Below the image shows in which places a cotton ball should be wrapped in order to get a head like a human one.
- To decorate the head completely, and it looked as neat as possible, I need to put on a fabric on cotton wool. Then sew it, right on the filler. Then hide the seams under the hair of the Waldorf doll.
- When tighten your head with matter, then either embroider or draw a doll face.
- Form your neck. And sew all the details of the dolls on the sewing machine. Turn out the body, pens, legs.
- Foll the body of the doll with a van. Combine the body with your head. We can say half the work is ready.
- Now Iris or Muline will remain with the threads of her head, make the hair a doll. The work is painstaking, you will have to constantly insert the thread into the needle and fix it on the head until you get thick hair on the head. Adjust the length of the curls yourself, you can do both short and long hair.
- For beauty, you can make a bang and a pretty hairstyle in the form of pigtails or curls.
- For a complete beautiful onion, use hairpins, elastic bands or bows.
- It is better to put a doll at your discretion. For things, you can use a variety of fabrics from natural threads.
- It is on the creation of clothes with their own hands that children can learn to sew, knit, suture things, and adjust in size.
The head of the doll is put in order as well as people. You can easily make haircuts, braid pigtails, lay your hair in a hairstyle with hairpins. It is allowed to wash your hair, make curls, etc. Also pay attention to the little things. Make the doll handles, draw fingers, nails. Make jewelry on your hands, bracelets, watches or use ready -made - toy ones.
Tie slippers on the legs or sew shoes. You can also simplify the process by buying boots instead of shoes, shoes for newborns on a small leg. Of course, for the doll you can still tie or sew a small handbag for beauty. You can also sew a friend or friends for the Waldorf doll. It is wonderful if she has her favorite animals, which also sew out of fabric.
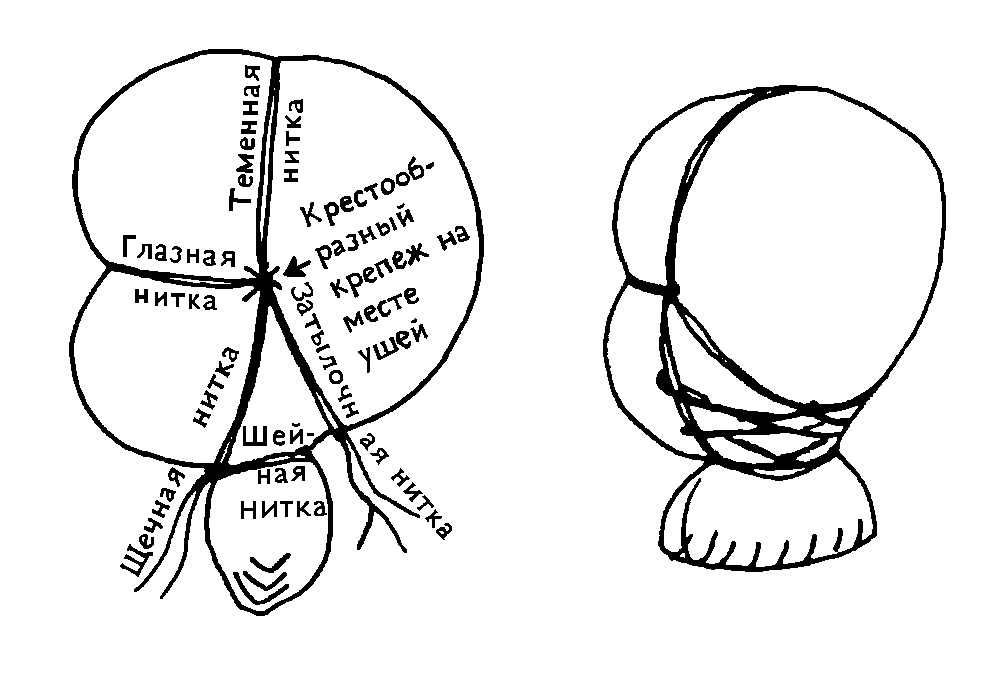
Note! When you make the head of the Waldorf doll, you need to stuff it tightly, attach the nose from the vatin, then carefully tighten the ball with a chintz or knitwear. Well, if you make it as similar as possible to the head of a person. For this you will need diligence. And haste in this matter is unacceptable.
Waldorf doll - face
If you look online, what dolls are, then you can be amazed at the variety of such products. The Waldorf doll looks different everywhere. And the difference is not only in clothing, sewing method, products also differ on the face. Someone instead of eyes sews buttons, someone draws them or embroiders with colored threads. And someone sews special accessories in the form of the eyes that are sold in stores for creativity.
For the mouth and for the eyes of the Waldorf doll, beads can be used. The cheeks will be rosy if they are drawn with blush or markers.
To make the face of the doll, as in the image above, you will need:
- two black beads
- thread, needle
- loars of pink.
Process:
- Do not rush to sew the eyes of the doll right away. To get out exactly, make the markup first. Use pins for this.
- Then carefully draw the shape of the lips, and embroider your lips with pink shade threads. Pull the knots inside so that your lips look natural.
- If you want to make long cilia dolls, then glue the invoices, first fit them to the size of the eye-bus.
- It remains to draw pink and sweet face of the Waldorf doll ready.
As you can see, for decorating the face of the doll you can use different accessories and auxiliary materials, in any case you get an excellent product. Especially if you try.
Valdorf Tilda Doll-Master class
Children who have not yet been six years old will be happy to accept the Waldorf doll in the collection of their toys. But the child will like more products made by their own hands as similar as possible to living people. Dolls will be not only for the game. Thanks to the manufacture of clothes for them, children develop fine motor skills. And sewing clothes requires some knowledge and skills.
Consider how you can sew a tilde doll with your own hand:
First you need to build a pattern of patterns. The scheme is provided below in the figure. It is enough to print it on the right paper format to get the perfect size.
Process:
- When the parts of the product are ready, then transfer them to the material.
- Before sewing the body, arms, legs, head among themselves, it is necessary to fill them tightly with synthetic winterizer or vatine.
- Then sew all the parts of the Valdorf doll.
Now only a designer work remains. Make your hair a doll. This is a painstaking work. They are sewn in a row one thread next to another at a small distance from each other. Moreover, the more magnificent you want the hair, the more threads will be required. You can still not sew the threads, but glue it. So it will be much faster.
Tilda's eyes are made of small beams. The cheeks are brought in blush, the lips are drawn with a marker. At the very end, it remains to sew the clothes of Tilde's doll. The patterns are quite simple, because you can draw by hand. It will be beautiful if you use bright materials from natural fibers.

Tilda's doll has curly curls. You can make them yourself. To make the wavy hair of the Waldorf doll, you need to slightly moisten the strands of threads. Then properly comb them with a comb with large cloves. After that, divide all the hair into several parts. Stick them with elastic bands, make bundles so that they do not get confused. Leave one part without a man, braid a tight pigtail. And then then spin a bunch, braid the pigtail behind the pigtail, fixing the ends with elastic bands.
Cover the doll with a terry towel, and spray your hair carefully with water - a pigtail behind a pigtail. Apply materials that do not melt so as not to spoil the doll. You need to spray the pigtails so so as not to get on the face. Otherwise, you can smear the drawn lips or cheeks of the doll. Then they leave the toy for a day until the curls dried out. After a day, remove the elastic bands, if the braids are dried, you can shoot. Your girl will be a pretty curl.
Such curls do not last long on threads. But for some time the doll will look like after a beauty salon.
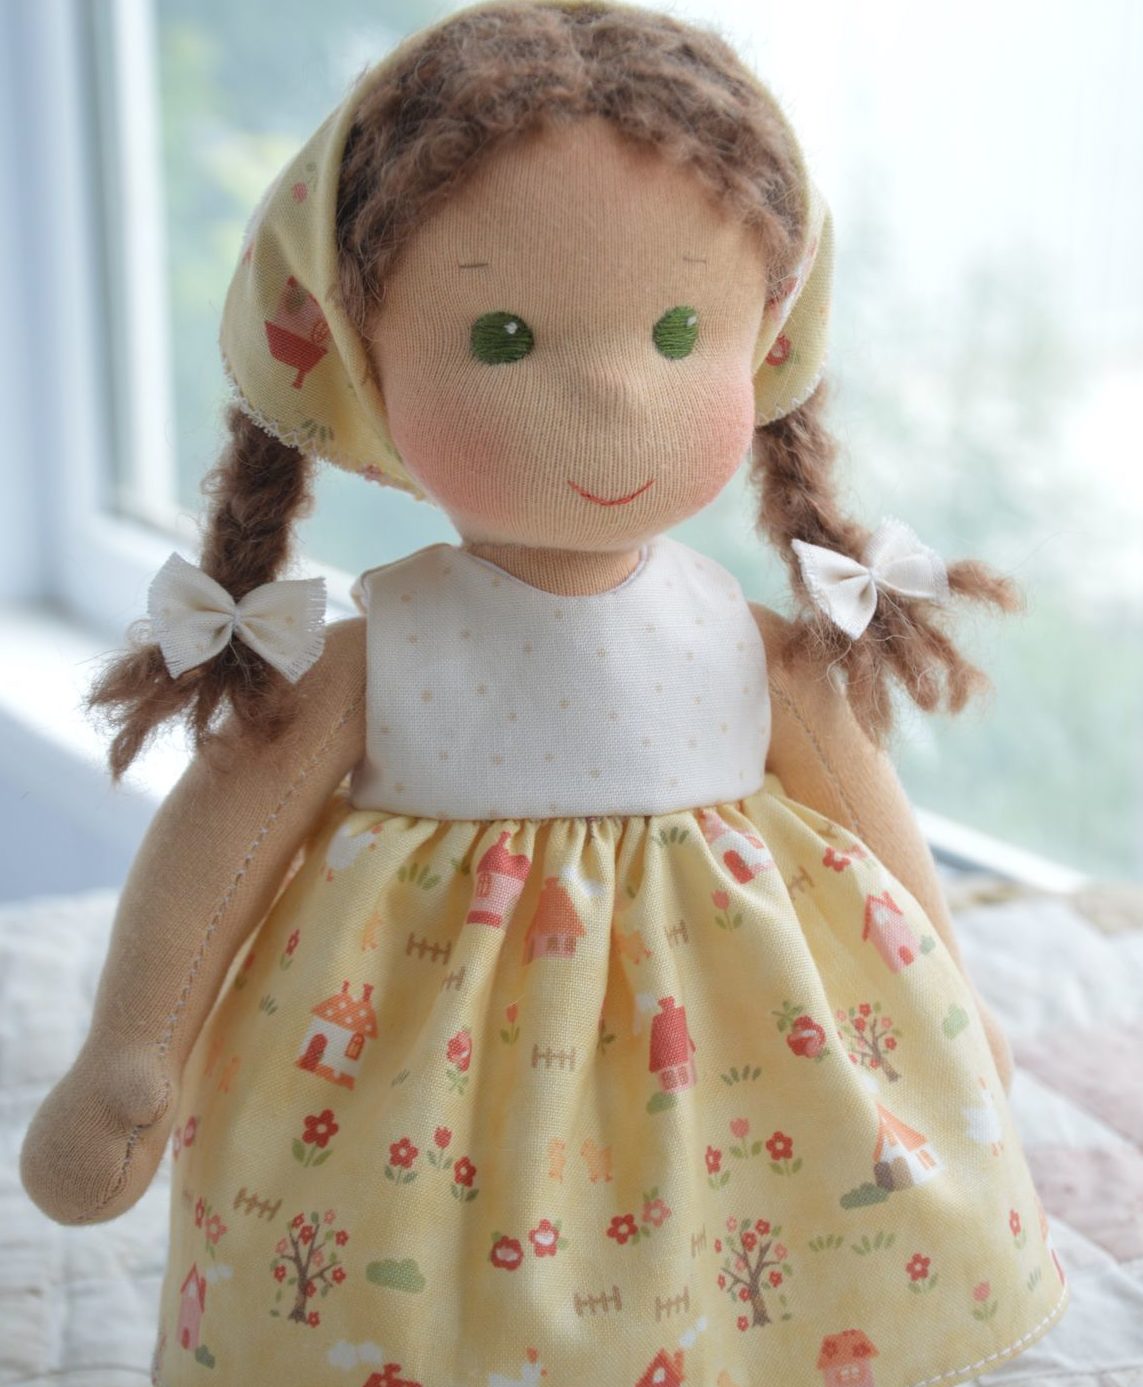
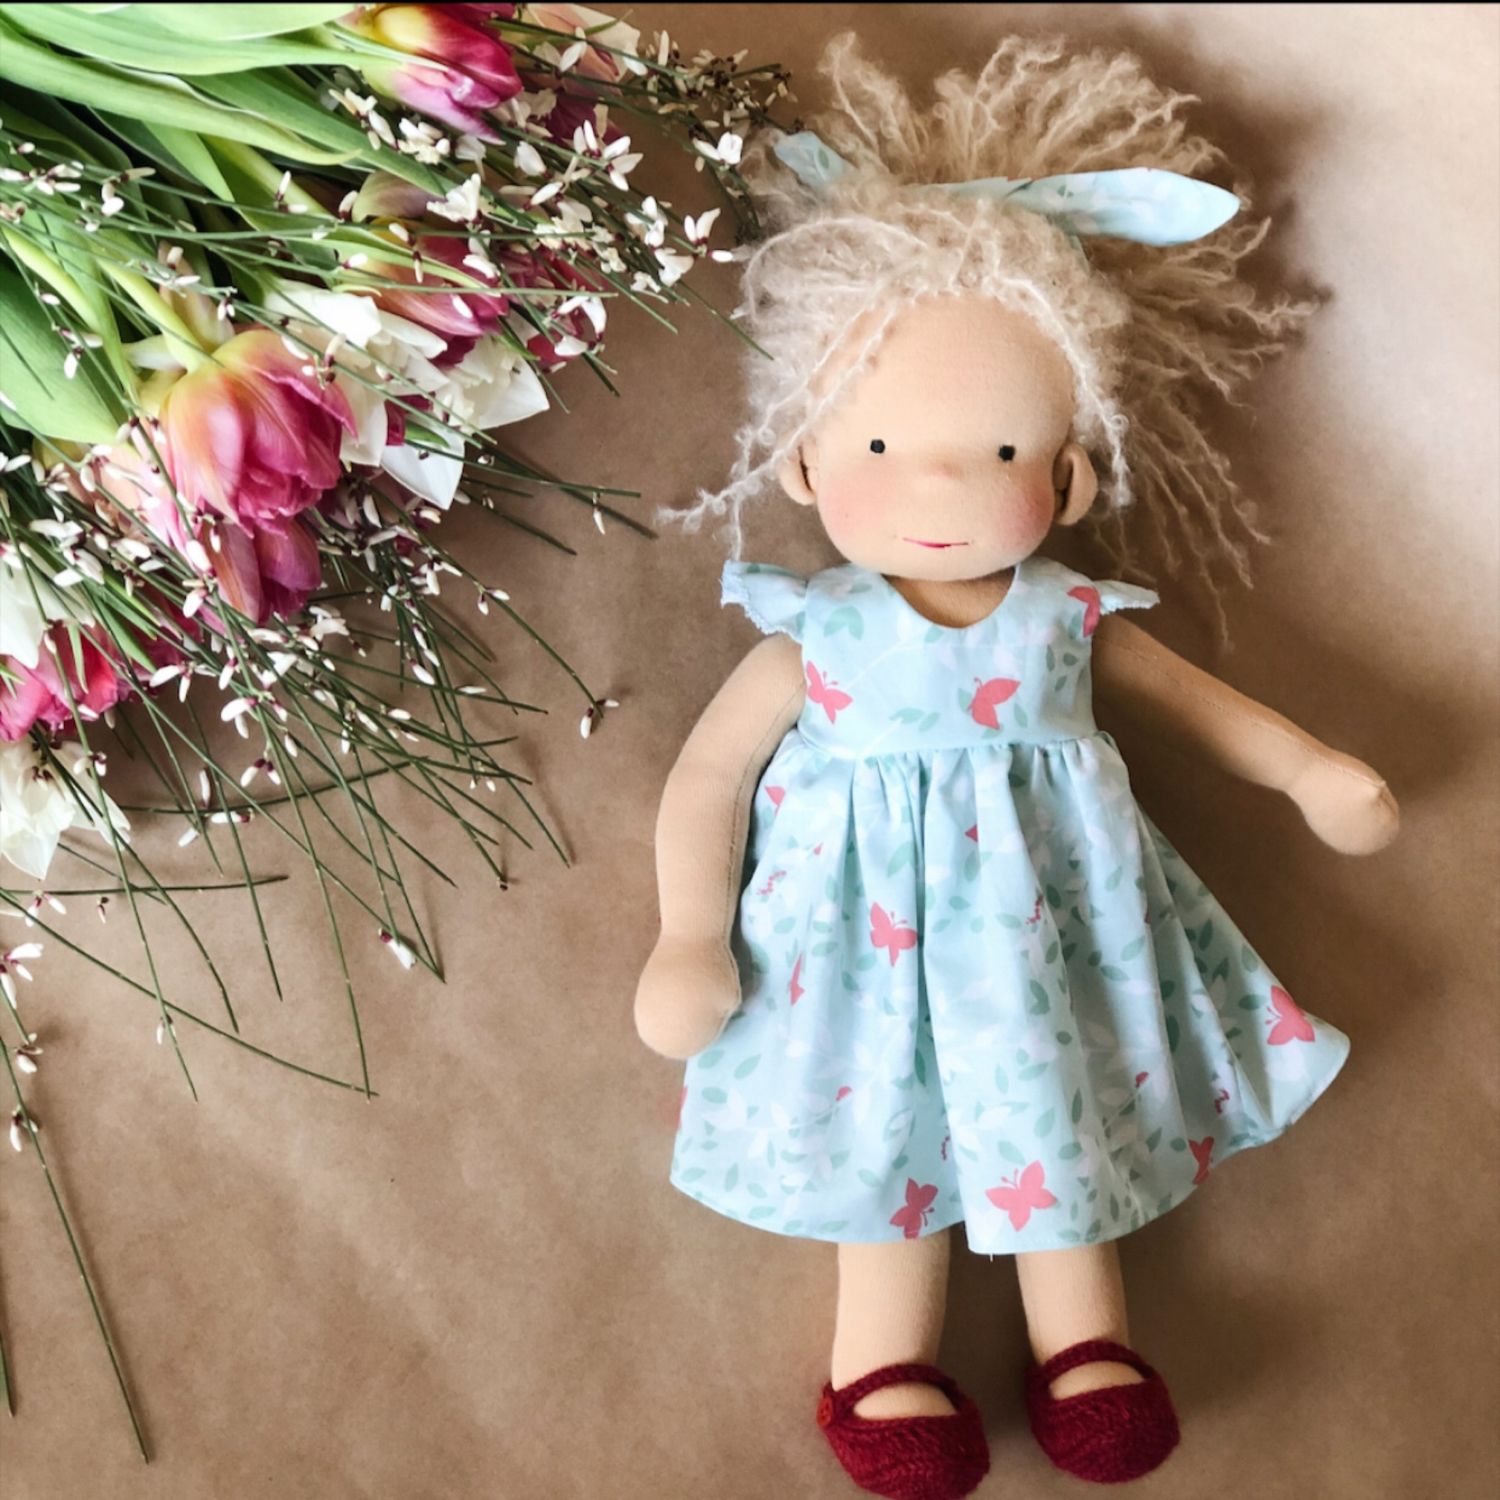
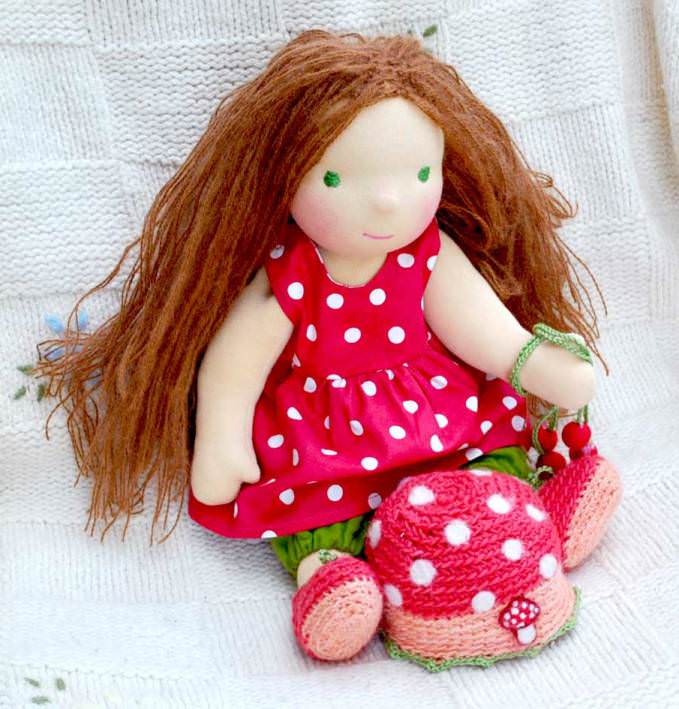
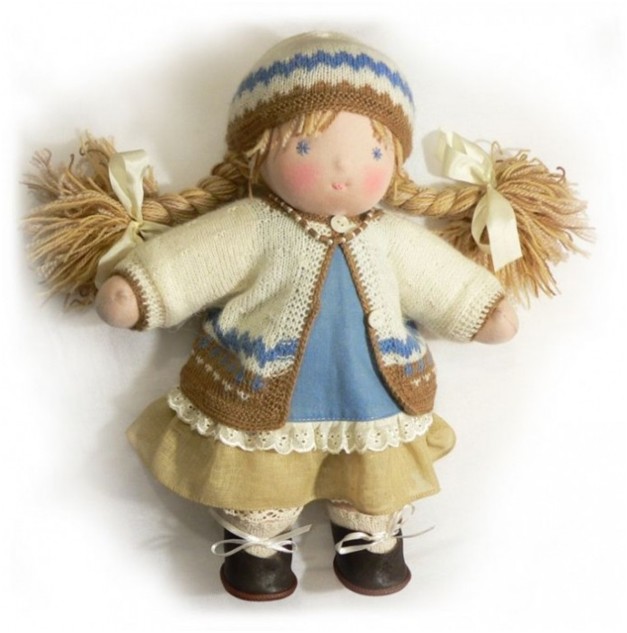
DIY Waldorf doll - photo
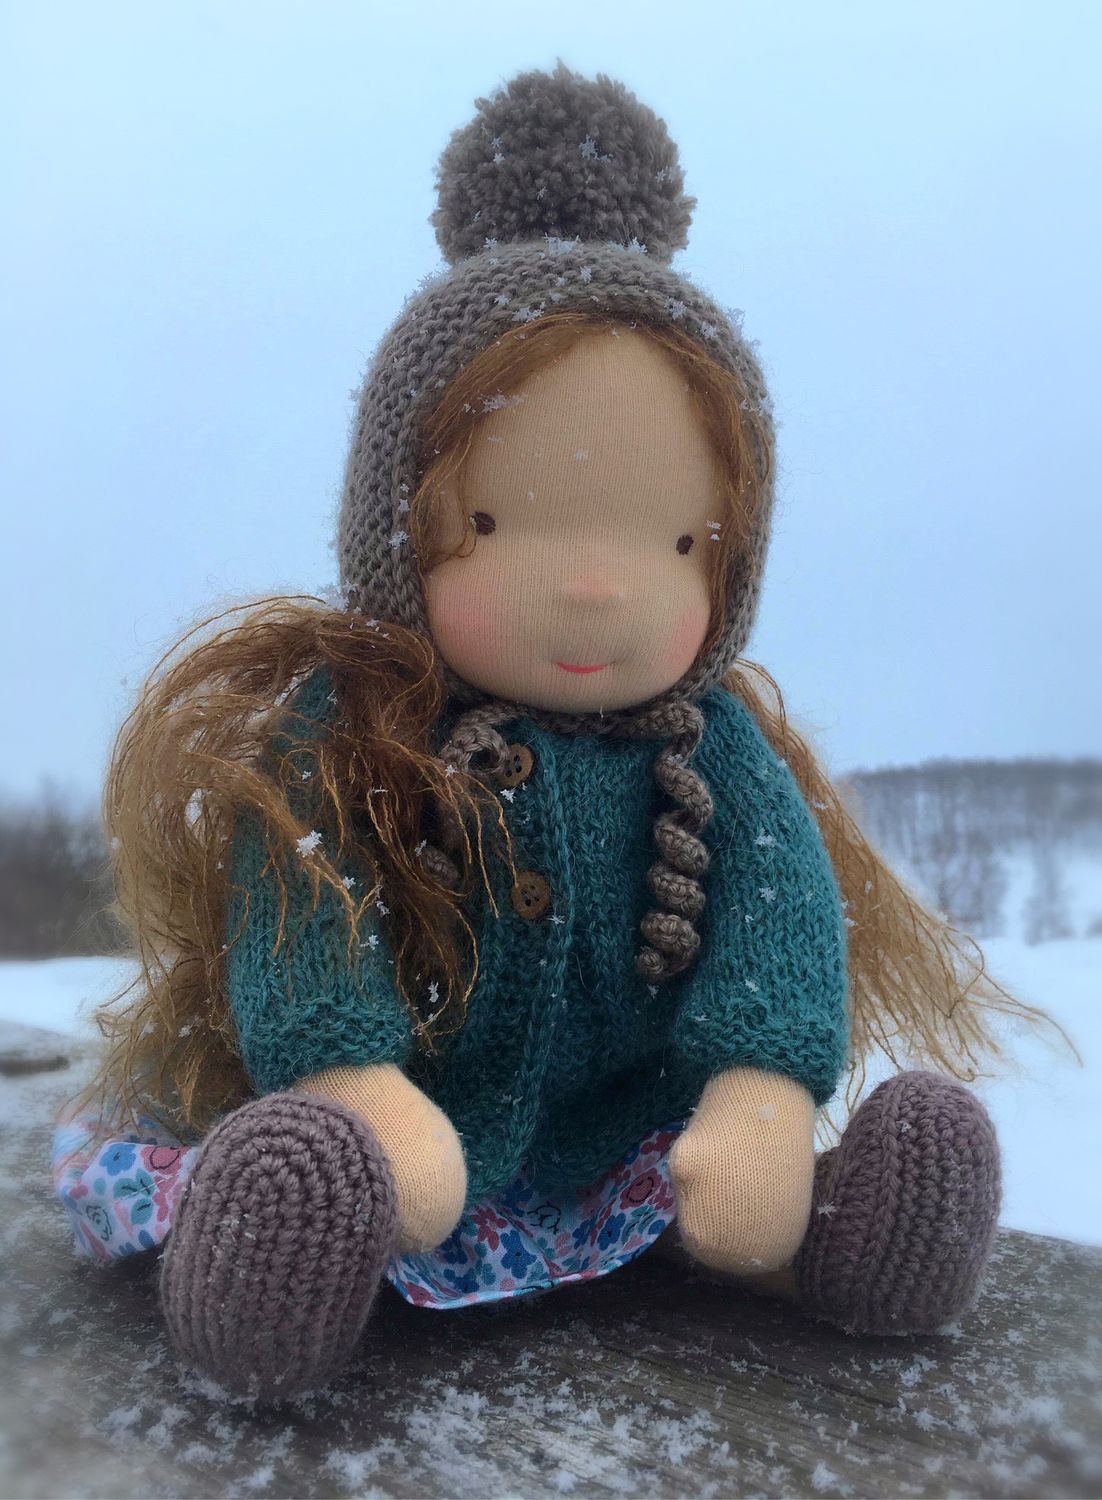
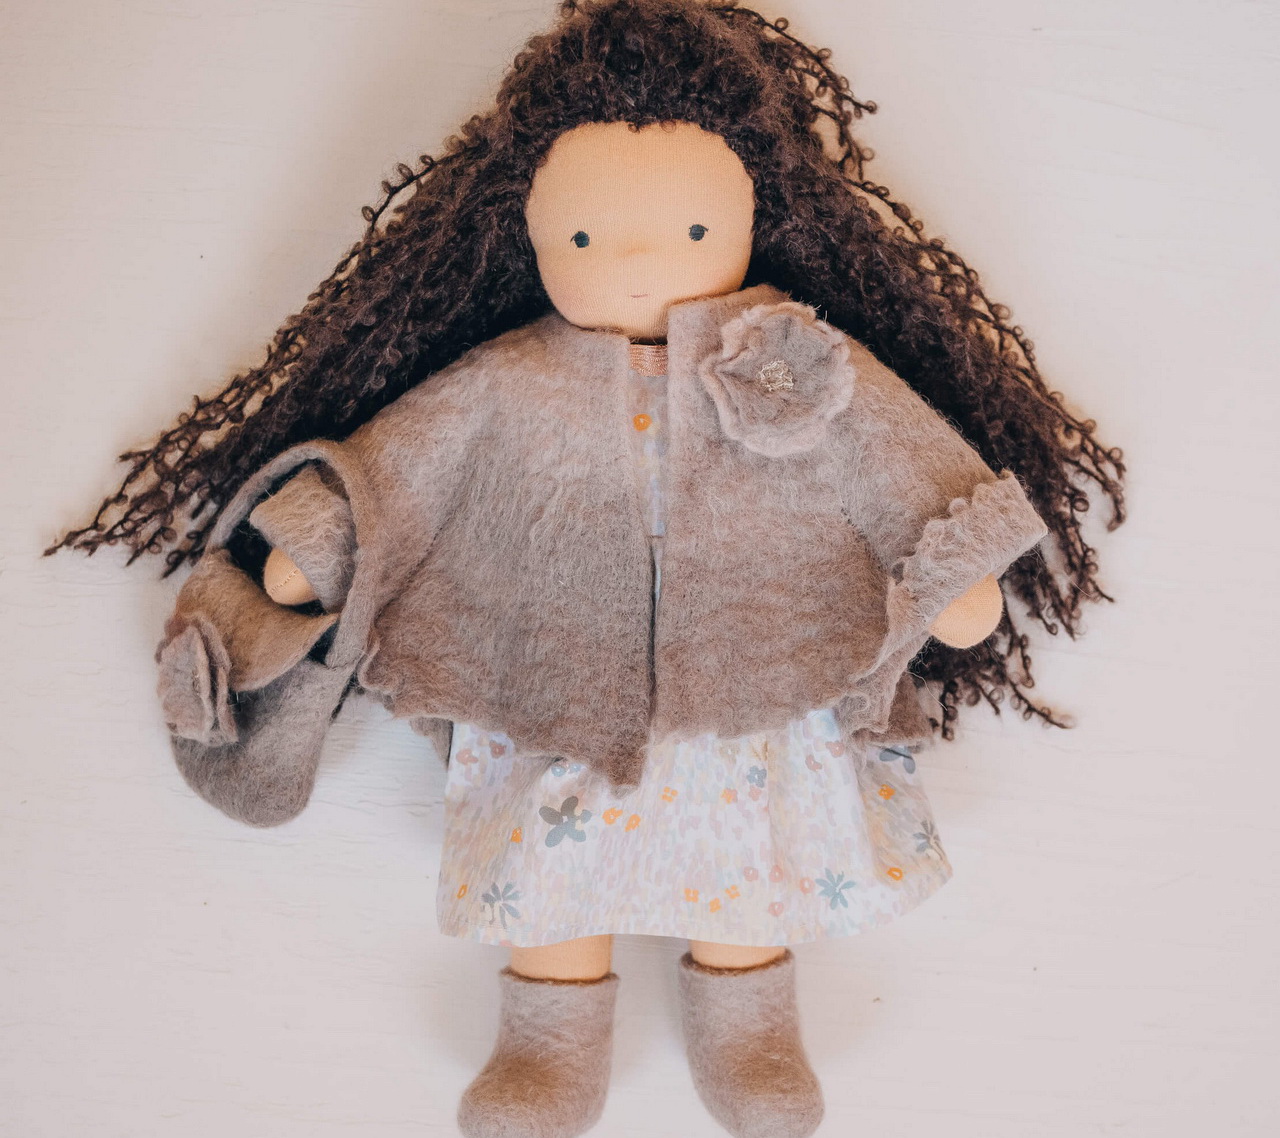
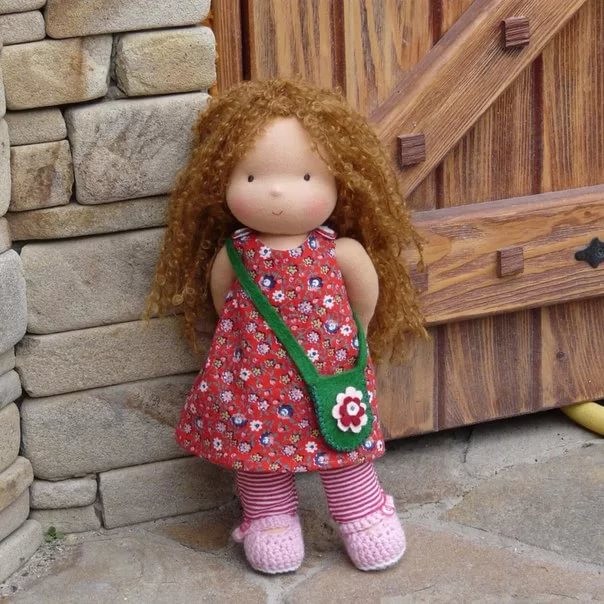
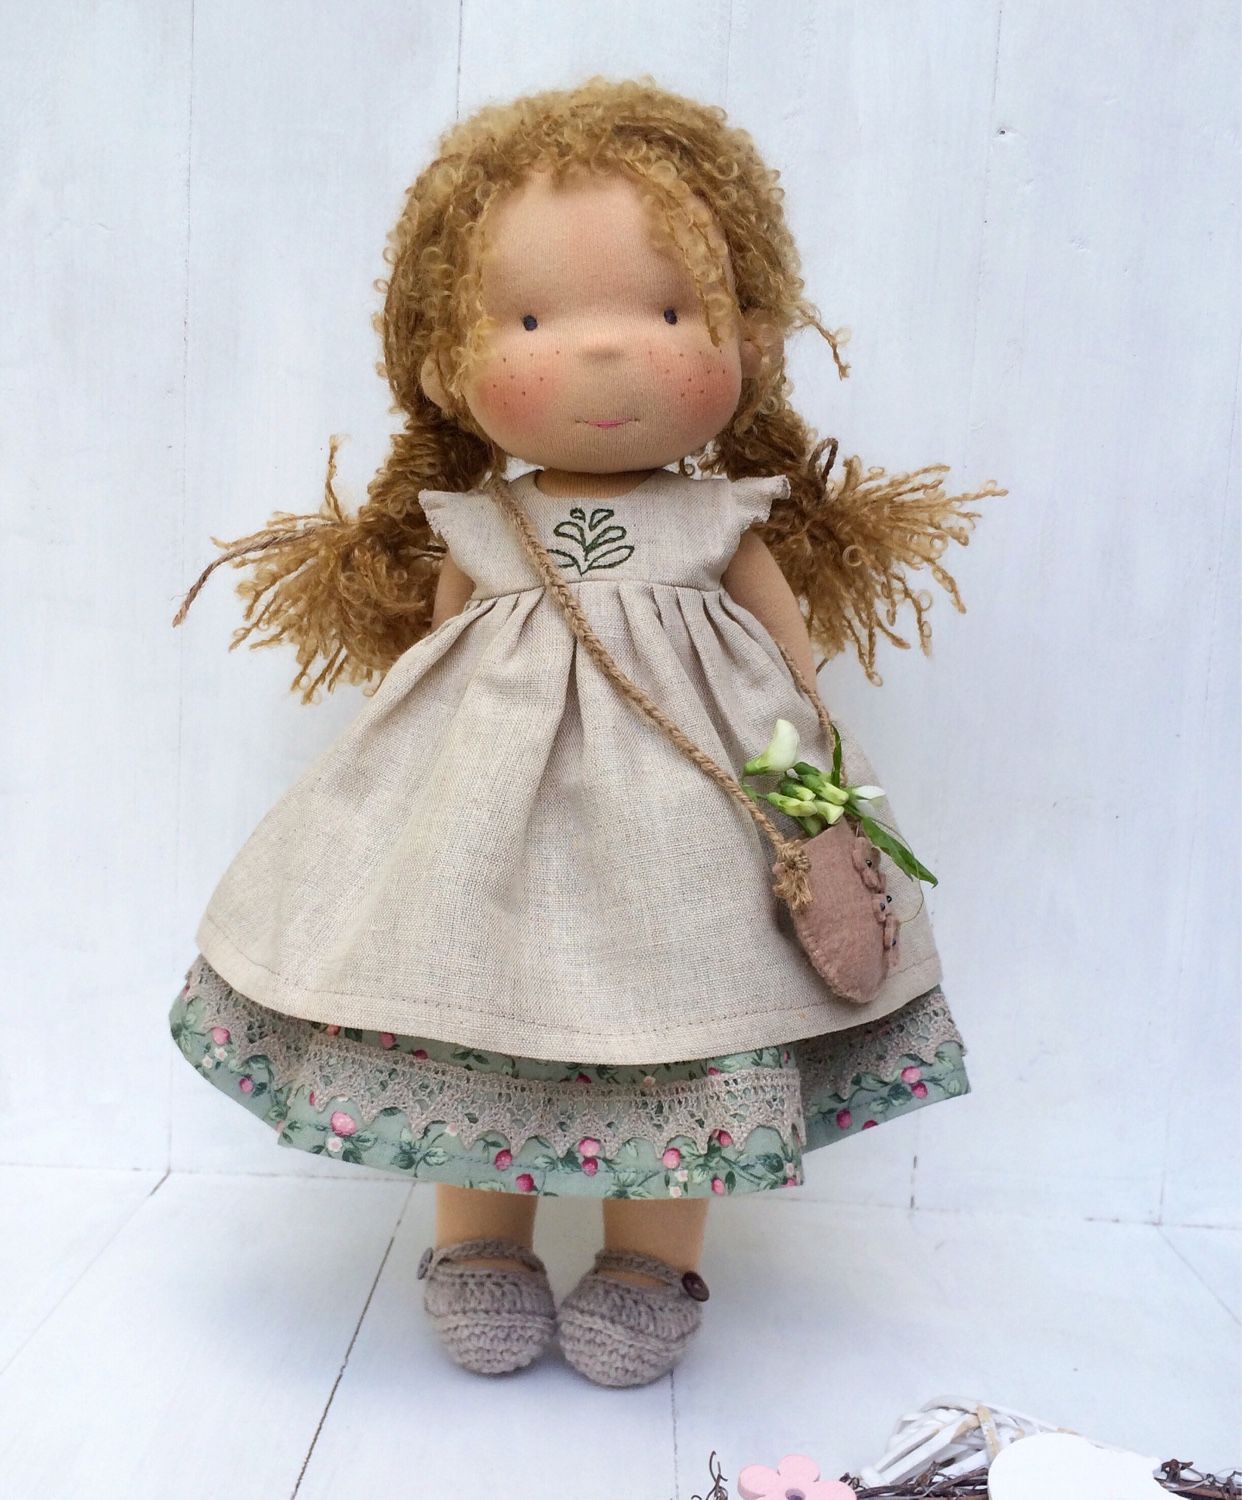
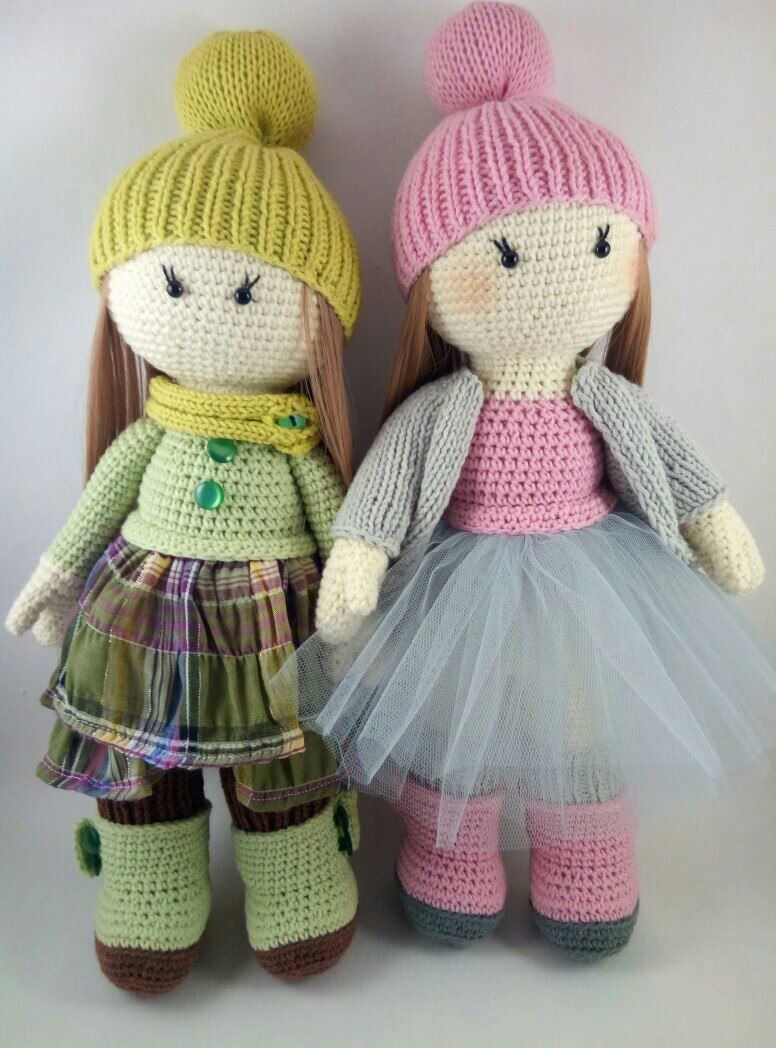
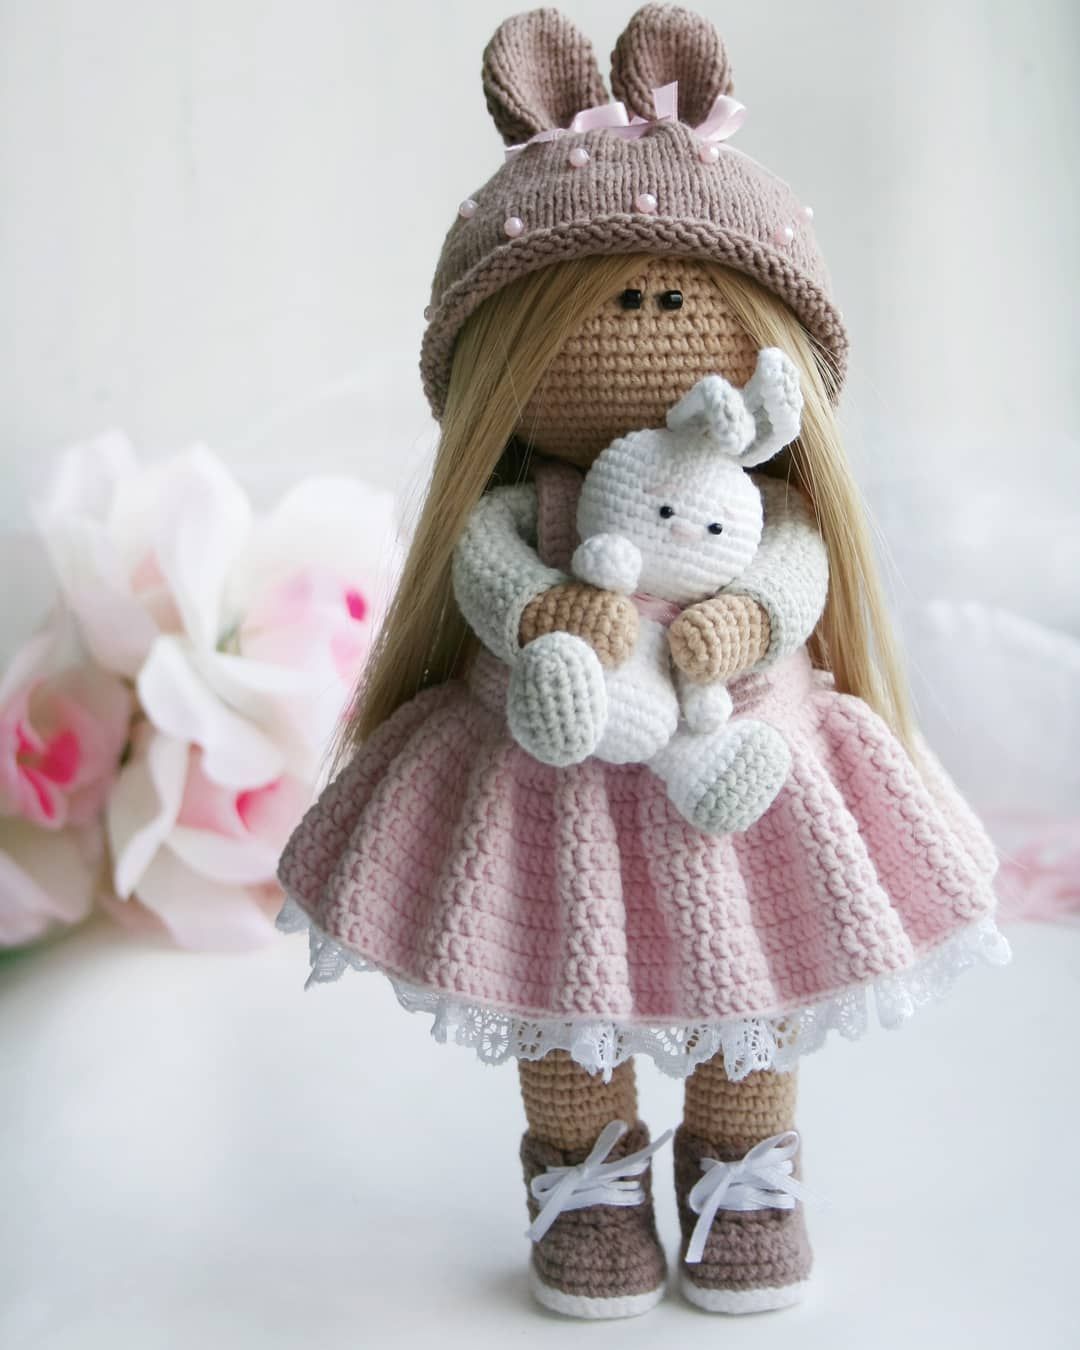
A pretty Waldorf doll will enjoy even picky girls. The toy is so similar to a small child. You can verify this by watching the images presented below.
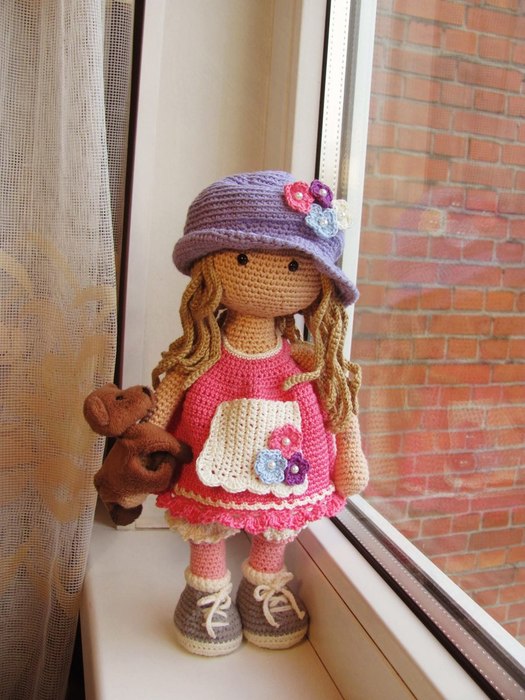
Waldorf Crochet Doll
The Waldorf doll, connected by crochet, is in no way inferior to the fabric doll in quality. Needlewomen can tie such a toy in just a few days. Such a doll was created for Waldorf schools and kindergartens. It was created by teachers. At first they were sewn from fabric, then they began to knit. They are also called Steiner-dolls in honor of the founder of the School of Rudolf Steiner. They say that the product harmoniously affects the development of children. Then read how to tie the Waldorf doll crocheted.
For the product you will need:
- Hook - 2.5 size
- Plastic eyes
- Beige yarn
- White and gray threads
- The yarn is pink, brown, light gray and lilac.
How the head is knitted:
- From beige yarn, pick up a chain of 6 SSN (crochet columns). Collect them in the ring. In the front row, knit 12 SBN (columns without crochet).
- In the second row, knit 18 SBN, then knit 24 SBN, do not forget to make lifting loops.
- In the fourth row, knit 30 SBN, add six loops in each next row, until 66 SBN will not work in the tenth row.
- From 11 to 20 row, knit 66 SBN. And between 13 and 14 rows, place the eyes of the doll. The distance between the eyes should be six columns.
- In the 21st rows, begin the decrease in the SBN, at 21 should be 60 columns without crochet.
- At 22, knit 54 crochet.
- And so in each row for 6 columns less up to the 27th row should turn out 24 loops.
- Embroider the doll’s nose with threads. To do this, retreat three rows of columns from the eyes and in the middle, embroider a nose with a width of two loops.
Taurus toys knit as follows:
- Prepare beige threads. Again, make six crochet columns (SSN). Combine them into a circle.
- Stitch twelve SBN in the front row.
- In the second row, knit 18 SBN. Do not forget to do the lifting loops in each row.
- The body of the doll is knitted almost according to a similar scheme, which is the head, but there are some differences. In each row, add six SBN. Until 66 loops in the 10th row come out.
- Then knit from 11 to 16 row an equal amount of SBN 66 pieces.
- In the 17th row, already knit 60 SBN.
- In the next rows from 18 to 20 row, knit 60 loops (SBN).
- In the 21st row, reduce the number of columns of SBN to 54 pieces.
- From 22 rows to 24 row, knit the same number of loops of 54 pieces.
- In the 25th row you need to tie 48 SBN.
- From 26 to 28 row, knit 48 SBN.
- In the 29th row it is already knitted for six columns less - 42 SBN.
- From 30 row to the 32 row, knit 42 SBN.
- In the 33rd row, reduce another 6 loops, knit 36 \u200b\u200bSBN.
- From 34 to 34, also knit 36 \u200b\u200bSBN.
- In the 35 row, knit 6 loops less - 30 SBN.
- In the 36th row, knit 30 SBN.
- In the 37th row and 38th, knit 24 SBN.
- Then knit from 39 to 41 to 24 SBN.
It remains only to fill the body with a synthetic winterizer or vatin, swell your head tightly with vatine, then carefully sew the two parts of the doll body.
The hands of the doll are knitted with the following method:
- Hitch the loop with beige yarn and connect them into the ring. In the front row, knit 12 SBN.
- In the second row, knit 18 SBN.
- In the 3-7 row, do not change the number of columns, knit 18 SBN in each.
- In the 8th row, reduce the number of columns up to 12 SBN.
- From 9 to 33, knit 12 SBN.
Now it remains to fill the pens of the doll with vatin and sew them to the body. Sew your hands at the eighth row level from the head of the doll.
Knit the legs of the Waldorf doll in the following way:
- Take white threads, dial eight loops with hook and connect them into a circle.
- In the front row, knit five SBN in the second loop, then 4 SBN in the first. In the second part 5 SBN - 18 SBN.
- In the second row, already knit 26 SBN. In the third, 26 SBN should be released.
- In the third, add 8 to get 34 SBN.
- In the fourth, knit 41 SBN. In the fifth and sixth row there should be 42 SBN.
- Now, knit with a dark gray yarn from the 7th row to the 9th 42 SBN.
- In the tenth row, knit 36 \u200b\u200bSBN (make decrease: 12 SBN, decrease, 1 SBN, decrease. (5 times), 8 SBN).
- In the 11th row, knit 36 \u200b\u200bSBN.
- In the 12th, reduce 6 columns: 11 SBN, decrease, SBN, UNTER. (5 times), 8 SBN. It turns out 30 SBN.
- In the 13th row: 10 SBN, decrease (six times), 8 SBN .. It turns out only 24 SBN.
- The 14th row is knitted 24 SBN.
- In the 15th row, two SBN, decrease and so 6 times, until the 18th SBN is in a row.
- Knit the 16th row with gray threads 18 SBN.
- Now with white threads in the 17th row, knit 18 SBN.
- In the 18th, 19th, 20th and 21st row 18 SBN.
- High beige threads from 18 to 22 18 SBN for the back of the loop.
- From the 23rd to the 40th row, knit 18 SBN.
- In the 41st row, reduce six loops to get 12 SBN.
- In the 42nd row, reduce 6 loops again, 6 SBN will come out.
When all this, fill your legs with van and sew to the body of the Waldorf doll.
Our doll will be in lilac -cute hat, It is not difficult to bind it:
- Lilac yarn begin to crochet loops. Dial 6 pieces and connect them in a ring. Knit the first row in a circle of SBN, there should be 12 pieces.
- Behind the back wall of the loop, knit 18 SSN, and start with 2VP, end the joint venture.
- In the second row, add 6 tbsp. Stitch 2 VP, 2 SSN (crochet), make 6 additions, and so it turns out 24 SSN.
- In the third: 2 VP, 3 SSN, increase 6 times, total 30 SSN.
- In the fourth: 2 VP, 4 SSN, increase 6 times, total 36 SSN.
- According to this scheme, knit from the seventh row for 13, in each row, add 6 SSN. In the 13th row will turn out 78 SSN.
- Next, from the 14th to the 22nd row, knit 78 SSN.
- In the 23rd row, start the decrease: 1 VP, 2 SBN + decrease 17 pcs., It turns out 59 SBN.
- From 24 to 25 row, knit 59 SBN
- In the 26th row 1 VP, 4 SBN + decrease 9 times, total 50 SBN.
- From the 27th to the 30th row: 2 VP, add SSN to get 100 SSN.
- At 31, finish knitting the hat with a rack pace.
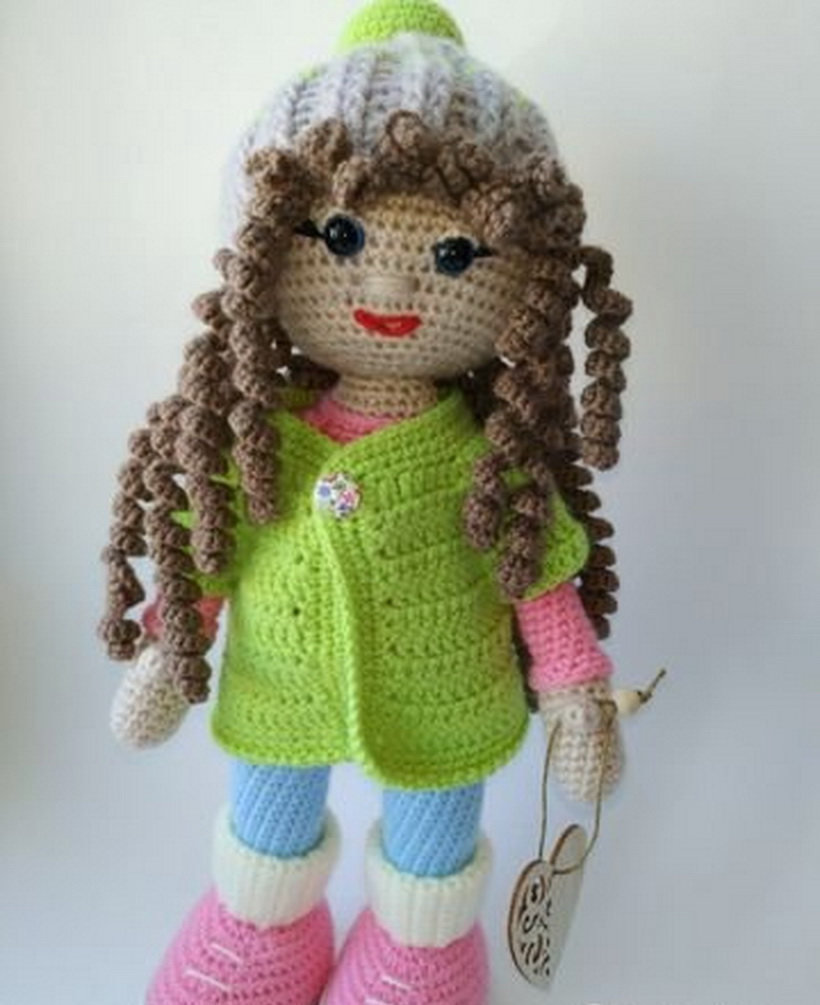
Hair doll Brown brown threads. They can be glued to the head, and sew the strand to the strand and fix each thread of the same color.
Dresswill be pink:
- Pink yarn dial 40 columns + 8 VP.
- In the next row: start with 9 columns, knit 40 SBN, turn, again knit 40 SBN.
- In the third row: 1 VP, 2 SBN increase, so 13 times SBN and turn knitting - 53 SBN.
- In the 4th row, 1 VP, 6 SBN, 10 VP miss 10 columns, 21 SBN, 10 VP, pass again 10 columns, 6 sbn, turn-53 SBN.
- In the 5th row 1 VP, 53 SBN, turn
- In the 6th row 1 VP, 2 SBN, adding 17 times, 2 SBN-70 SBN.
- In the 7th row 1 VP, SBN, increase 34 times, 2 SBN-104 SBN.
- In the 8-9 row 1 VP, 104 SBN.
- In the 10th row 8 VP, 104 SBN.
- From 11 to 15 row 1VP, 104 SBN. Then continue to knit in a circle.
- From 16 to 30 row 1 VP + 104 SBN. From 31, make decrease: 1 VP + 103 SBN
- In the 31st row 1 VP + 102 SBN.
- It remains to tie the dress of the doll.
The drawing for decorating the dress is as follows:
Knit the first row 3 VP, 2 loops and skip the columns throughout the circumference of the dress. In the second row, knit: 1 column in the first arch + 3 VP, 2 CCN connect, again 2 VP and 3 SSN connect in one, 2 VP, 2 CCN, 1 SBN.
So a dress and a hat for the Waldorf doll is ready, now you can knit an apron and shorts.
The apron is knitted from white threads:
- In the front row, make 15 pieces of VP, start knitting from the second column, 15 SBN, turn.
- In the second row 1 VP, 14 SBN again turn, so knit until the 16th row
- In the 17th row, knit 4 VP, 3 SS2N, 3 SSN, 3 SBN, 2 tbsp.
Knit shorts from white threads:
- Dial 60 loops of VP.
- In the front row: 3 VP, skip one, 1 SSN, 1 VP, one pass, 1 SSN, 1 VP, pass the loop, and so on to the end.
- In the second row: 3 VP, 1 SSN and so in each column from the 2nd to the 7th row.
- Next, tie the leg: 3 VP, 30 SSN turn.
- In the 9th row 3 VP, 30 SSN, turn
- In the 10th row: 3 VP, an increase in each station. turn
- In the 11th row 3 VP SSN until the end of the row, turn
- In the 12th row: 3 VP increase in each column. Knit the second leg according to the same scheme.
It remains only to tie the sweater of the doll:
- In the front row, dial 4 VP and wrap in the ring. Next 3 VP, 2 SSN in a circle, five times knit a rapport: 3 SSN, 2 VP.
- In the second row: 3 VP, 2 SSN, make an arch, 2 VP, 3 SSTN again form an arch, rapport: 1 VP, 3 SSN (arch), 1 VP, 3 SSN five times repeat + 2 VP ..
- In the third row: 3 VP, turn the knitting 2SSN (arch), rapport: 1 VP, 3 SSN, 2 VP, 3 SSN repeat five times.
- Fourth row: 3 VP, turn knitting two SSN, rapport: 1 VP, 3 SSN in the arch, 1 VP, 3 SSN, 1 VP, 3 SSN, 1 VP, 3 SSN - five times, 1 VP, 3 SSN, 1 VP .
- Fifth row: 3 VP, turn further 2 SSN, Arch, 1 VP, 3 SSN, Rapport: 1 VP, 3 SSN, 2 VP, 3 SSN (cooking), 1 VP, 3 SSN, 1 VP, 3 SSN - five times . 1 VP, 3 SSN, 2 VP, 3 SSN, 1 VP, 3 SSN, 1 VP.
Knit the second half in the same way, at the end fold the thing with the letter L. Sew and tie with a rack pace.
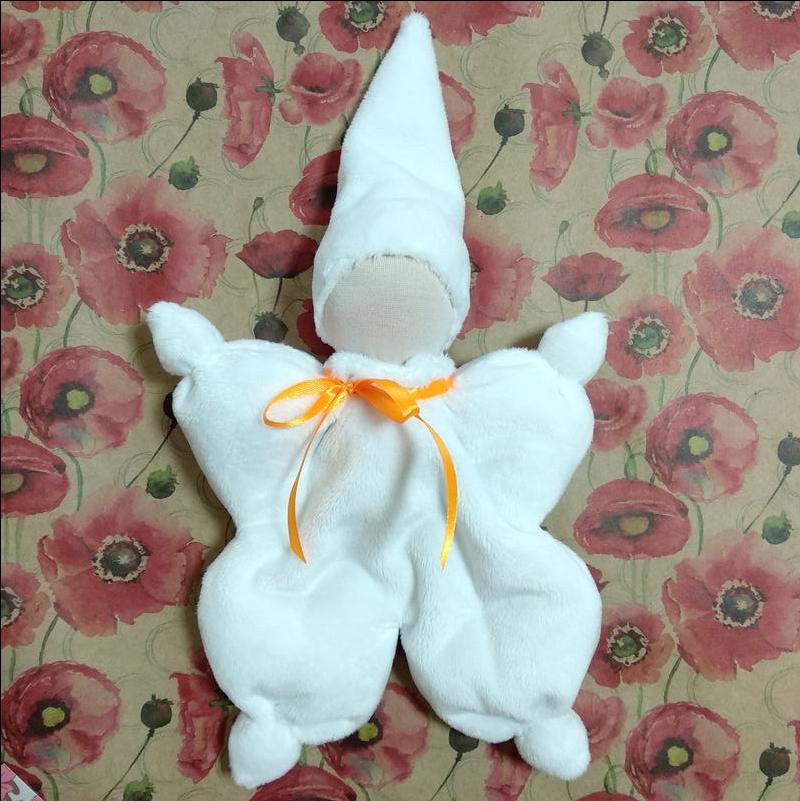
Valdorf Babochka doll
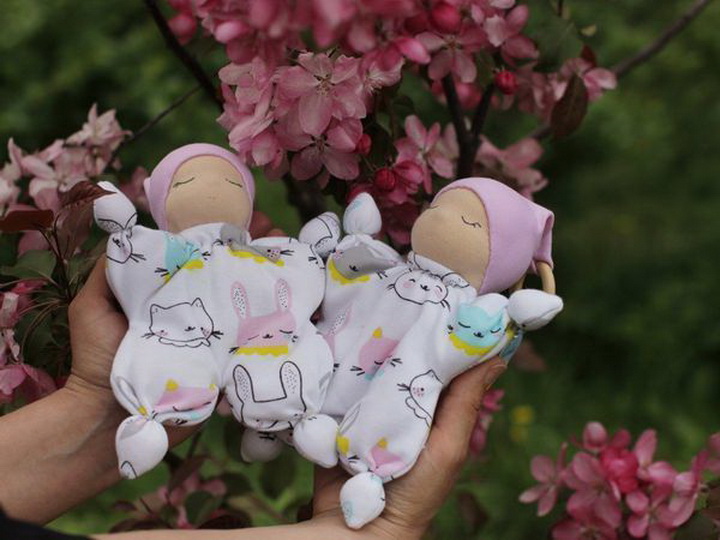
A pretty Waldorf Babochka doll is easily sewn. Again, only high-quality materials for the product should be chosen. Dolls can be of different sizes. Speaking briefly, to sew it, you need to make the head and sew a body and a cap to the head from knitted fabric.
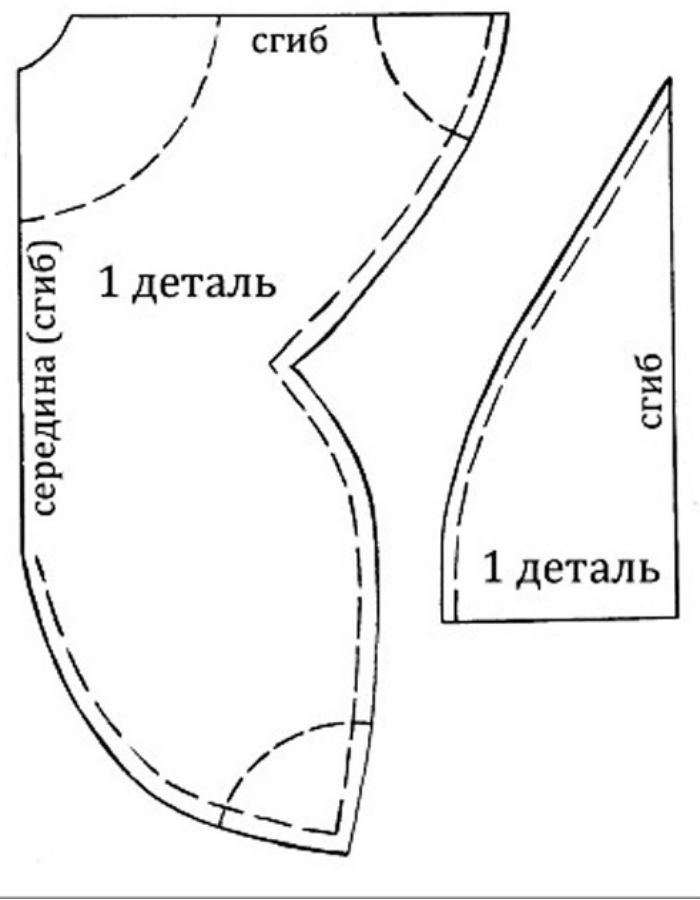
The pattern of the butterfly doll pattern is presented below. And the head is made of beige material and vatin. The head of both the doll of Tilda and the Babochka doll are identically made according to the same scheme.
Vata is taken, formed in a ball, with threads make a certain shape of the face, back of the head and neck. On top, the ball is tightened with a cloth. Make eyes, lips, draw cheeks.
How to sew a doll - process:
- Make a pattern first on paper, then transfer to the fabric.
- Leave allowances for the seams. Cut the patterns of patterns with scissors.
- Sew them on a typewriter. Turn the resulting body of the doll so that the seams are not visible. Fill with cotton wool.
- Combine the neck and body together.
It remains to arrange and decorate the doll with interesting accessories. Sew the cap, decorate it with a fur strip.
Waldorf cloak doll-photo
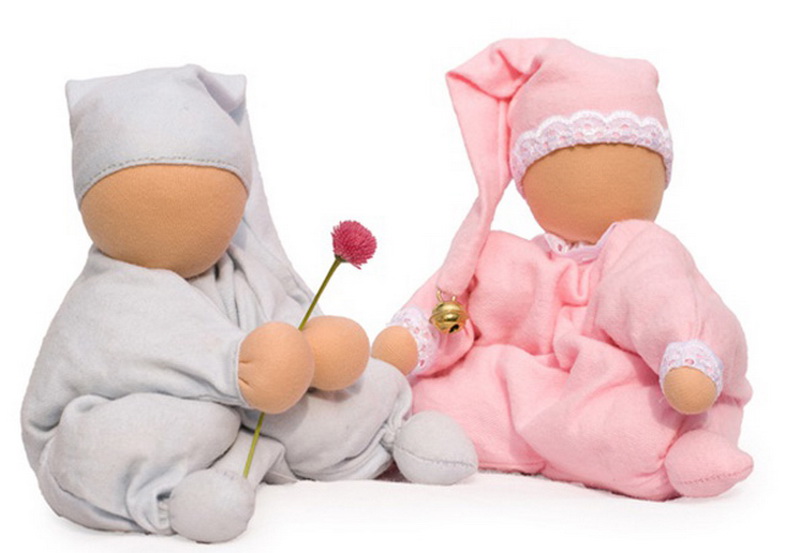
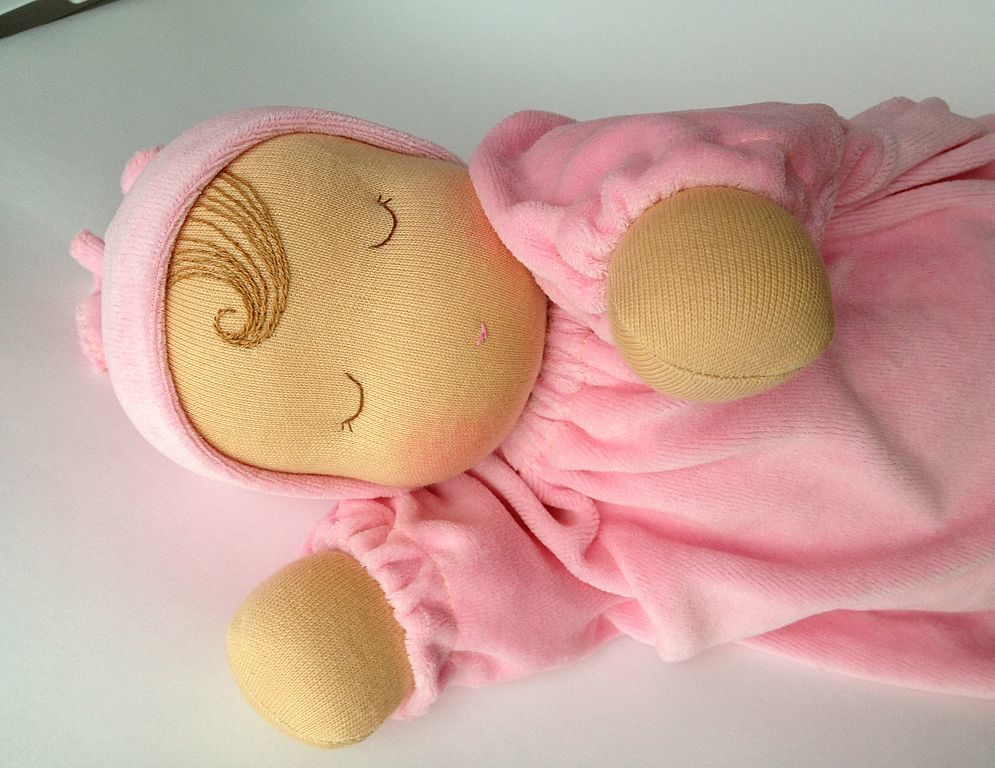
The cute Waldorf Princer Doll is as much as possible on newborn children. Sewing it will not be difficult if you have a sewing of fabric toys. See examples further:

Also here on the portal you can find interesting information on the topic of crafts with your own hands:
- Autumn crafts from potatoes;
- DIY cement crafts;
- How to make crafts from your own hands?
- DIY crafts for Shrovetide.

