If you need to prepare for the contest for Shrovetide, then make crafts with your own hands. Look for step-by-step master classes in the article.
Contents
- Children's crafts on the topic "Shrovetide" with your own hands for children to school 1, 2, 3, grade 4 per competition: from paper, step-by-step master class
- Children's craft for Shrovetide in a kindergarten 3, 4, 5 years old, in the middle group: a doll from pancakes with your own hands, a step-by-step master class
- "Sun" from salty dough: how to make a light craft on Shrovetide with your own hands with children?
- Light crafts on Plasticine Shrovetide: step by step master class
- What simple crafts can be made on Shrovetide, on the fair: applications, templates, photos, coloring
- How to make a scarecrow on Shrovetide for a child: crafts, souvenir in kindergarten and school
- The head of a stuffed Shrovetide: how to do step by step?
- Video: How to make a scarecrow on Shrovetide? Shrovetide is a scarecrow.
Shrovetide is a cheerful holiday that adults and children love. In kindergartens and schools at this time, competitions are held for which children make crafts, and for participation or victory, receive prizes. Below you will find several ideas on how to make the famous Shrovetide doll from different materials.
There are also other crafts that can be used not only for competitions devoted to this holiday, but, for example, "Seasons" (spring Festival), "We go to visit the sun" (summer holiday), "Gold autumn" and so on. It all depends on your imagination - invent and change your outfits to your created dolls and win in competitions.
Children's crafts on the topic "Shrovetide" with your own hands for children to school 1, 2, 3, grade 4 per competition: from paper, step-by-step master class
Paper crafts are the simplest that the child can do with his own hands. Below you will find step-by-step master classes of children's crafts on the topic "Pancake week" with your own hands for children to school 1, 2, 3, 4 grade to the competition. So, we start:
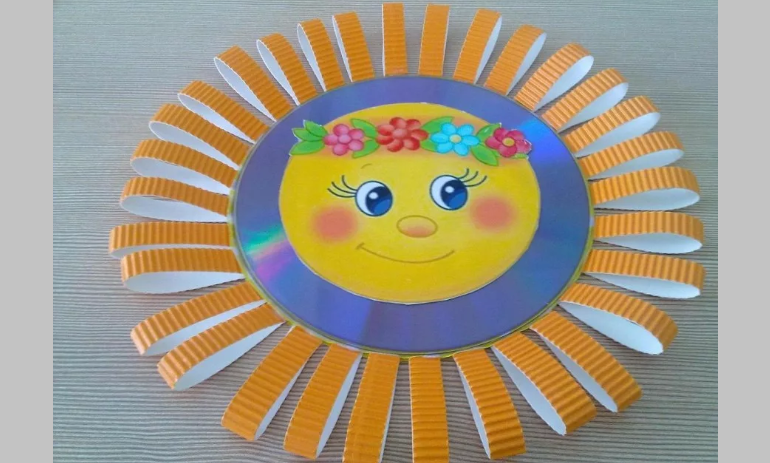
The sun is from the disk- This craft is suitable for younger children. We will need:
- Yellow and orange colored paper
- Disk (DVD)
- Glue
- Compass
- Pencils or felt -tip pens
Make a craft like this:
- First, cut out the strips from the paper width from paper 1-1.5 cm And glue them into loops.
- On the edge of the disk we glue the first row with yellow loops, the second - orange.
- Cut the face of the sun, it should be less than the diameter of the disk on 1-2 cm.
- We draw eyes, smile and nose to our sun, and glue to the disk. Ready.
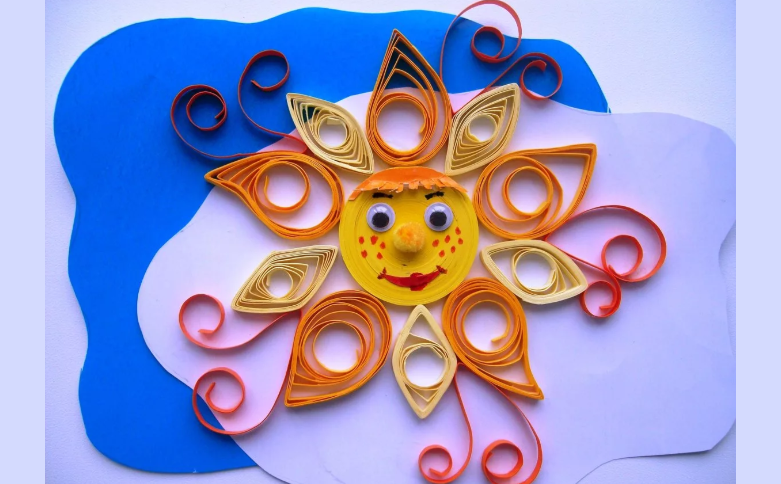
The sun in the technique of quilling- This craft is suitable for older children. The technique is not complicated, and is performed quickly and simple. Materials:
- Multi -colored paper
- Flomaster
- Marker
- Glue
How to make:
- We take Quilling stripes 3 mm. If there are no such, you can cut them yourself.
- We turn the strips into the shape of drops, petals.
- We turn yellow strips into a large circle - this will be the base of the sun.
- Then cut out of blue or white cardboard 2 cloudsAnd glue them.
- We glue the base on the clouds, and figured rays to it.
- That's all, it remains to paint the face. The product is ready.
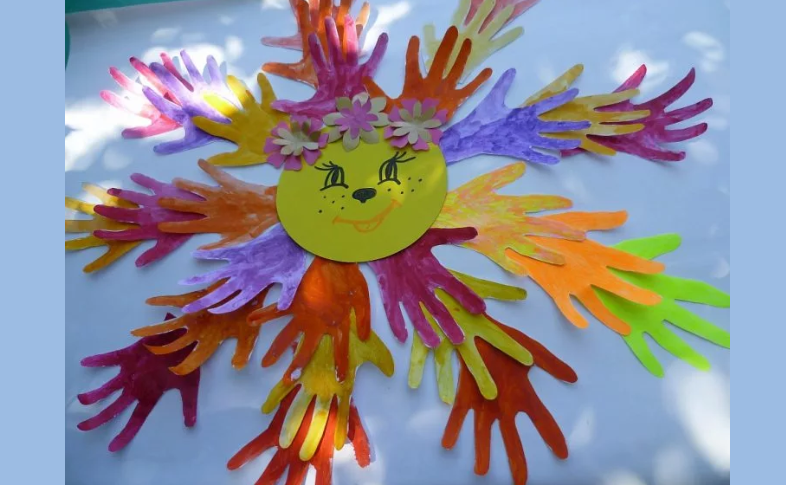
Sun "children's palms" - A simple craft, but you can’t do without the help of adults. If you did not have colored cardboard, use ordinary colored paper. You can also use white paper, but then cut “palms” need to be painted with multi -colored colors. Materials:
- Multi -colored cardboard (paper)
- Scissors
- Flomaster
- Cardboard plate
How to do:
- Cut children's pens on multi -colored cardboard or paper. Cut.
- Glue to the back of the plate. If this is not, you can cut a circle of yolk cardboard.
- It remains only to paint the muzzle of the sun.
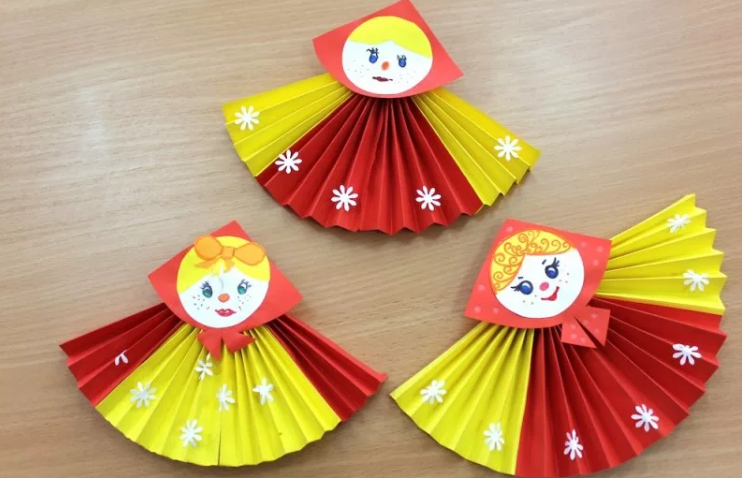
Doll of paper and cotton pads. See how interesting they are. Girls will be happy to deal with such crafts. We will need:
- Multi -colored paper
- PVA glue
- Ruler
- Scissors
- Cotton wheels
- Woolen threads
- Flomasters
How to do:
- First you need to fold colored paper with an accordion, and then bend in half.
- On the lower accordion we make a criminal, he will not allow him to disperse.
- Glue the accordions with PVA glue.
- We cut out a scarf for a future doll from red paper.
- Now we take two cotton pads. We leave one for the face, and from the second we cut a bang and a clock on it of a thread.
- On the first cotton disk, draw the face with felt -tip pens and glue it to the scarf.
- It remains to fix all this on accordions.
You can make several such dolls with a different face. It will turn out very interesting and beautiful.
Children's craft for Shrovetide in a kindergarten 3, 4, 5 years old, in the middle group: a doll from pancakes with your own hands, a step-by-step master class
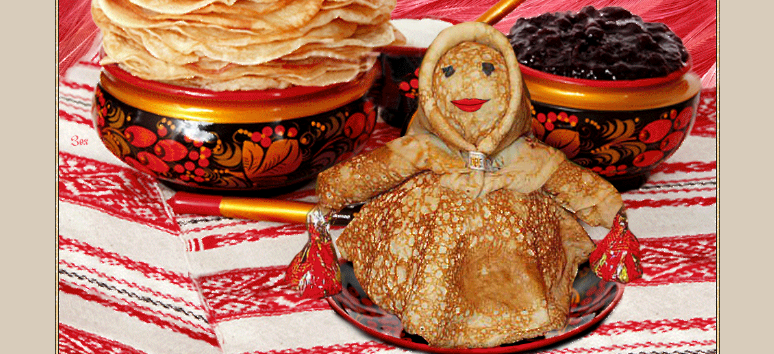
It is very interesting that the doll on Shrovetide can be made not only from paper, but, for example, from pancakes. Such a children's craft is suitable for a competition for a kindergarten for children 3, 4, 5 years old, to the younger or middle group. She will certainly be in the spotlight. This is a very unusual idea, and most importantly - tasty. Below you will find a step-by-step master class of pancake dolls with your own hands. Materials:
- Pancakes
- A bottle of 0.5 l
- Gum
- Knife
- Toothpicks
How to make a doll:
- To make the bottle stable, you need to fill it with water or cereals.
- Pancakes ( 3-4 pieces) Cut in the center.
- Then they can be applied to the bottle in the form of a skirt. We fix the "skirt" with an elastic band.
- We wrap the upper part with two pancakes, and strengthen with an elastic band - it will be a shawl of a pancake woman.
- We wrap the lid with polyethylene, and then a pancake.
- For the pens of the doll, you need to turn two pancakes into the tubes, and attach on the sides.
- We glue a scarf from the pancake on your head, you can use honey.
- The edges of the pancakes are hidden and fix them with toothpicks.
The face can be decorated with the help of berries from jam, and to attach sweets to your hands.
"Sun" from salty dough: how to make a light craft on Shrovetide with your own hands with children?
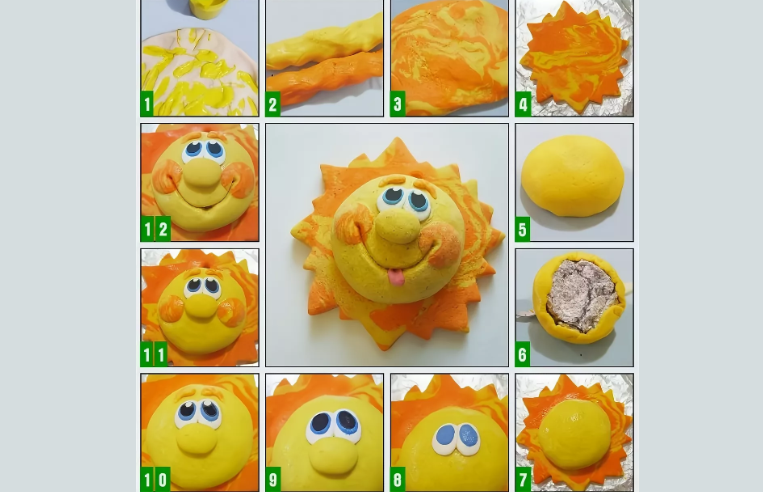
In gardens and schools, children often make crafts from salt dough. Such material is very plastic, and when dried, it freezes well. How to make a light craft for Shrovetide with your own hands with children? Here is the "sun" of salt dough - ingredients for the dough:
Light crafts on Plasticine Shrovetide: step by step master class
Plasticine is a favorite sculpting material for all children. However, kids are not only interested in working, but also useful. With the help of manipulations that the baby's fingers perform, fine motor skills of hands develop. This helps in the development of mental ability. Therefore, sculpt with children as often as possible. Below you will find a step-by-step master class of light crafts on Plasticine Shrovetide.
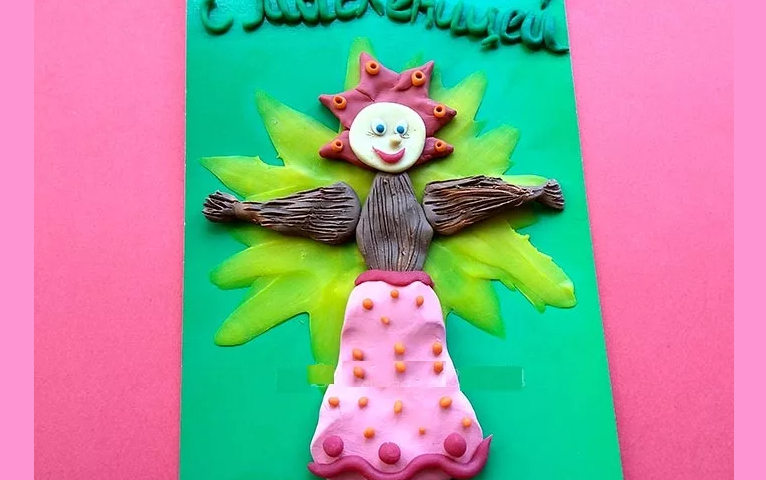
A postcard made of plasticine.We will need:
- Multi -colored cardboard
- Plasticine
Production:
- We take a sheet of cardboard, preferably green, but you can use others.
- We knead the bright, yellow plasticine in the hands. Then we put it on the center and stretch it with your fingers - these will be the rays of the sun.
- The layer should be thin. The background is ready.
Now let's proceed to the manufacture of the central figure - a mummy Shrovetide:
- We knead red and beige plasticine, and make a cake and ball out of it.
- We glue the red cake to the cardboard and focus the ends, attach the beige ball into the center, slightly flattening it-it will be a head.
- Now we make the body and hands with brown plasticine.
- We “dress” our figure in a skirt (it can be made bright and decorated as your fantasy wishes).
- It remains to make the face - we make it bright and colorful.
- With plasticine, you can fashion the inscription "With Shrovetide!"
To make the postcard brighter, you can add interesting elements: bright ribbons, rhinestones, sparkles.
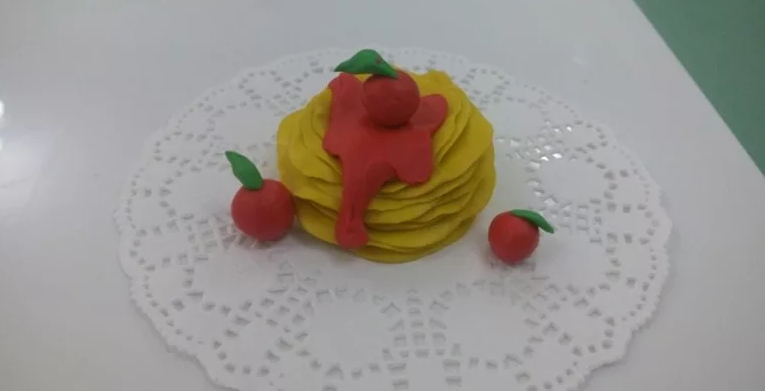
Crafts of plasticine with the kids "pancakes with jam." Materials:
- Plasticine yellow, red and green
- Openwork napkin
Production:
- We roll yellow plasticine into small balls.
- Then we add one of the balls, making it very thin. Damn the “pancake”.
- We also make the rest of the pancakes.
- We collect them in a stack, and put them on an openwork napkin.
For decoration, we make red berries. Just roll the mass into the ball. Cut green leaves. Ready.
What simple crafts can be made on Shrovetide, on the fair: applications, templates, photos, coloring
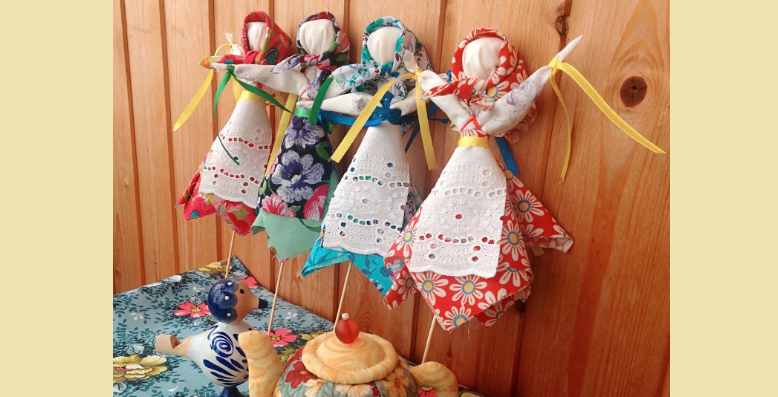
If you do not want to make a craft of salt dough, sculpt from plasticine or lay out a doll from pancakes, then you can make it from ordinary fabric. Surely, at home everyone has shreds of some bright material. What simple crafts can be made on Shrovetide, on the fair? Here is the craft-a maste-doll:
Materials:
- Flap of multi -colored fabric
- White fabric
- Syntephop
- Threads
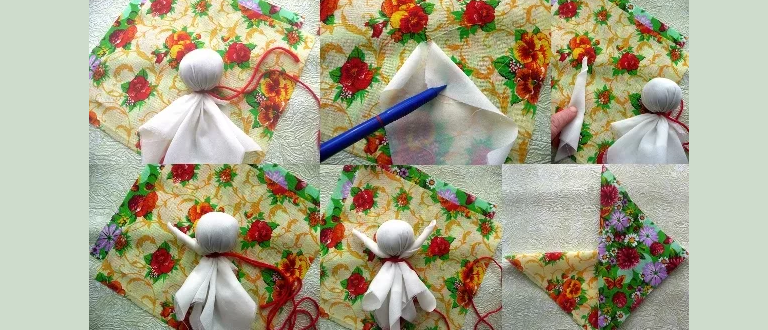
We make:
- First we cut out the square with the sides 20 cm.
- We roll the synthetic winterizer into the ball, envelop it with a cloth and fix it with a thread. This is the future head of the doll.
- Now we make pens. For them you need to twist a rectangle from white fabric size 20 by 12 cm In a tube and strengthened with a thread.
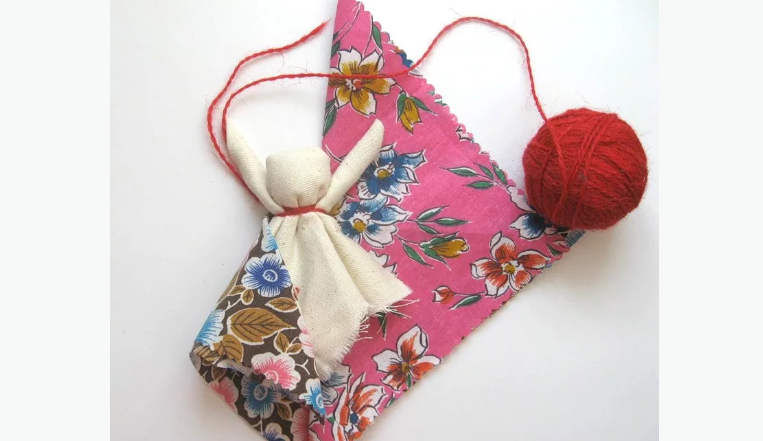
- Squares of colorful fabric with side 20 cm We fold diagonally, place as shown in the photo above, and in the middle we put the doll.
- Then we bend each corner to the middle. We fix everything with a thread. This is a skirt of the doll.
- We make a handkerchief by cutting a triangle from bright fabric.
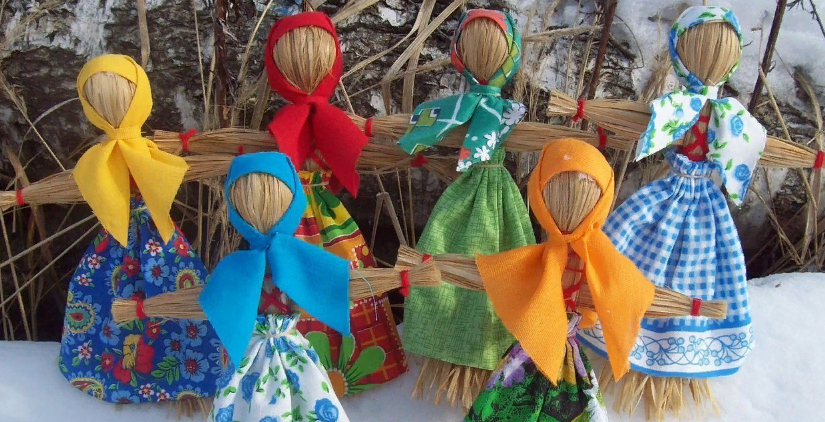
In the middle of such a doll you can insert a wooden knitting needle, you get a real stuffed Shrovetide.
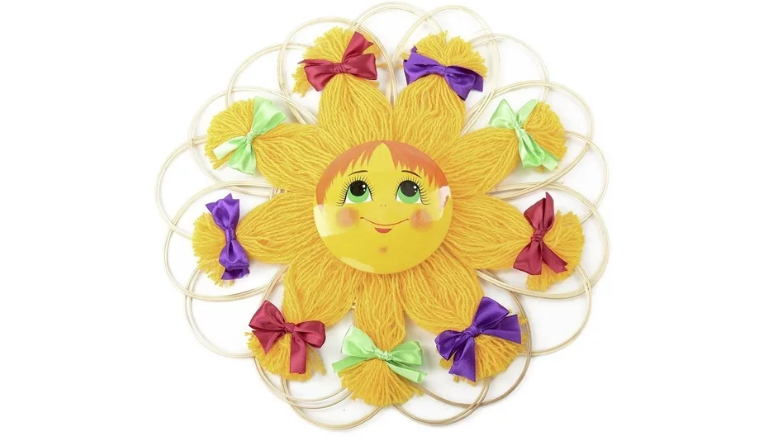
Children's craft "Yarilo" - application.Materials:
- Multi -colored satin ribbons, width 0.5 cm.
- PVA glue
- Awl
- Color cardboard and paper
- Bright yellow or orange woolen threads
Production:
- First we cut out a circle of cardboard, the size is the same as you want a craft.
- With an awl, we make a hole in the middle of the cardboard circle.
- Then take and cut the yellow yarn on the same thread length.
- We measure the diameter of the circle and add the length of the beam to it. Thus, we will determine what length the thread should be.
- We spread the entire cardboard blank with glue and without waiting for its drying - we begin to form the sun from threads.
- To do this, insert a yellow woolen thread into the needle and spread it into the hole on the workpiece. The thread should be located so that one half is on one side of the cardboard, and the other on the other. We press the threads to the workpiece with glue.
- We repeat this action to the state where the craft is not completely covered with threads, and will not become more voluminous.
- Now we form the rays of our sun. To do this, the strings are evenly distributed to the rays and bandage them with beautiful, bright ribbons.
- The product is almost ready. We finish the face.
- From col. Cut the smile, nose and eyes.
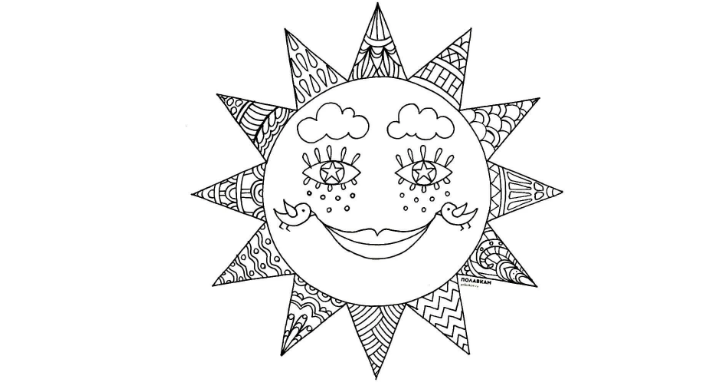
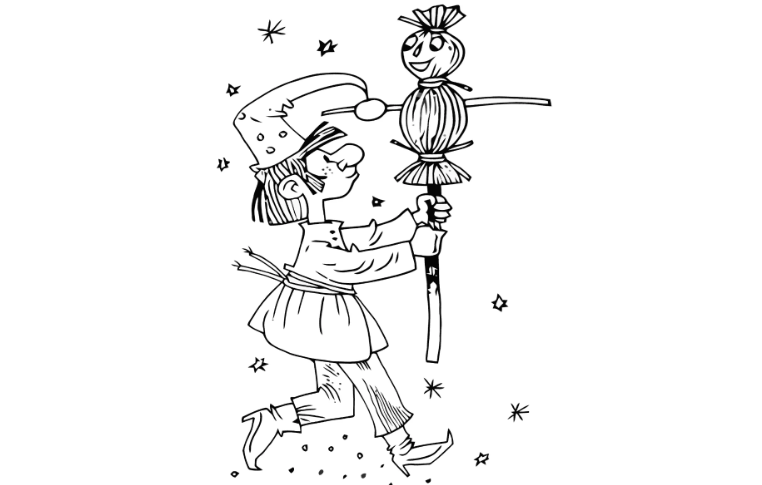
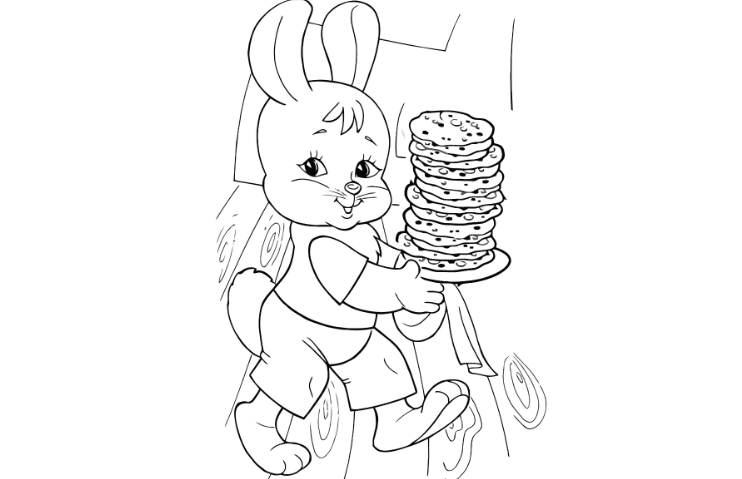
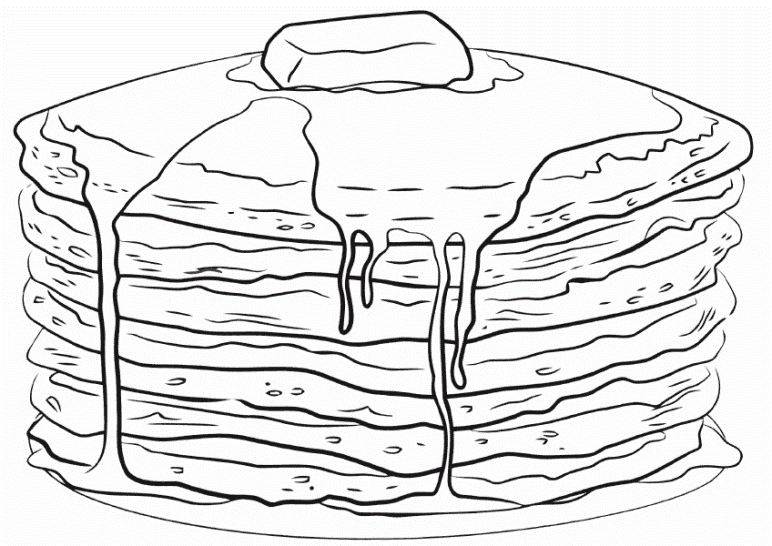
"Yarilo" turns out to be bright and beautiful. Below you will find templates for crafts, as well as coloring. Print them on the printer, cut them out and let the child paint.
How to make a scarecrow on Shrovetide for a child: crafts, souvenir in kindergarten and school
Often, Shrovetide in kindergartens and schools give the task to make a scarecrow in the form of a souvenir. Of course, if the child is small, then the parent should help him. Below you will find several crafts - interesting and bright. So, we make a scarecrow on Shrovetide for a child in the form of a craft or souvenir in a kindergarten and school. Consider several ideas.

A scarecrow from a bottle. Materials:
- Bars made of wood
- Plastic bottle 1.5
- Children's plastic ball
- Kapron sock
- Cotton wheels
- Glue
- Threads
- Beads
Production:
- From wooden bars, combine a scarecrow stand.
- We put a vertical block in a bottle.
- We will make the head of the doll from the plastic ball. Cut the hole in it by the size of the cork. We put the ball into the nylon sock. We fix it on the traffic jam so that it holds tightly.

- We will make a doll hair from black threads. You need to glue them on the head.

- From dense cardboard we build a frame on a bottle, it will be a dress of our stuffed animal.
We paint cotton wheels in different colors. We decorate the dress, torso and hands.

- We put on a scarf made of fabric on the head.
- A scarecrow can be decorated with beads, satin ribbons.
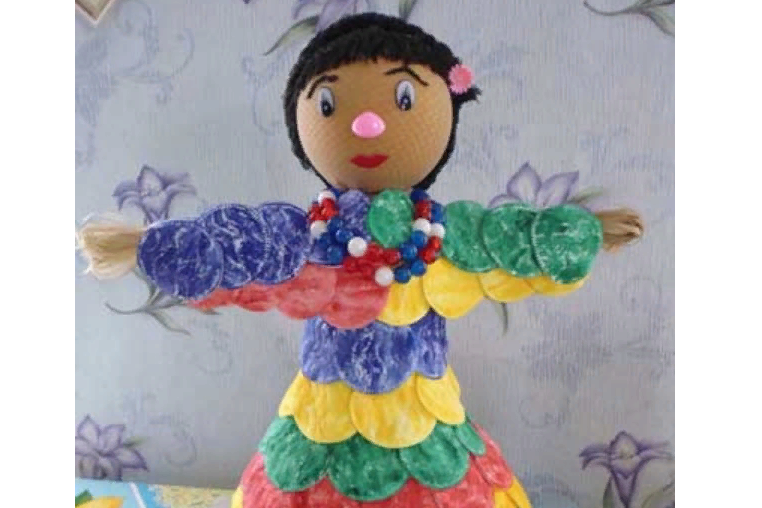
A scarecrow from straw. Here's what you need:
- 2 sticks
- Dry straw
- Color and white fabric
- Rope
- Paints

How to do:
- We make the base of the sticks. They need to be fixed perpendicular to each other.
- Wrap the frame with straw and fix everything with a white cloth.
- For the head, you need a piece of white fabric, stuff it with straw and wrap everything tightly.
- We put your head on the frame.
- And then fantasy to help. You can decorate a stuffed with a dress, scarf, paint your face beautifully and attach beads.
You can just fold a bunch of long straw in half and tie it in the head. Then also make your hands, insert into the body and tie it. Decorate the doll with a cloth - ready.
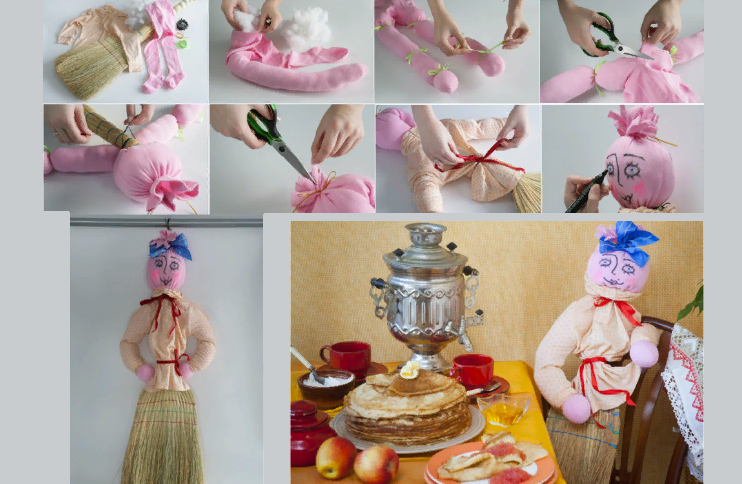
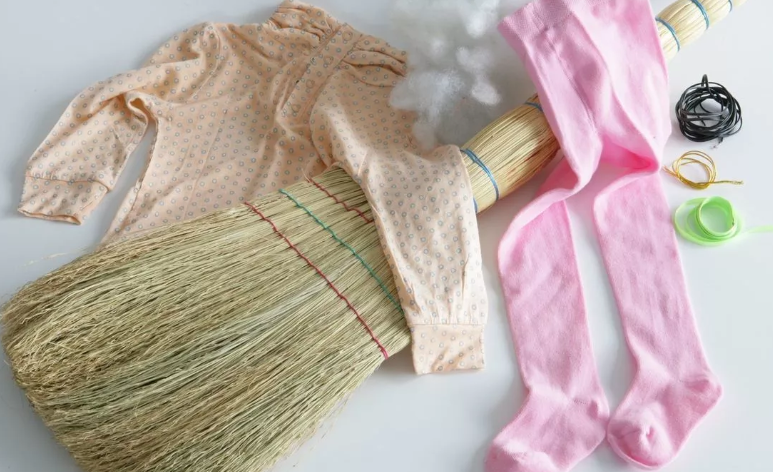
A scarecrow from a broom.Materials:
- Broom
- Syntephop
- Children's t -shirt or dress
- Children's tights
- Satin ribbons
- Markers (felt -tip pens)
- Scissors
How to make:
- For hands we take tights, tightly stuff them with synthetic winterizer.
- We bandage the handles in three places.
- In the flush of tights, make a small incision, insert the stalk of a broom into it, fix it with a thread or wire.
- For the head, you need to fill the upper part of the tights with a filler very tightly. Rinse with a ribbon on top, leaving 5-6 cm.
- We cut the free part of the top into the strips. This is hair.
- Put on a stuffed dress, fix with a ribbon, draw a face.
- You can tie a bright bow. Ready.
It turned out very interesting, bright and unusual.
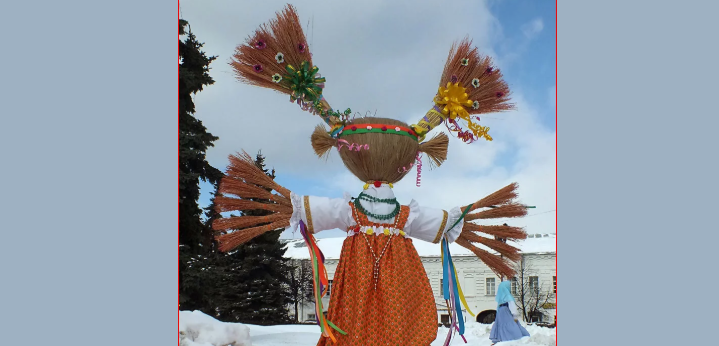
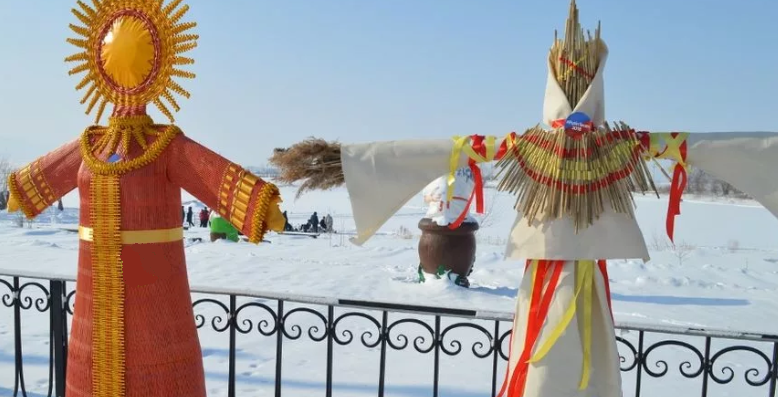
The head of a stuffed Shrovetide: how to do step by step?
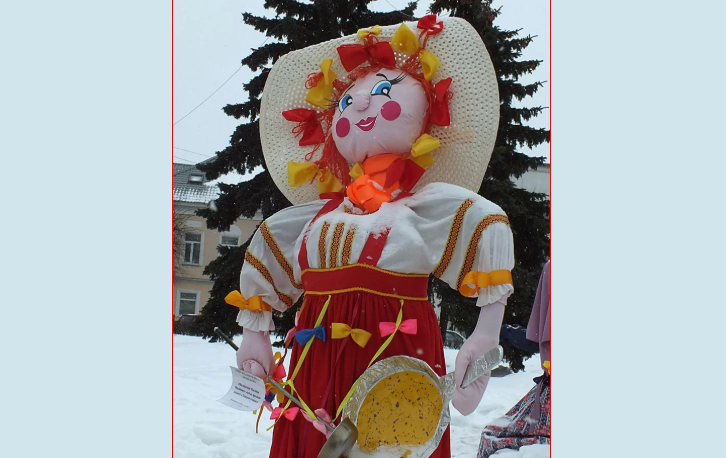
Consider how to make a big stuffed animal step. The head of a stuffed Shrovetide can be made of different materials. Below you will see how it can be done. Materials that are necessary:
- From straw and brooms.
- From cardboard and straw.

- Full head and rays from straw
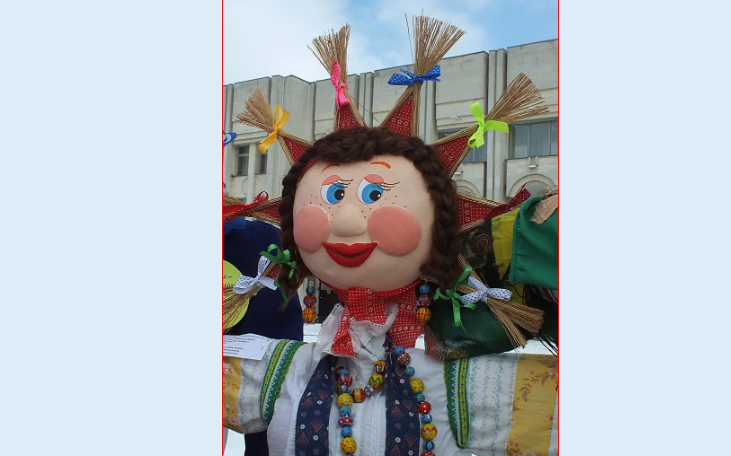
- From fabric and synthetic winterizer.
- From straw, polyethylene and satin ribbons.
Video: How to make a scarecrow on Shrovetide? Shrovetide is a scarecrow.
Read on the topic:

