Stylish crafts from cement: house decor items, garden, jewelry
Contents
- Cement candlesticks: Description of manufacture
- Video: Cement Summary
- Street candlelight in the style of cement: how to do it?
- Video: Flower casper from cement
- DIY cement accessories for cement: description of manufacturing
- Ultramodnaya candlestick or casper from cement: Description of manufacturing
- Video: cement decor
- DIY cement lamp: Description of manufacture
- Video: Cement Loft Light Lamp
- DIY Biocemine of Cement: Description of manufacturing
- DIY loft -style cement table: Description of the manufacturing process
- Video: cement countertop
- Video: We make a table from cement with our own hands
- Cement solution: features and nuances of work
- Garden figures from cement with your own hands: master classes
- Video: Cement Garden Decorations
- Video: DIY cement crafts
- Garden figures from cement for beginners: ideas, step -by -step description
- Video: Garden figures - cement mushrooms
- Video: Garden caterpillar from cement
- Cement ball: how to do it?
- Video: DIY cement figures
- Video: Garden figure from cement and old clothes
- DIY jewelry from cement: photo, description
- Video: Cement accessories
- Video: gypsum jewelry
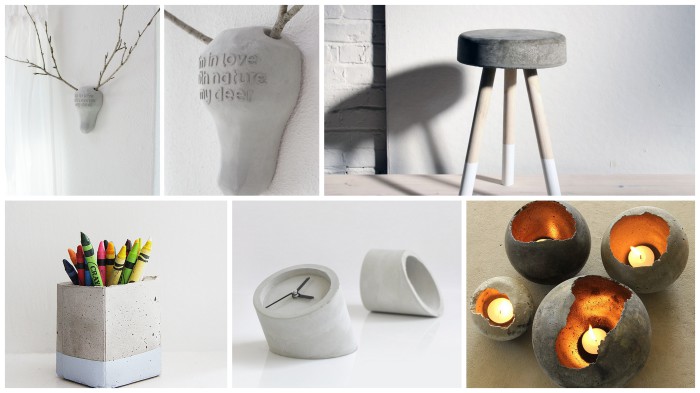
Recently, cement products have become very popular. This universal material easily turns into both a statuette for the garden and a tiny decoration. Cement products fit into the situation of any interior.
- Stylish cement decor can be made with your own hands using the simplest tools and materials. We offer you to get acquainted with our master classes and be inspired to create floral pots, lamps, candlesticks or other concrete decor of original and unusual shapes.
- Stunning results can be achieved, thanks to the unique properties of cement and the boundless possibilities of decorating when designing the interior of the room or garden section. One has only to give free rein to the imagination and new ideas will take possession of thoughts, forcing them to take up the preparation of the next cement mortar. Just have time to implement the plan! We will not hesitate! We proceed with the manufacture of cement decor with our own hands!
Cement candlesticks: Description of manufacture
Despite the rudeness of the cement, it is more often used in the interior decoration. Loft cement decor looks quite unusual, emphasizes the texture of other materials. For example, wood, metal, textiles look more exquisite in combination with cement products.
Below are detailed instructions for the manufacture of original candlesticks. For work, you will need very little - cement in sufficient quantities, containers corresponding to your idea, a couple of gloves and a positive mood. The last component guarantees the achievement of an excellent result in any work.
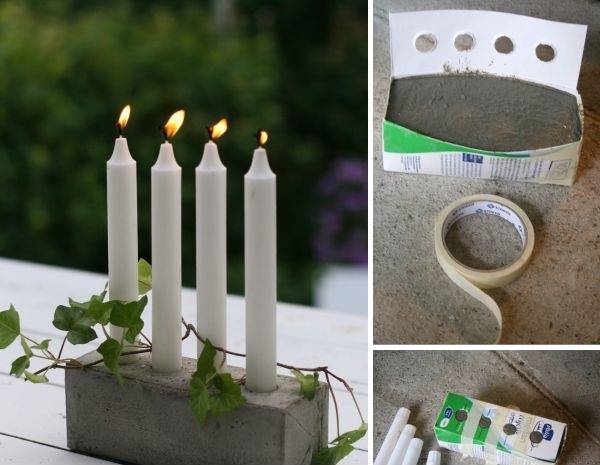
How to make a candlestick from cement and box:
Step 1:
- We select a suitable size box of dense cardboard.
- We denote the location of the candles with a simple pencil.
- Cut holes.
Step 2:
- We prepare a solution of cement. It should resemble a thick sour cream by consistency. You need to work quickly, otherwise you will not be able to control the uniformity of filling the cardboard box.
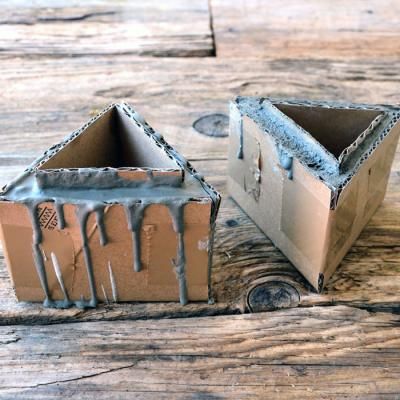
- After the box is filled with concrete, we fix the pencil or plank on each side, wrap the entire structure with tape. This is necessary to keep the desired shape of the concrete product.
- Otherwise, the box is simply deformed from the severity of concrete and the product can only be thrown away.
Step 3:
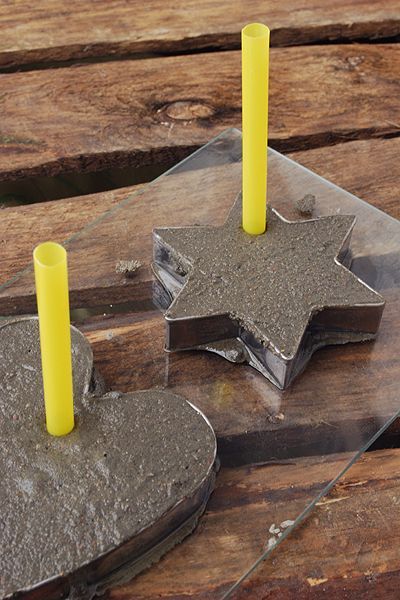
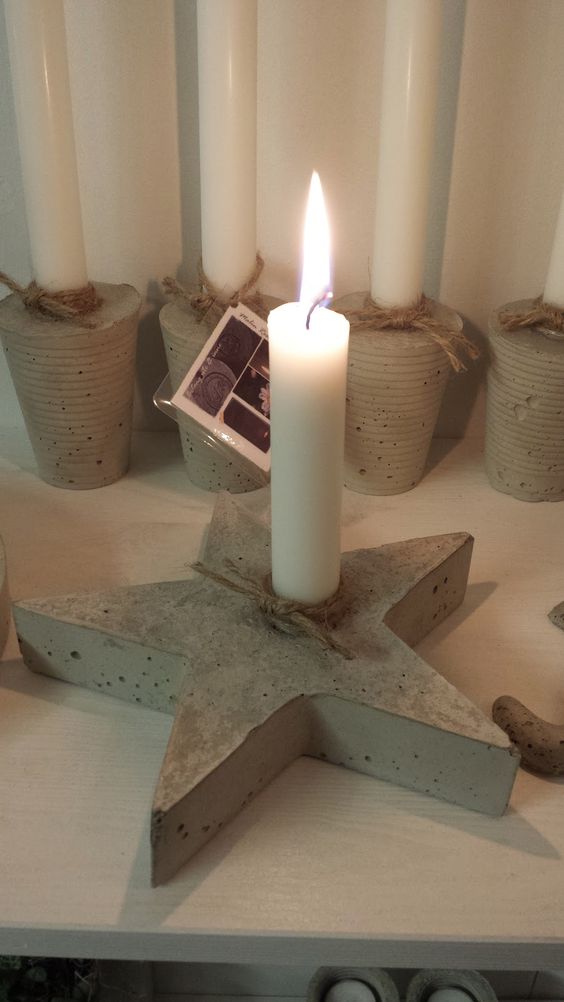
- While the solution “has not grabbed”, set in the candles cut out the early openings of the candle, previously wrapping them with cling film.
- When the solution hardens a little (it takes about half an hour or an hour, depending on the size of the product), the candles can be removed.
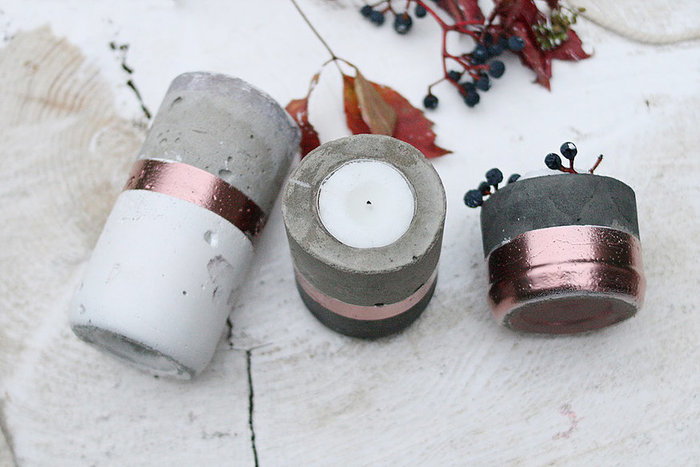
- We leave the candlestick for a day for hardening. The finished product can be painted with acrylic paint or left as it is.

Video: Cement Summary
Street candlelight in the style of cement: how to do it?
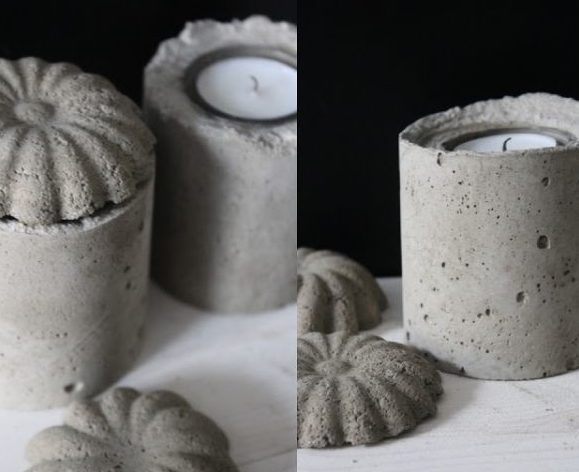
Street candlelight in the style of cement:
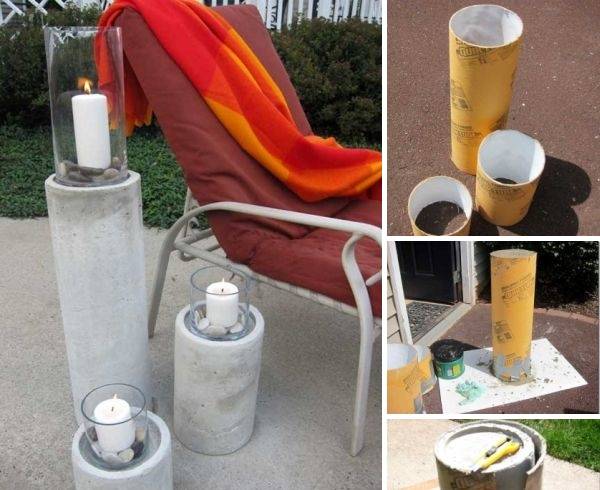
- We form tubes suitable in size from dense cardboard. Close on one side a hole of a cardboard sleeve. We fix it with tape.
- Prepared cement mortar fill the shape for the future candlestick. On the upper part of the product, we fix the plastic shape (lid or bottom from plastic capacity). Inside, put the load. It can be a handful of gravel or coins. The latter perfectly hold plastic forms on the surface of hardening cement.
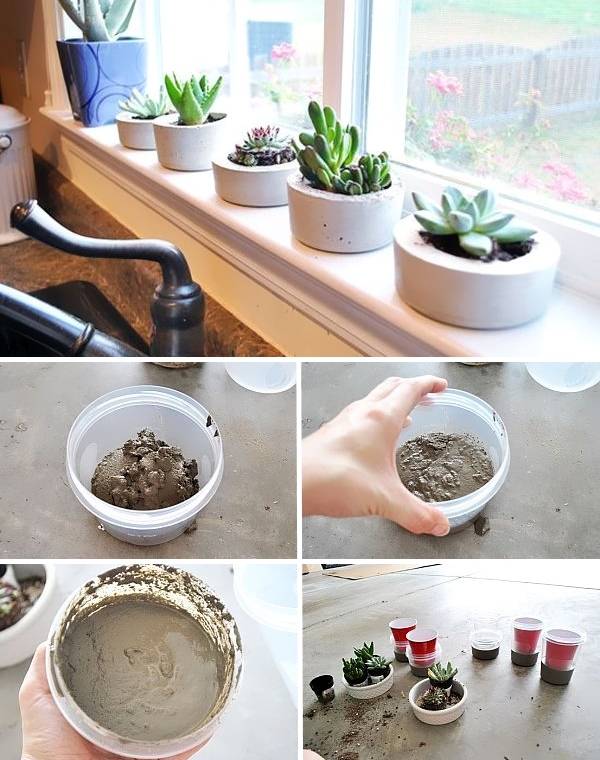
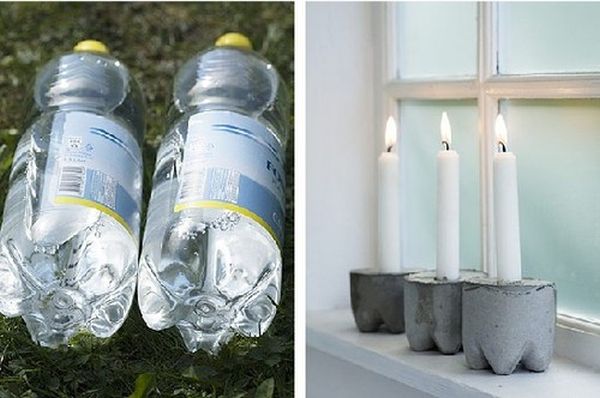
- According to this principle, you can make pots-kashpo for flowers. As a basis for a pot, you can adapt a cardboard packaging from juice or the lower part of a plastic bottle.
Video: Flower casper from cement
DIY cement accessories for cement: description of manufacturing
DIY cement accessories for cement - pdetachment for hot:
- To make such a stand, it is enough to get it or find the lid from the plastic container in the kitchen bins.
- Lubricate the lid from the inside with sunflower oil. Fill it with a solution of concrete. We shake off so that the liquid is compacted and air bubbles come out.
- If you need sides at the finished product, place another container on the surface of the concrete, slightly pressing it inside and putting the load.
- After the cement grabs a little, remove the upper form and wait for the final solidification.

Ultramodnaya candlestick or casper from cement: Description of manufacturing
A trendy candlestick or cashpot from cement:
Step 1:
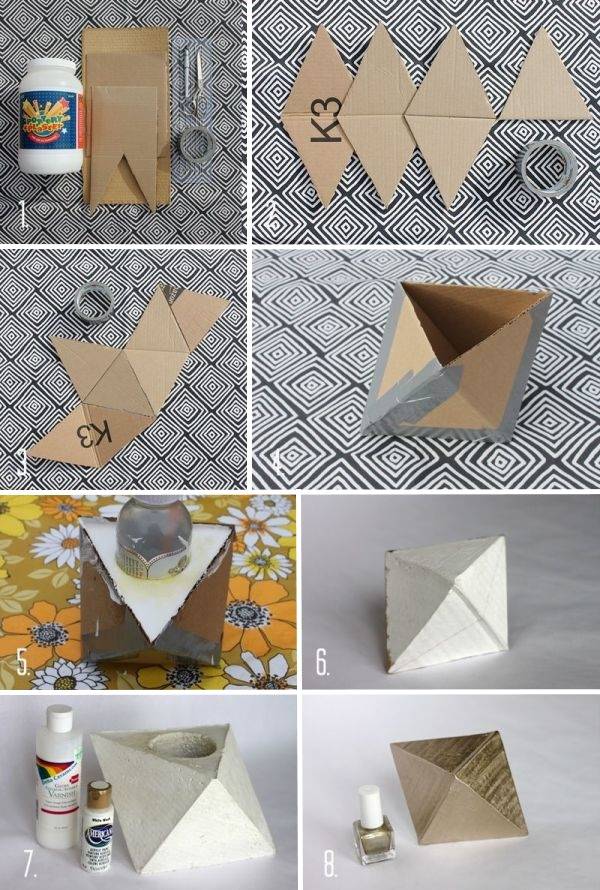
- We are looking for a multi -party template on the Internet.
- We transfer the circuit to a dense cardboard. Cut the cardboard blank.
Step 2:
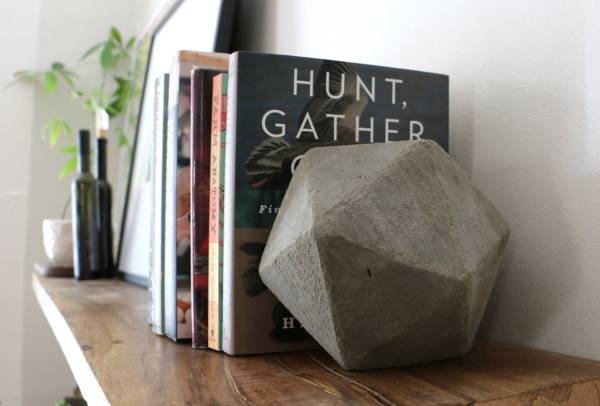
- We use adhesive tape to connect the sides of the polyhedron with each other. When the figure is completely collected, cut the hole (remove one face), and fill the figure with a solution of cement.
- We have a container suitable for you according to the idea. After all, a polyhedron can be used as a flower pot for flowers, as a candlestick, or as a holder for books. In the latter case, there is no need to cut a hole and carry out all subsequent actions.
- Inside the polyhedron we lower the plastic shape for the future pot-kashpo. If you make a candlestick, you can put a plastic cup inside. This will be quite enough for a global candle. Inside the glass or other container, put the load.
- When the cement grabs, remove the container from the inside. We are waiting for the complete solidification of cement. It takes at least a day.
- Remove the cardboard workpiece. It remains only to use the sandpaper, and polish the edges, removing all the roughness, humps. The finished product can be painted.
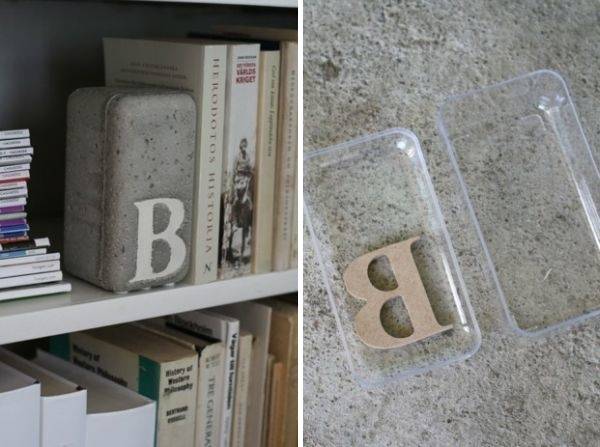
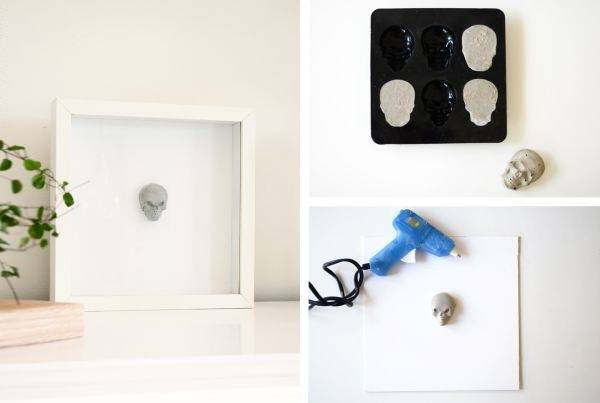
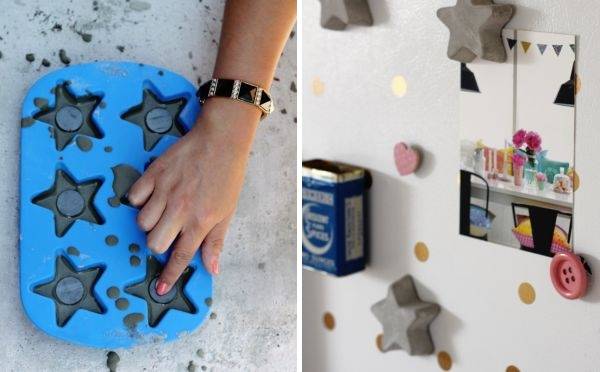
See what interesting decor for the home can be made of cement if you use ready -made silicone forms as a basis for filling. It can be small art objects placed in a photo frame, figures on the wall that can be fixed with glue.
Video: cement decor
DIY cement lamp: Description of manufacture
For lovers of unusual interior items, we offer a master class on making a stylish lamp, which perfectly fits both in a modern interior in the style of loft and in the interior, decorated in the style of minimalism. It will take two hours to make an original lamp, and everything you need can be bought at the nearest construction store.
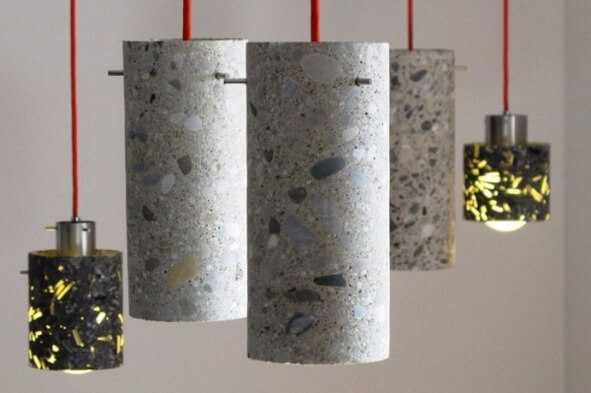
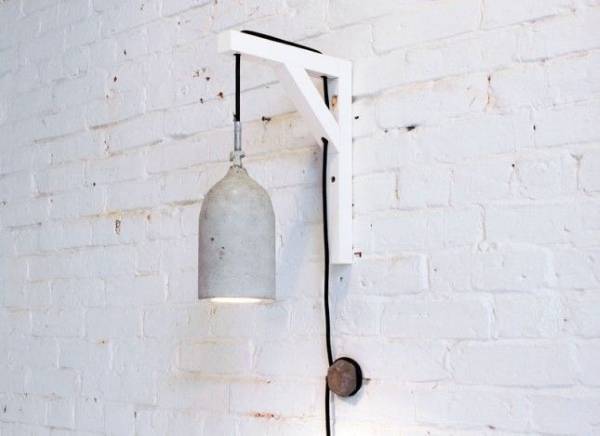
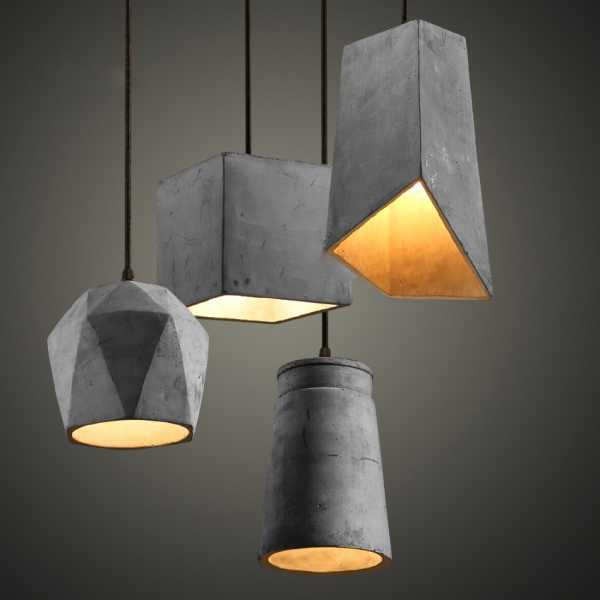

Technology for manufacturing a suspended lamp in the style of cement loft:
- For work, two plastic bottles of different diameters will be needed, which we will use as the basis for the cement lampshade. You will also need a wire and a switch. We prepare a solution of cement and sand. You can use the finished cement mixture of a high level of strength.
From the necessary, we are still armed with a cartridge, a pipe with a thread and nuts to it, self -tapping screws, a light bulb, a container for kneading a cement mortar.
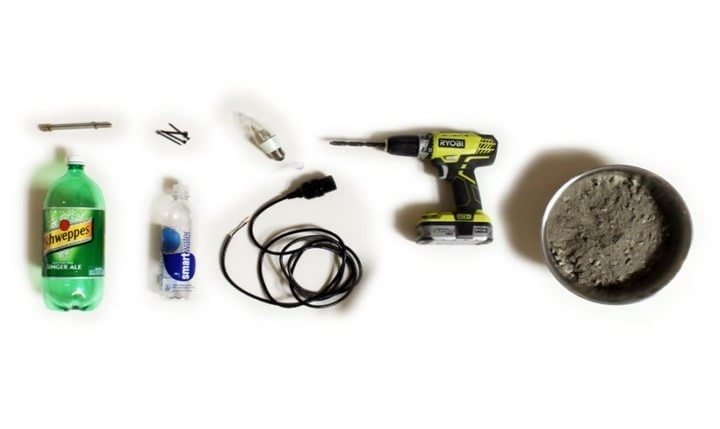
If cement mixtures of various colors are hidden in your bins, then you can mix them, or use special color dyes for concrete.
The concrete lampshade in the finished form will be heavier than the usual lamp, therefore it is worth buying a high -quality cord. To be sure of its reliability, you can additionally fix the lamp using a metal chain for suspension.
- Depending on the desired size of the finished lamp, we select a large bottle. For example, it can be a two -liter bottle. The embossing on the bottle will be visible on the outside of the finished lamp. The bottle that is placed inside a large container is selected without embossing. It will have a cartridge with a lamp.
- For the convenience of further operation, we check whether the wide space is enough inside the future lampshade, so that later there are no problems with the replacement of the lamp.
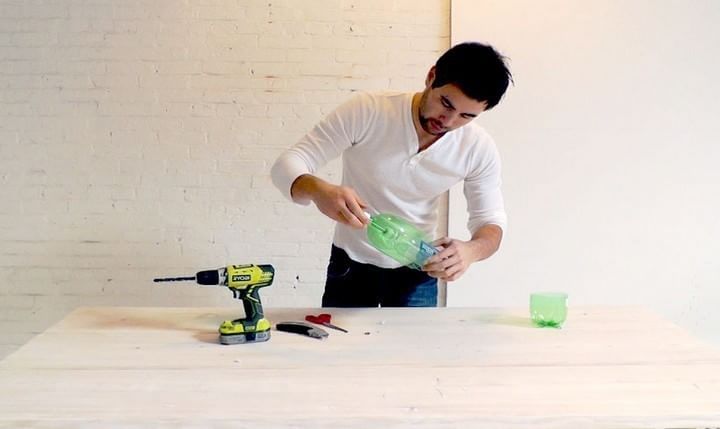
- From the tools, we are as follows: scissors, nippers, a drill or a screwdriver, a small spatula or spoon (it will be needed to stir the solution), a knife suitable for kneading a cement mortar with a capacity and a rag (the latter is necessary for wiping hands).
When everything you need is at our hands, we start work!
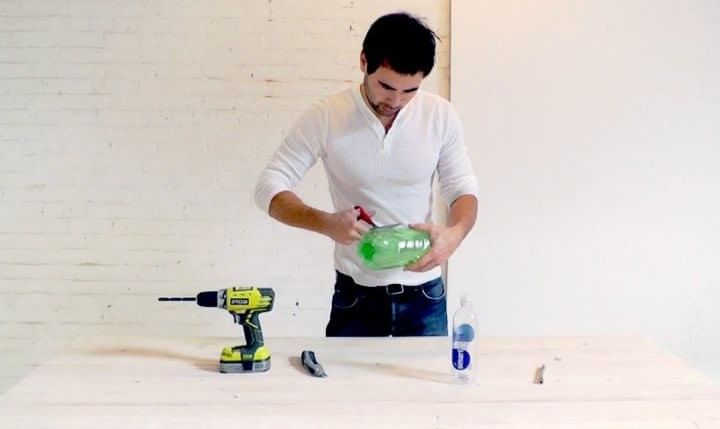
- We get rid of the bottom of the big bottle. We make a hole in the lids (it is better to immediately put them on the neck of the bottle) strictly in the center. The size of the hole should correspond to the thickness of the tube, which will be located inside.
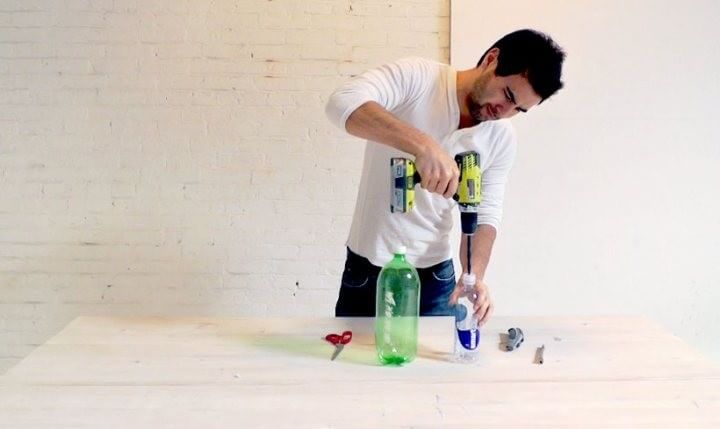
- We fix the tube on the lid of a small bottle. We put a small bottle in a large, so that the design is obtained, as in the photo.
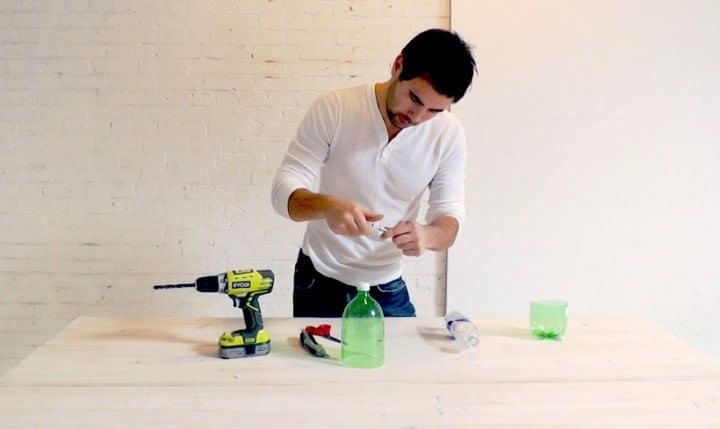
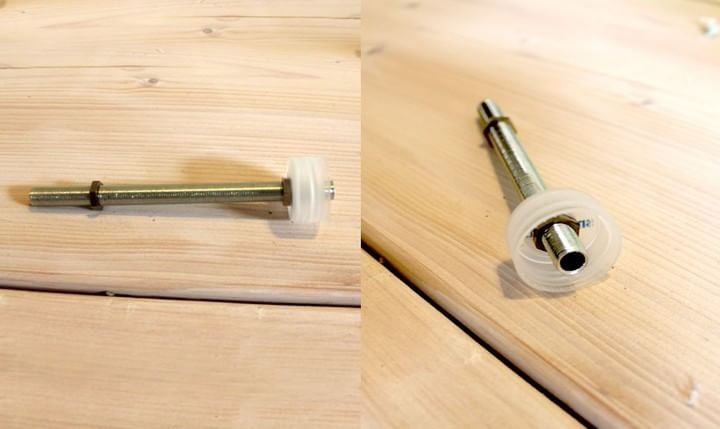
- We fix the side sides of the bottles with the help of screws to avoid displacement.
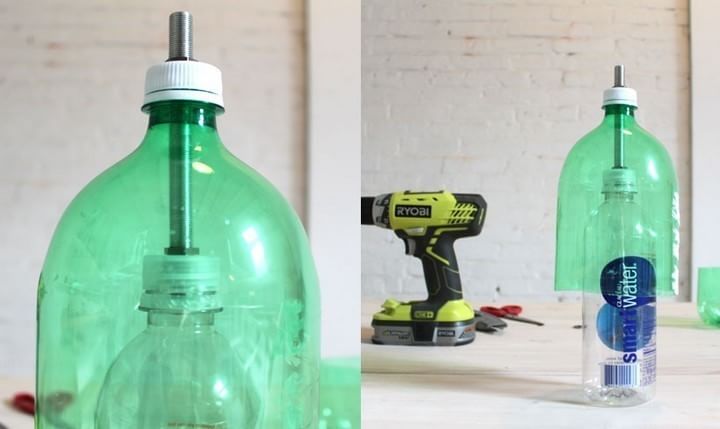
- Cook the cement mortar and fill the shape of the bottles. Periodically, as the form is filled with a solution of cement, it is necessary to shake the structure. Thus, the uniform distribution of the cement mixture is ensured and air bubbles come out. If necessary, we use a stick to stir the mixture inside the form.
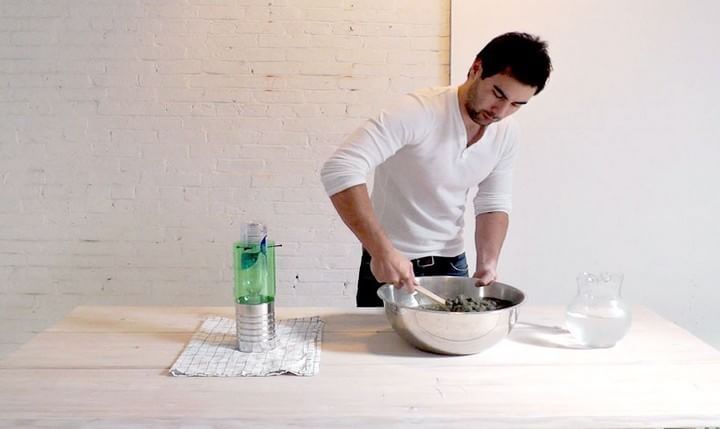
Important: To obtain the effect of the smooth surface of the lamp, use the cement mixture. From a solution of liquid consistency, a loose structure is obtained.
- After raming the cement mixture inside the form, remove the screws. Once again, we will trim the contents of the shape with a small bottle.
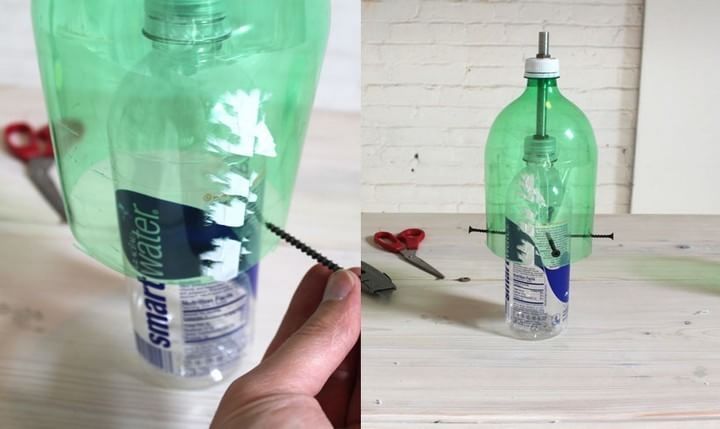
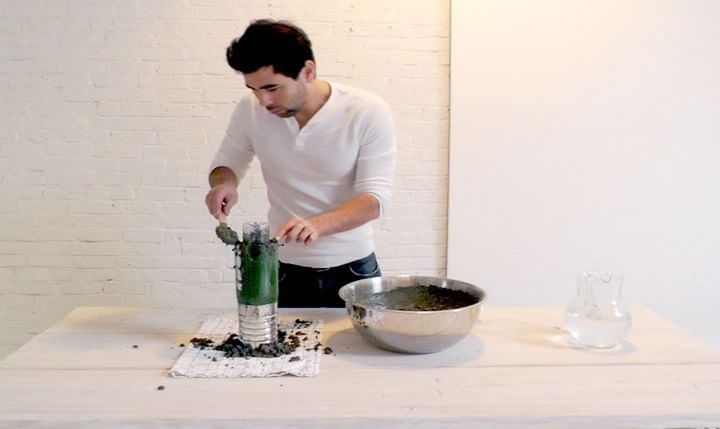
- We make sure that the center of the structure does not shift. We form the edge of the product (make it even or asymmetric depending on the idea).
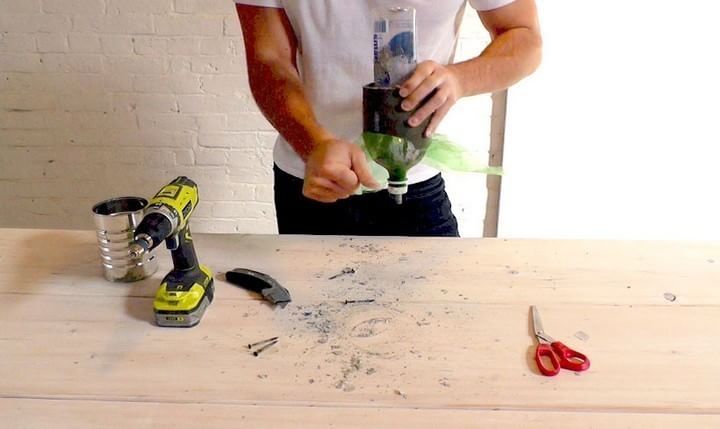
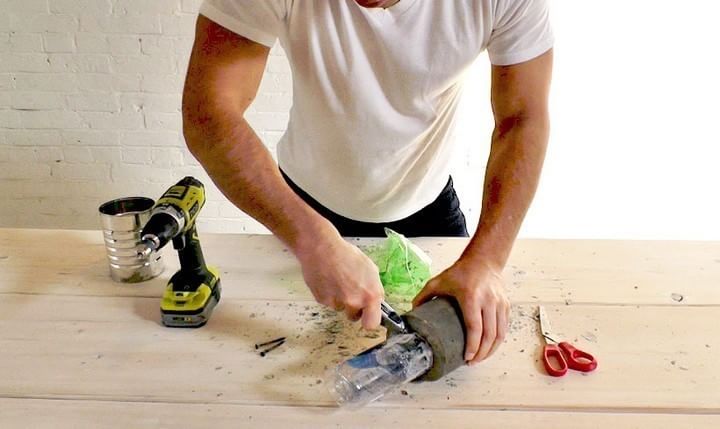
- When the cement mixture dries a little and keeps the shape, you can remove a small bottle. But you need to act carefully, otherwise there is a risk of damaging a fragile lampshade. When the cement mixture finally freezes, we remove a large bottle.
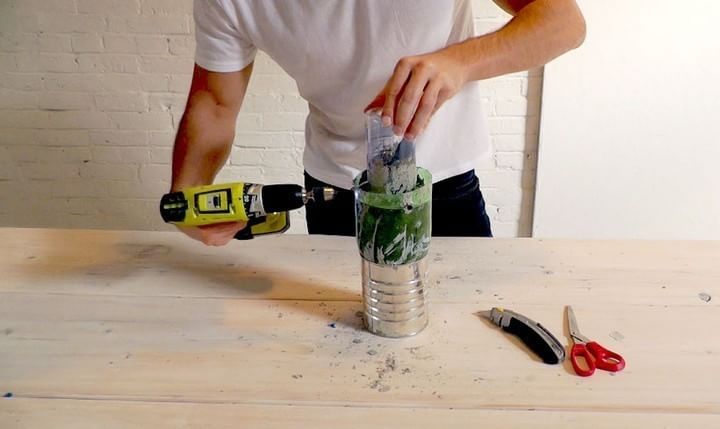
- We align the edges of the product with sandpaper.
- We spread the wire with the cartridge into the ceiling. We assemble the remaining components of the lamp. Turn on the lamp and admire the work.
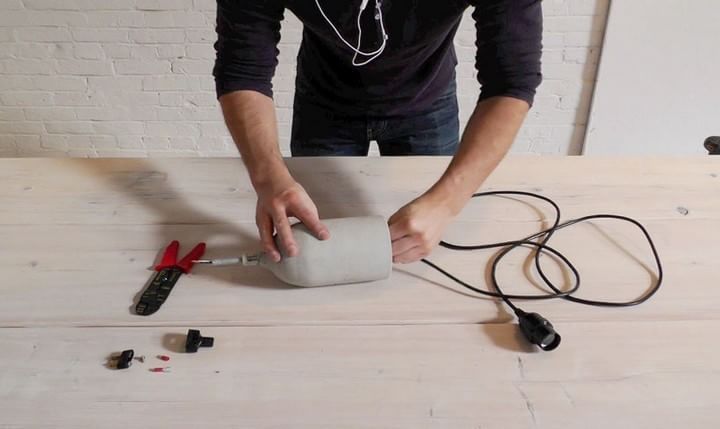
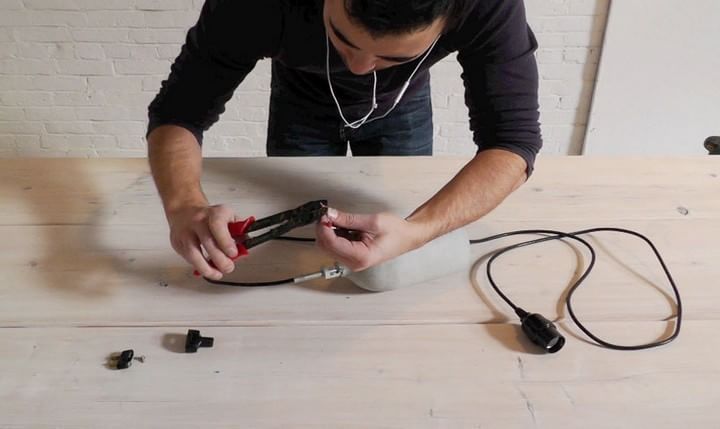
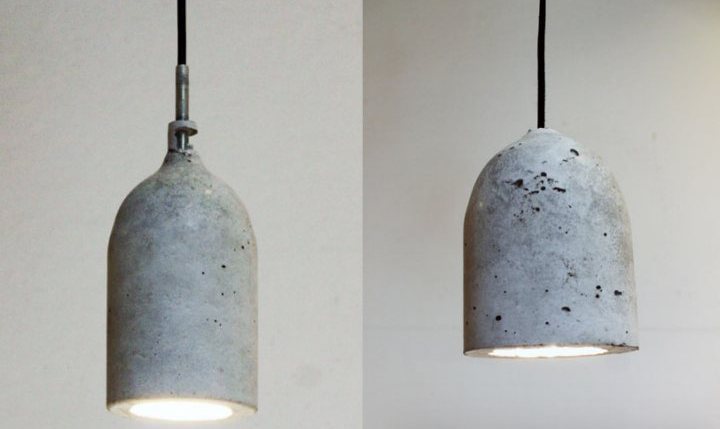
Video: Cement Loft Light Lamp
DIY Biocemine of Cement: Description of manufacturing
For lovers of open fire in the garden, in the country or even on the desktop, we offer to get acquainted with the secrets of making a small bio -stone from cement.

For work, you will need an affordable and resistant cement to atmospheric influences. As a fuel in the biofigamin, we will use a special gel. The duration of the burning of fire in the fireplace is about 30 minutes.
What will be needed for work:
- Cement
- suitable round container for pouring cement mixture
- two bowls for pouring a mixture of different sizes - large (for the formation of the base of the fireplace) and smaller (for the formation of the internal wall of the fireplace)
- spatula or spoon for stirring the cement mixture
- putty knife
- working gloves and protective glasses that are necessary when working with cement
- pebbles or decorative pebbles
- sandpaper
- gel fuel for the fireplace
- ground grille

For internal use, we select a stainless steel container. Outside, we will use the press form a bowl. We spray the containers with an anti -stick spray for easy extraction of finished cement products from shapes.
- We prepare a solution of cement. We take more cement more so that later you do not have to house at the final stage. We dilute the cement with water until the solution acquires a test -shaped consistency.


- We take the spatula and with it fill the container with a solution of cement. When the bowl is filled with the mixture half, lay the shape of a smaller size inside. We look at how much the mixture rises.
- We continue to fill the inner bowl with a solution of cement, not forgetting to monitor the anti -stick layer. If the latter disappears, then spray the bowl with a spray again. Next, we tap the heavy object along the outer walls of a large bowl, thus getting rid of air bubbles.
- When the cement hardens, we remove the forms. If the container holds tightly, then you can knock in shape with a rubber hammer. The process of release from forms should be started with the inner bowl. After that, carefully remove the external.

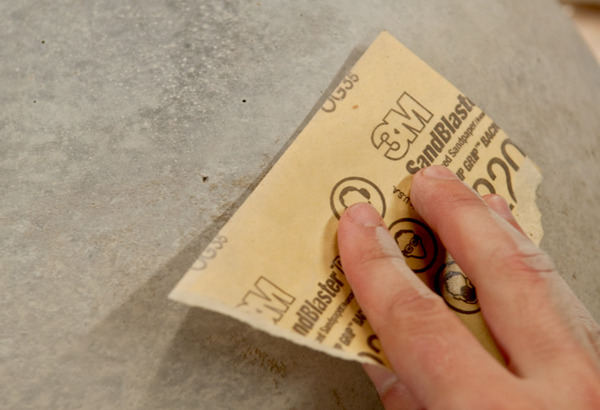
- Using coarse -grained sandpaper, we clean the upper edge of the resulting capacity and process the rounded profile. This work is best done in protective glasses, a protective mask and gloves, since there will be a lot of dust.
- Do not try to grind the concrete container very much. Just remove the irregularities and selectively walk the sandpaper of fine granularity along the internal wall of the container.
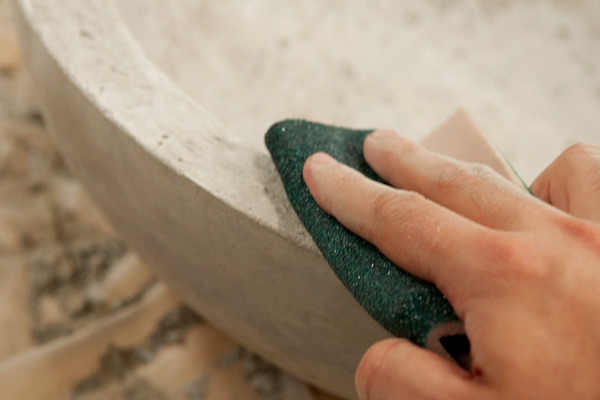
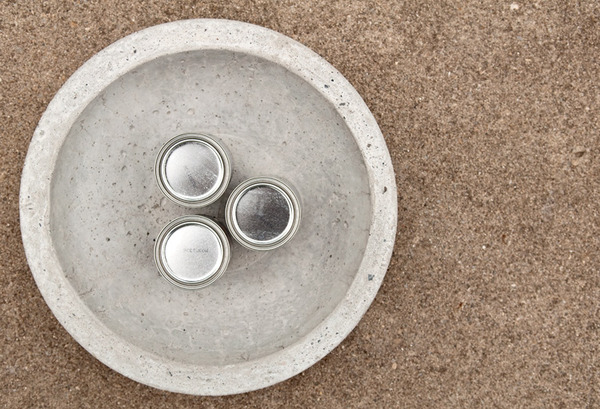


- If you are going to use a fireplace in the fresh air, then take a container from cement to the street. We place the fuel canisters with gel inside the cement bowl inside. We lay the grill grill on top. Pour pebbles or decorative pebbles onto the grate. We set fire to and rejoice in a living fire, a super-romantic atmosphere created by yourself.

DIY loft -style cement table: Description of the manufacturing process
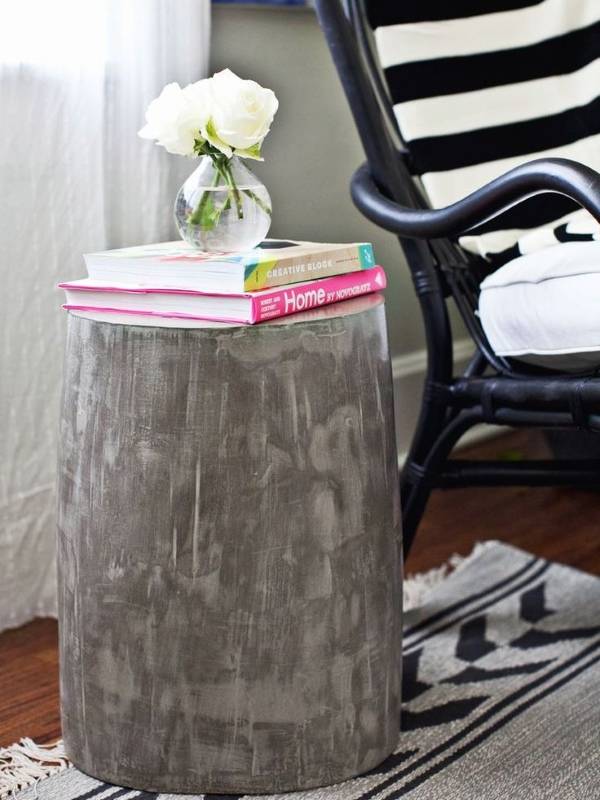
A homemade cement table, a countertop or a small coffee table will fit perfectly into a minimalist interior or diversify a room decorated in the boho style. It is not difficult to make a table out of cement, but you will have to make more efforts than in the manufacture of small accessories for the home.
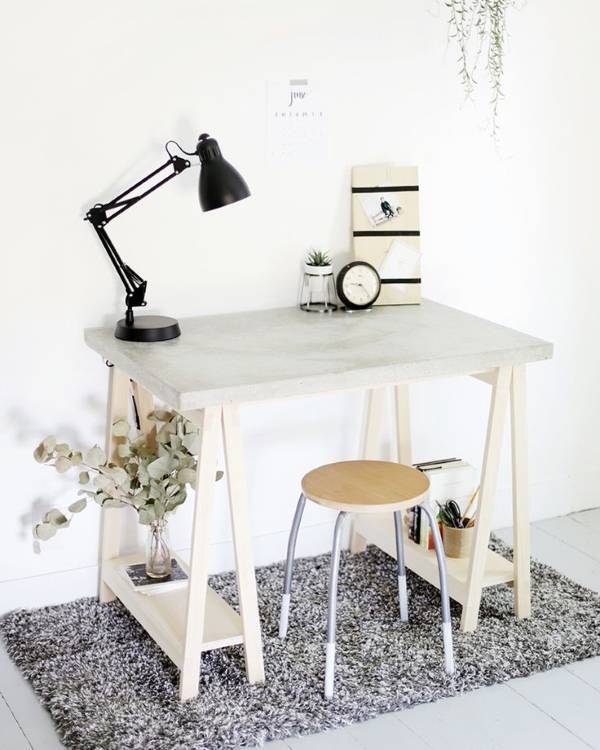
- For the manufacture of the table, you will need a suitable form for pouring a cement mortar. If you are going to do something small, but there is no plastic container or container of the desired shape, then you can use dense cardboard for the base. This material is easily removed from the surface of the finished concrete product. Another advantage of cardboard is that with it you can make any form you like.
- It is enough to draw the details on the cardboard, cut them and connect the joints with tape. For a larger product, you will have to look for another method for making a form.


Video: cement countertop
Video: We make a table from cement with our own hands
Cement solution: features and nuances of work
The garden plot can be decorated with interesting flower pots, miniature figures of fairy tales heroes, cartoons or hipperreal areas of wildlife, created in their own plan from water and cement. The cement in the work is not capricious, but sometimes there are difficulties in the manufacture of cement garden decor. That is why we propose to get acquainted with some rules, following which will ensure the quality and durability of cement products.
How to prepare a solution of cement?
- To prepare a solution of cement, you will need construction sand, water, tile glue and cement. You can do without glue, but it is this ingredient that makes the mixture plastic and reduces the risk of microcracks.
- The proportions for the mixture from cement are as follows: cement - 1 part, sand - 1 part, glue - 1 part. All components are mixed and added in a small amount of water until the mixture acquires the desired texture. The mixture should resemble a thick sour cream in consistency so that the cement does not crack and remain plastic.
- For complete drying of the cement figure, it will take at least a day. But if the product is large, then you will have to wait a week until it dries completely. To avoid the appearance of cracks on the surface of the product during the drying process, it must be covered with polyethylene.
- The first layer of paint or varnish is applied after the figure is covered with a primer. Only on a dried layer of primer can the product be covered with paint.
Important: if there are roughnesses, irregularities, the product needs to be finalized - fade.
- For the manufacture of garden figures, gypsum is also used. The structure of the finished product resembles a cement - durable, has a similar decorative surface. But the gypsum figure wins a comparison with a cement in plasticity and decorativeness. Gypsum products are usually hollow inside (if we are talking about garden figures) and molding (sculptural), acrylic and architectural types of gypsum are better for making such figures.
- A solution of gypsum freezes very quickly. This should be taken into account in the process of work. Sometimes gypsum is mixed with cement for additional strength of garden figures.
Garden figures from cement with your own hands: master classes
If you are the happy owner of a summer cottage, then you will certainly want to make spring or summer updates there. Agree, it will be so nice to then watch a cup of tea or cranberry fruit drinks how the wildflowers are swaying from a light breeze, planted next to your original figure or collect compliments from relatives and acquaintances to your work from concrete, organically inscribed in the surrounding environment.
- In order for the transformation of the summer cottage does the family budget do not affect, we propose to equip it with decorative elements from budget materials. Concrete products are durable, they look original, and their alteration and repainting is carried out for half an hour, because the onset of the new season your garden figure will meet the renewed and fully meet your inner sensations.
- Garden figures made of concrete are resistant to sunlight and other natural phenomena. They are not afraid of either frost, nor hail, nor direct sunlight or rains. Cement and gypsum are available materials that can be bought at the nearest construction store.
Video: Cement Garden Decorations
Video: DIY cement crafts
Garden figures from cement for beginners: ideas, step -by -step description
If you do not have experience in making decor elements from cement, then start with simple forms that do not require modeling skills. For simple products, it is also not necessary to achieve a certain structure of the cement mixture. For example, you can make cute mushrooms, or decorate the garden area with original cement casper.
Cement fungus to decorate the garden: how to do it?
- For the manufacture of a mushroom hat, a rubber ball will be needed. We will make the leg from a plastic bottle. The hat on the leg is attached with a metal rod. We cut the ball along the central line.
- We lay the half of the ball on the sand poured into a bucket and pressed a little.
- We prepare a solution of cement and fill the half of the ball with the finished mixture, level the surface.
We make the base of the mushroom from the bottle, removing the bottom and neck. We lay the bottle prepared earlier on top of the ball half filled with cement mortar, allowing us to immerse us a few centimeters. - We lower the iron twig inside the bottle. Thus, we will connect the upper part with the bottom or leg with a hat. Pour cement into the cavity of the bottle.

- There will be a few days to harden such a product. Only after completely solidified can you remove the soulmate of the ball and cut the base for the legs from a plastic bottle.
- A few days later, it will be possible to start painting the mushroom and applying decor in the form of decorative elements. If the dimensions of the site allow, then you can "grow" a small mushroom clearing. And if you wish, to continue decorating the garden with cement mushrooms, you can apply other weaves known to you or found in the vast expanses of the World Wallets.
Video: Garden figures - cement mushrooms
Video: Garden caterpillar from cement
Cement ball: how to do it?
- The cement ball looks light and airy. You can make it in half an hour, provided that you will prepare all the necessary materials in advance. The basis for openwork cement decor will be a balloon. The size of the finished cement product will depend on the size of the balloon. A rope is immersed in a solution of cement and a balloon is wrapped in arbitrary order.
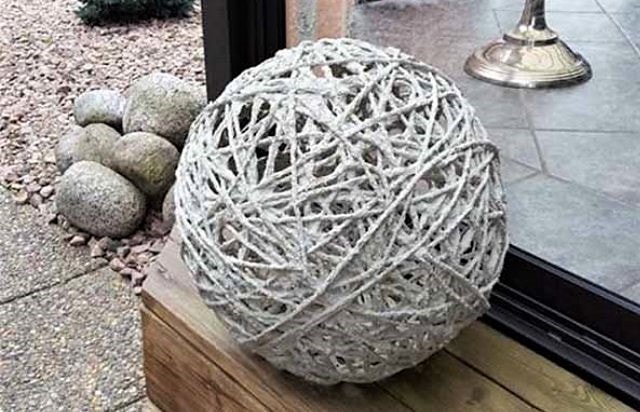
Important: In the process of manufacturing the figure, the balloon should be seen through the walls of the rope, so that later, after the cement is completely frozen, it was possible to extract the remaining pieces of the bursting ball. A completely dried product is covered with acrylic paint. But you can leave a ball without additional coloring. In their natural color, cement products look no less interesting and intriguing among garden greenery.
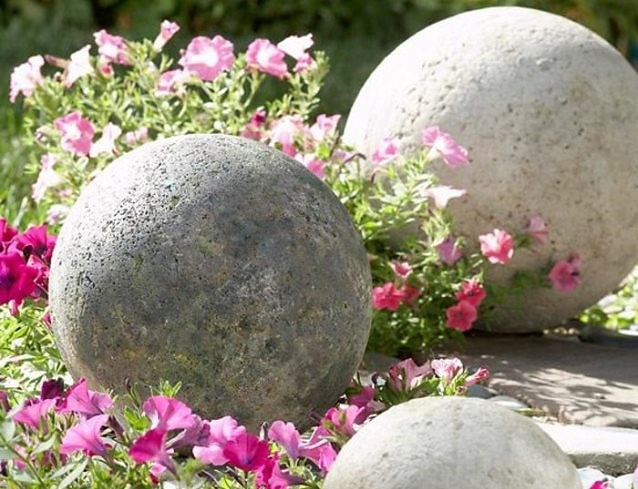
Interesting: If there are not enough flashlights on your garden plot or I want to decorate the territory with round floral pots, then it is worth adding a little gypsum to the cement mixture. This will speed up the solidification process.
In the manufacture of a vase for dried flowers from cement using a balloon, the paint is applied on both sides - from the external and from the internal.
Video: DIY cement figures
Video: Garden figure from cement and old clothes
DIY jewelry from cement: photo, description
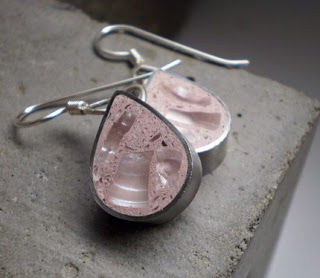
You can create jewelry from cement. Today they are popular. Such jewelry will not remain for centuries (although this is possible), but they will attract attention to you in any case. What is needed in order for the figure that you are going to make as a decoration, the first time?
- We use not too thin molds for pouring cement, otherwise the product will simply crumble
- We prepare a cement solution strictly according to the recipe (it is voiced in the video presented below)
- The cement is diluted with a plasticizer or added more water (this will relieve cracks and give smoothness to the product): you need to spray the mass in the mold with a spray gun or cover the shape until it is completely hardened with a wet towel
- Furniture for jewelry is placed inside the form immediately after pouring cement.
