The regiment is just an indispensable thing in the interior of the apartment. It is convenient for accommodating books, flowers, toys, dishes - in a word, many household items.
Contents
- How to make a beautiful shelf on the wall with your own hands: instructions, manufacturing scheme
- Wooden shelves on the wall with your own hands: design ideas, photo
- With your own hands for the microwave on the wall: design ideas, photo
- Original shelves for flowers on the wall: design ideas, photo
- With a do -it -yourself shelf on the wall with your own hands: design ideas, photo
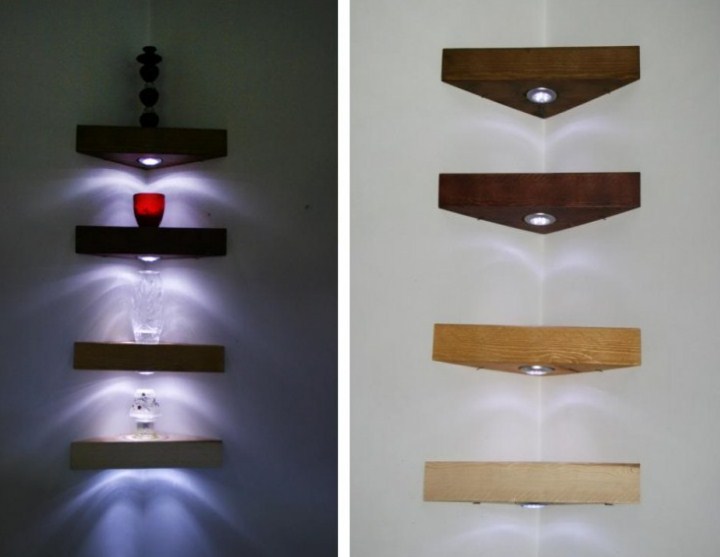
- Corner shelves on the wall with your own hands: design ideas, photo
- Book shelf on the wall with your own hands: design ideas, photo
- Do -it -yourself cat shelves for cats: design ideas, photo
- Hanging shelves on the wall with your own hands: design ideas, photo
- Shelves on the wall for equipment, with your own hands: design ideas, photo
- Figure shelves on the wall with your own hands: design ideas, photo
- Video: original shelves with your own hands
In addition, the regiment itself can serve as an excellent decoration of space, because it can be any, the most bizarre and original shape, match the texture and color of the other furniture. And it costs relatively little, besides it is very easy to make it with your own hands.
How to make a beautiful shelf on the wall with your own hands: instructions, manufacturing scheme
- How to make a shelf on the wall? First you need to choose the right raw material - smooth, without damage and spots, not damaged by mold with a board 16 mm thick. Then we stock up with a grinding machine, a drill and a hacksaw, a pencil and a ruler, a building level, we select varnish and stain. At the final stage of the creation, fasteners (dowels, brackets, self -tapping screws) will be needed.
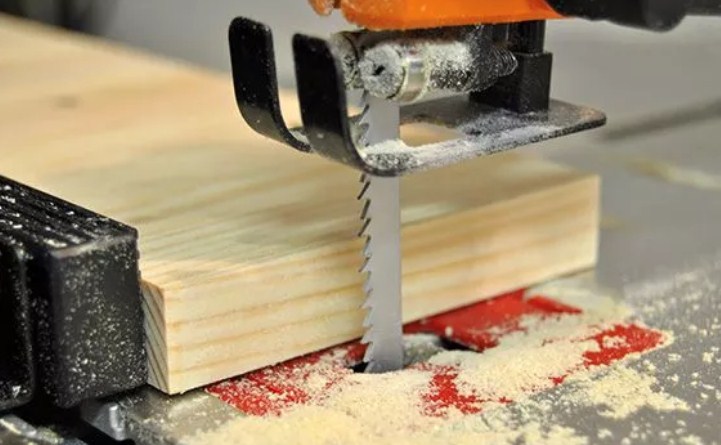
- Start with marking. We take it the width of the shelf on the wall is 25 cm, a height of 30 cm and the length is 1.1 m. Then the height of the lateral faces should be taken 26.8 cm, since two more thicknesses of the board and an indicator of the height of the wall will be added. We mark the boards and proceed to their sawing. It is better to do this with an electrician, in this case, the sections of the slices will look even and neatly. After the saw, two long and short boards will come out.
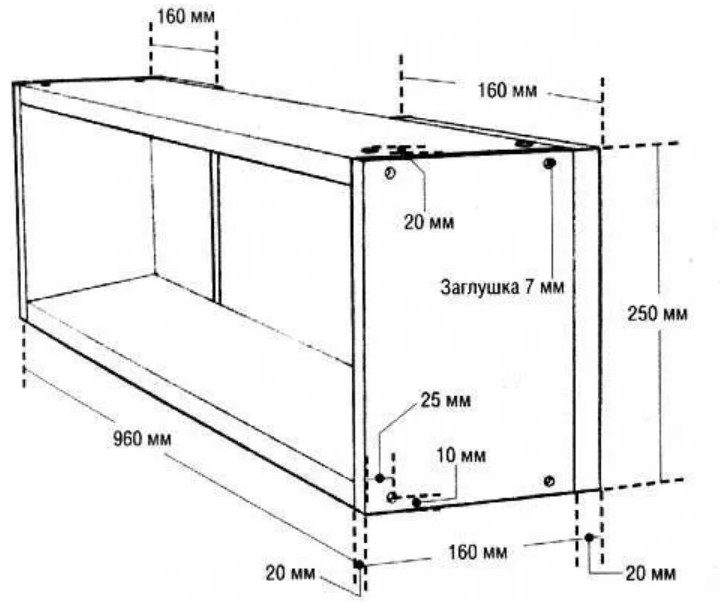
- Then each of the parts is necessary pour and processand also apply on the surface mary and varnish. If you want to cover the shelf with paint, you should first apply an antiseptic primer on it, which will contribute to the fact that the paint will fall evenly and the service life of the product will increase.
- Well, now the assembly process is directly: we put a board on the table, which will serve as the lower part of the shelf, and, retreating 8 mm, in the direction parallel to the cut, draw two lines. Retreating 5 cm from the edges, exactly on these the lines are drilling holes for screws. We repeat the same process and for the upper part of our shelf. And now you need to install future on the lower board side parts and screw with self -tapping screws. It remains to fix the upper part of the shelf in the same way.
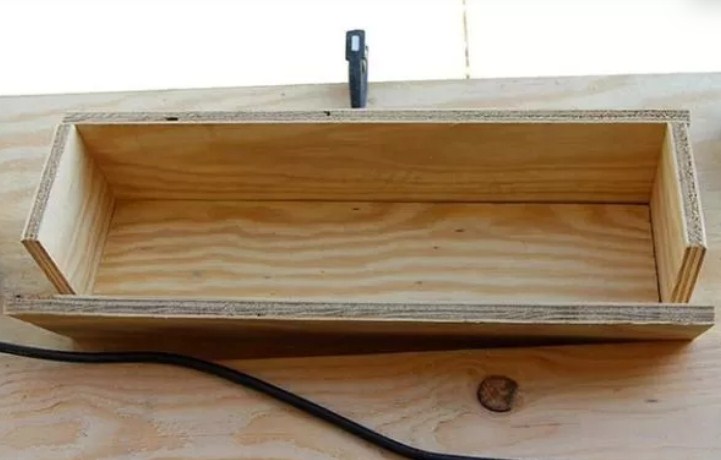
- The shelf itself is ready. To fasten it on the wall, you need on the end parts, fix the brackets, And for dowels, using the level for a strictly horizontal position, drill holes in the place of the wall where the regiment will be attached. Insert self-tapping screws and tighten them so that they protrude somewhere by half a centimeter.
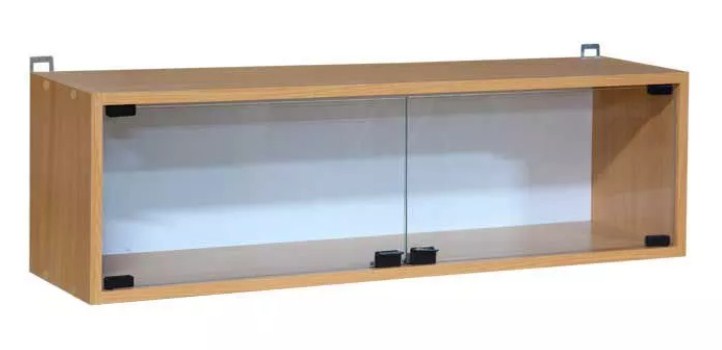
- We catch the brackets on screws and hang our shelf. The product made by your own hands is ready for use - fill out at your discretion. You can also glance the shelf from the front, and close the back with plywood.
Wooden shelves on the wall with your own hands: design ideas, photo
- How to make a wooden shelf, we already find out, now imagine what design they can have.
- Depending on what you plan to intend to intend the shelf on the wall (souvenirs or hats with scarves, dishes or books, cosmetics or personal hygiene items), it will depend both in which of the premises it will be (kitchen, bathroom, hallway, children's room), and its design.
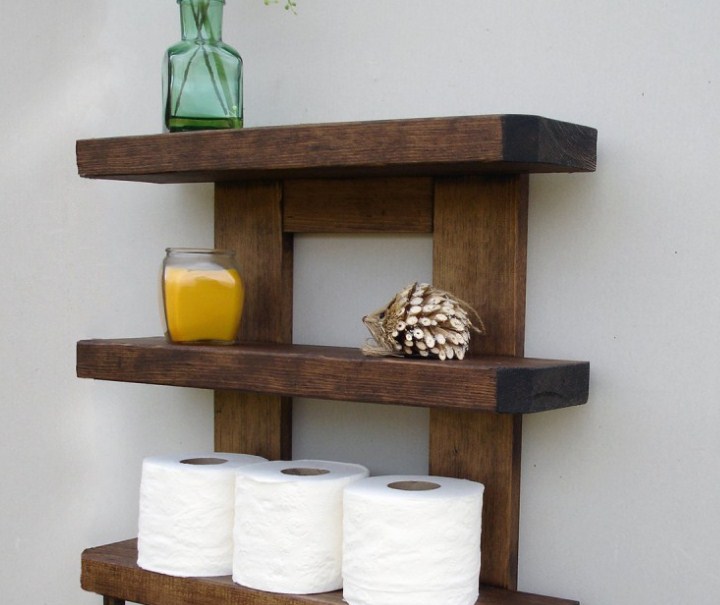
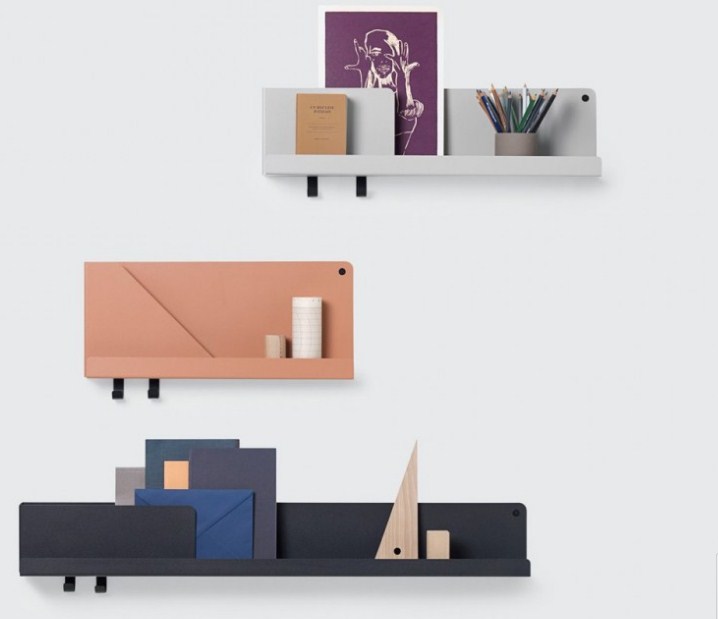
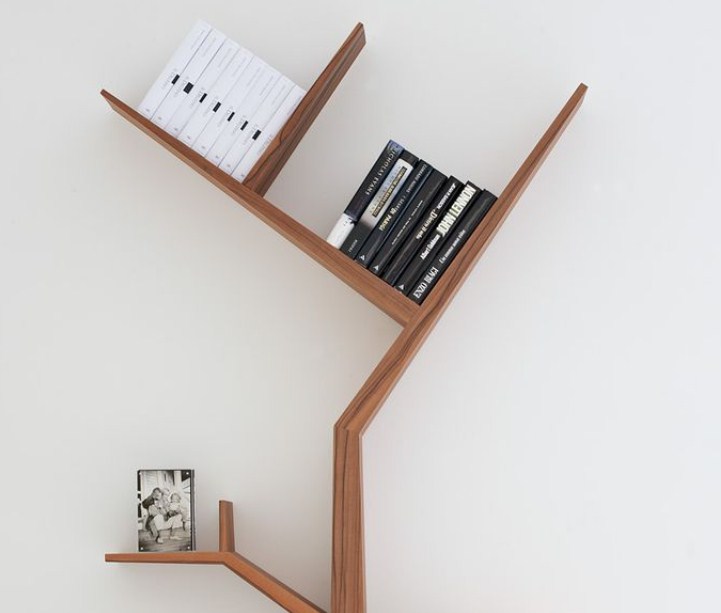
- Shelves can be open and closed, straight or corner, They can have a back wall, and can be “through”, and also look like a console rack. The corners of the shelf can be made ordinary, straight, and if desired, it can be rounded, giving softness to the entire product.
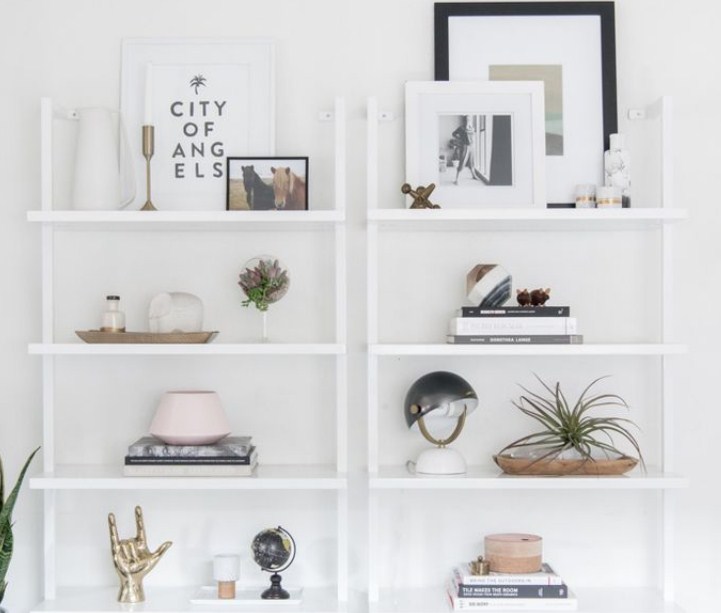
- The most diverse geometric forms given by the shelves, their multi -level - all this is determined based on the purpose of the product. When creating a shelf, it is also necessary to pay attention to the selection of fasteners corresponding to the weight of the objects placed on it.
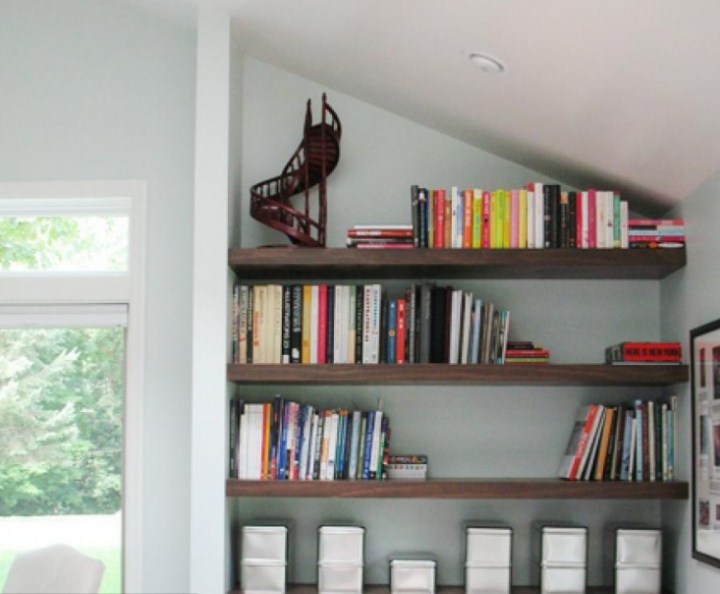
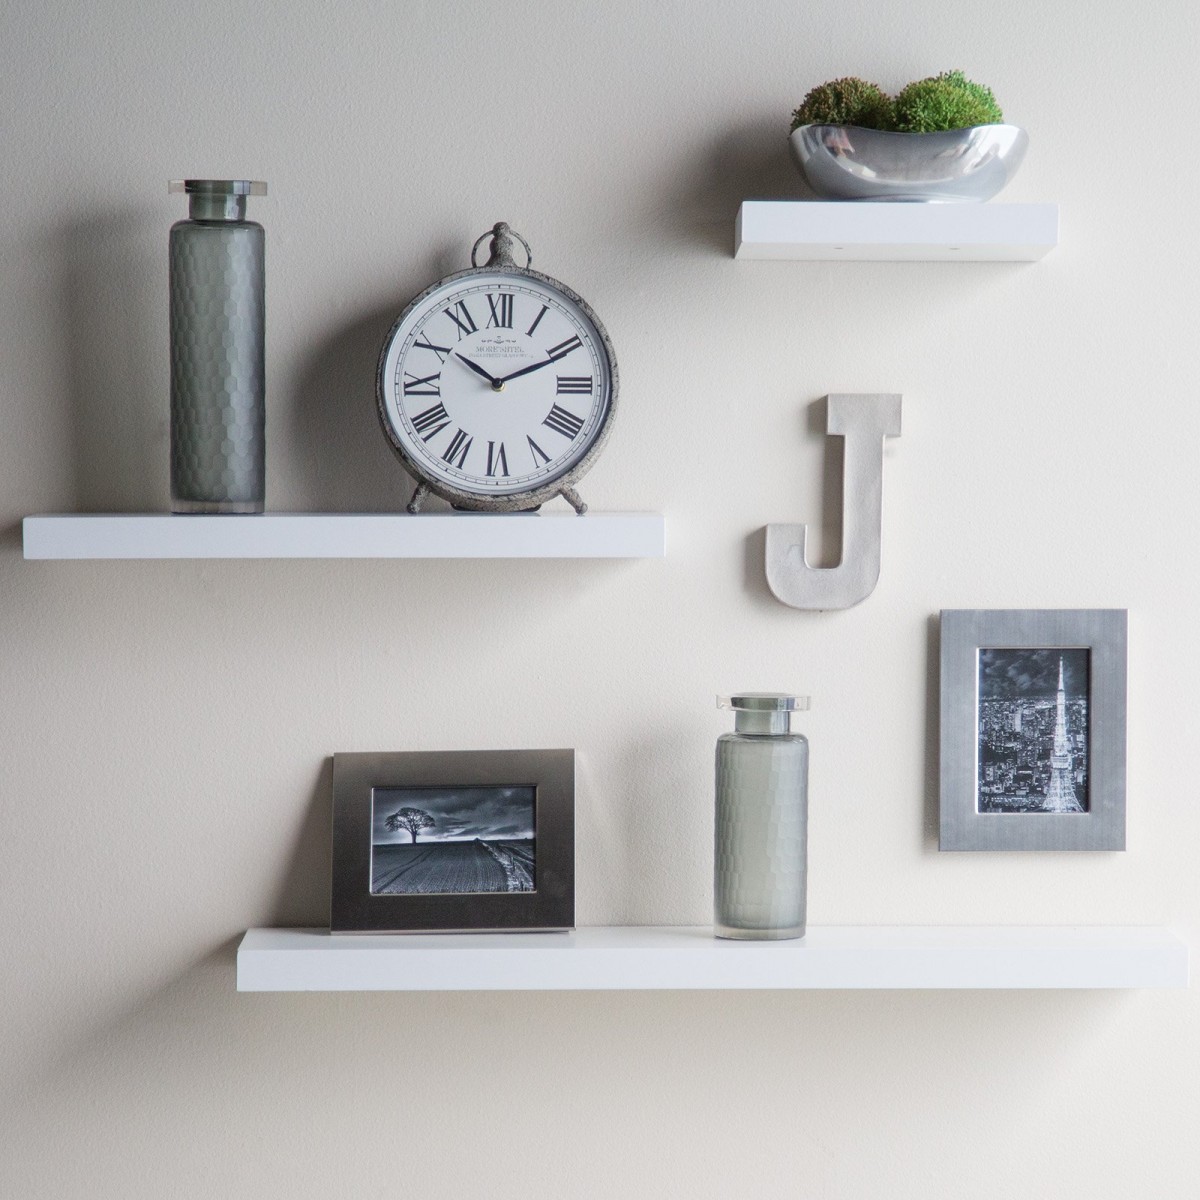
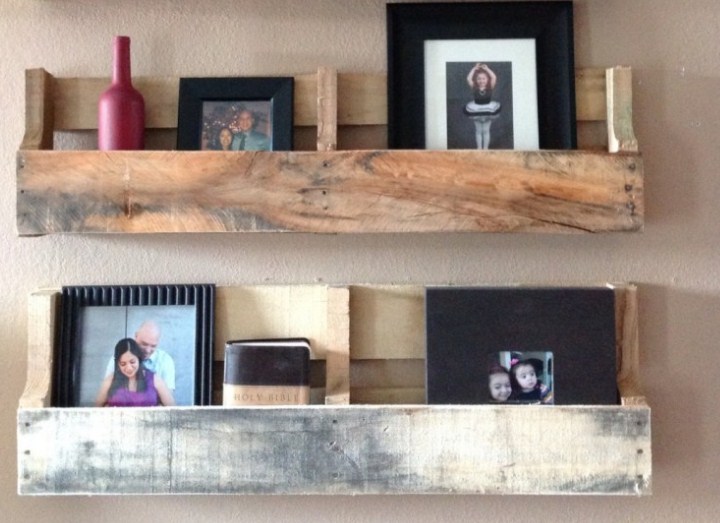
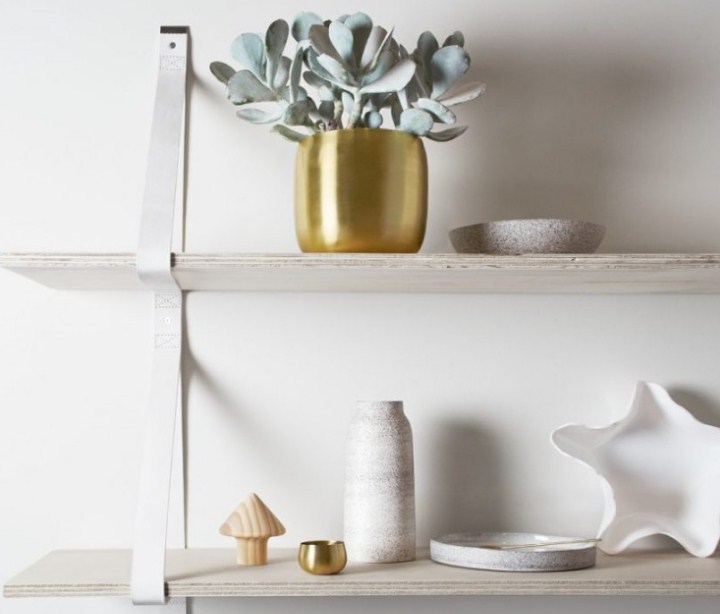
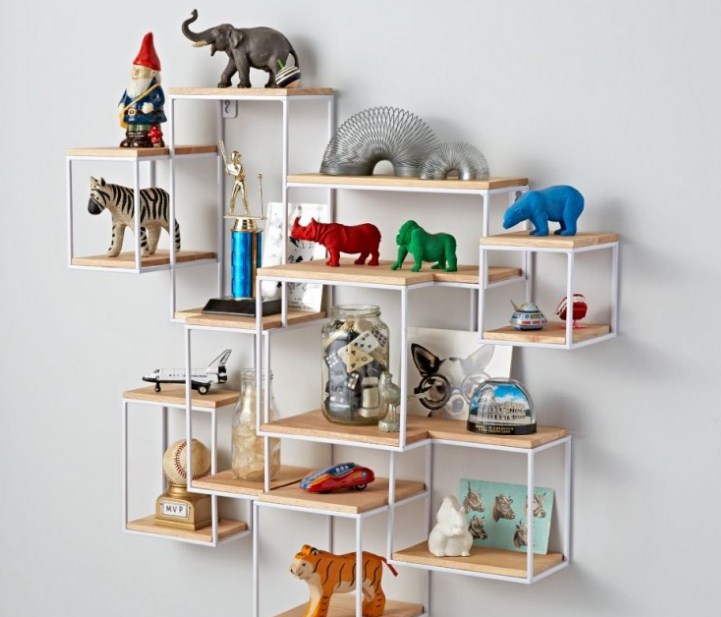
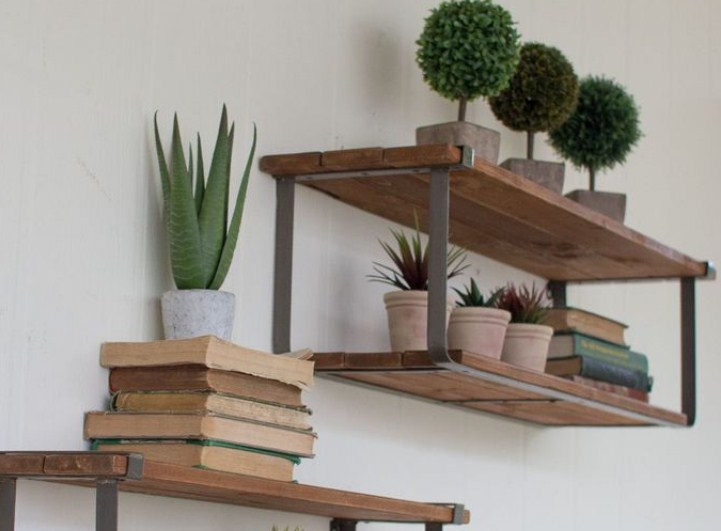
- The most popular and reliable, of course, are wooden shelves, although the material for them can be the most different - from glass and metal to mirrors and plastic. All this, coupled with the original shape, makes the shelf the subject no longer furniture, but the decor of the room. Such elements as fastenings serve as this: you can use not only standard fasteners from dowels and screws, But also supplement the design with ropes, belts, weave cords by macrama.
- And if you do from wood only the upper and lower parts of the shelf, and for the side you use art forging - Your regiment will become almost a work of art.
With your own hands for the microwave on the wall: design ideas, photo
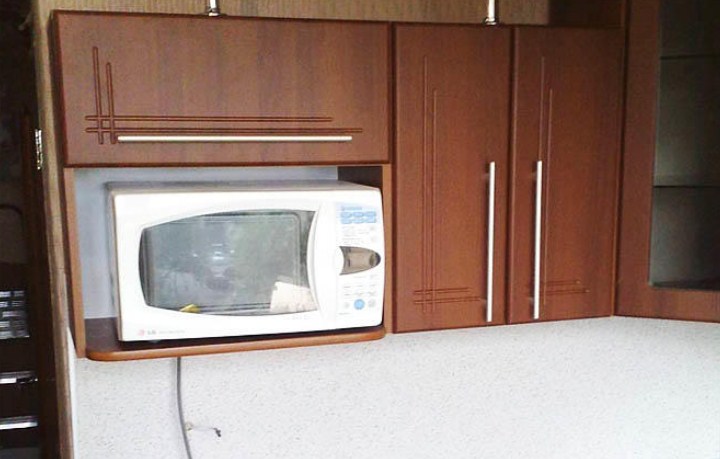
- Placement of a microwave on the wall - One of the most successful solutions, since it saves space in small kitchens, is convenient in practical application, and also stylishly. If you make such a shelf with your own hands, it will literally be an exclusive product.
- The shelf can serve bracket for accommodation of household appliances, rack, you can apply the suspension shelf by making its open or closed, The main thing is that air access is provided and the stove does not overheat. The most important thing is to correctly determine the place for the shelf so that it does not interfere with the movement, and choose a fairly strong material for manufacturing.
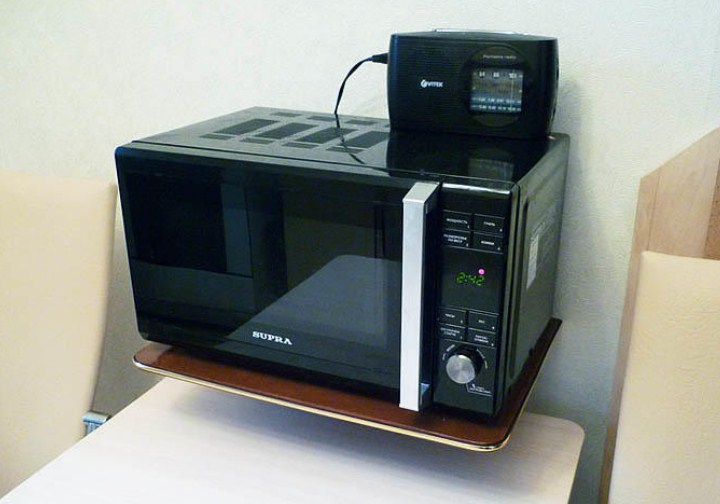
- Speaking about wooden shelves on the wall for the microwave, then for their manufacture you can take an ordinary wooden board or a furniture shield, and with the help of simple tools that each owner has, create a place for a household appliance. For example, the microwave can be placed using standard shelves for cabinets or converting the upper hinged kitchen cabinet for this. In addition, the shelf can be arranged from brackets - this is perhaps the easiest the variant of the microwave, And in the case, if you put the device directly on them, and when the regiment is installed on them at first.
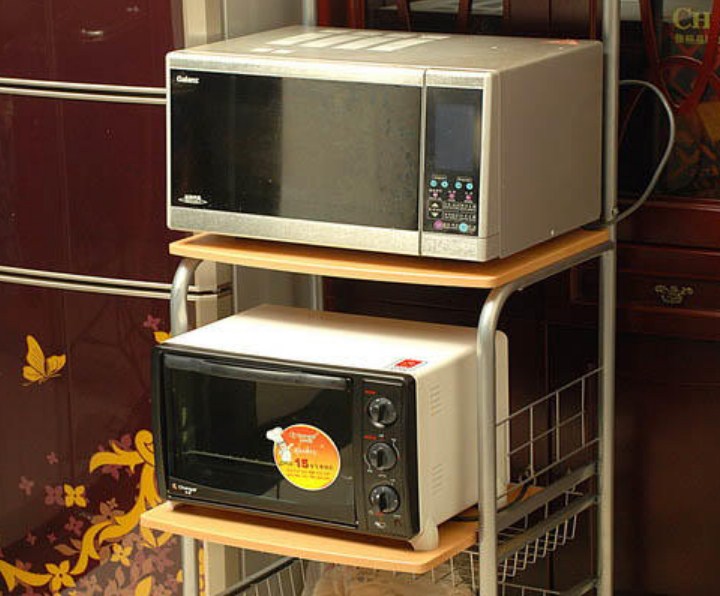
- An interesting option is a storyteller on which you can place not only the microwave, but also other household appliances. Moreover, you can design with your own hands not only the usual wooden shelf, but also metal, which has a more “light” look, and in reliability, perhaps even surpasses the latter. In addition, it is more ventilated and easy to move.
- To make shelf-older, It is only necessary three boards, metal rods, flanges for them and corners. We fasten the flanges on both sides to the board, which will be medium, having previously drilled holes in it. Then we cut the same segments from the bar and fix it on the flanges. Then we fasten the shelves with each other, using the corners in their posterior part, and when attaching to the wall we use self -cuts on the corners.
Original shelves for flowers on the wall: design ideas, photo
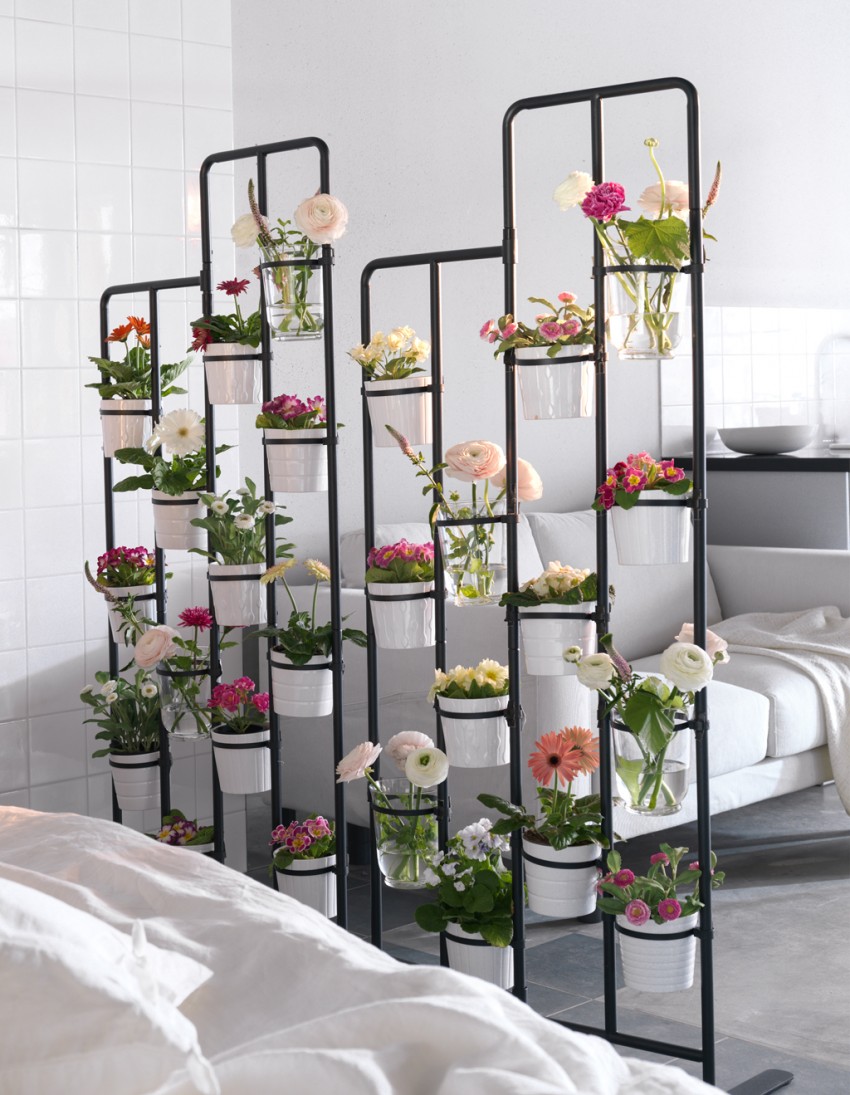
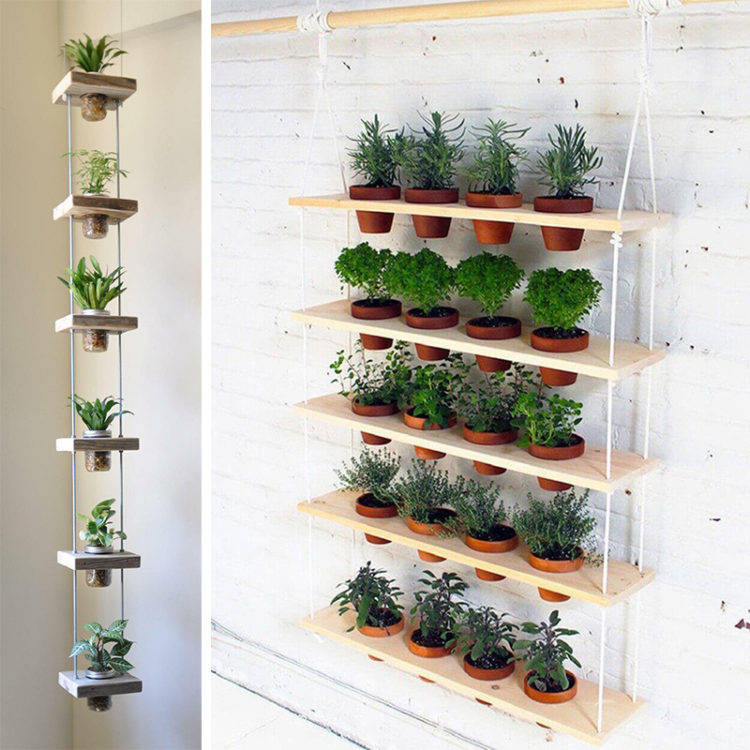
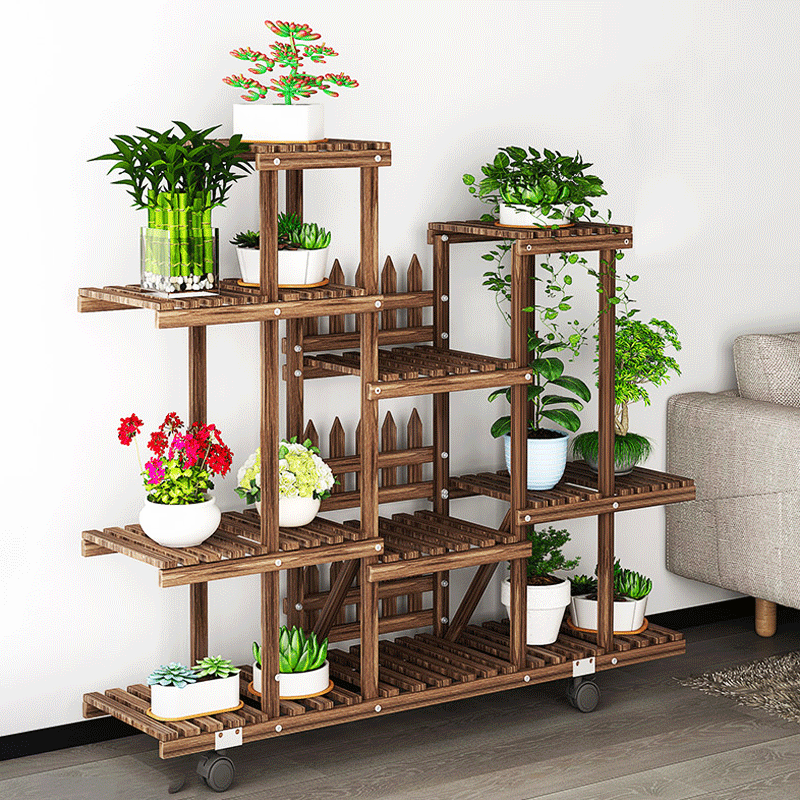
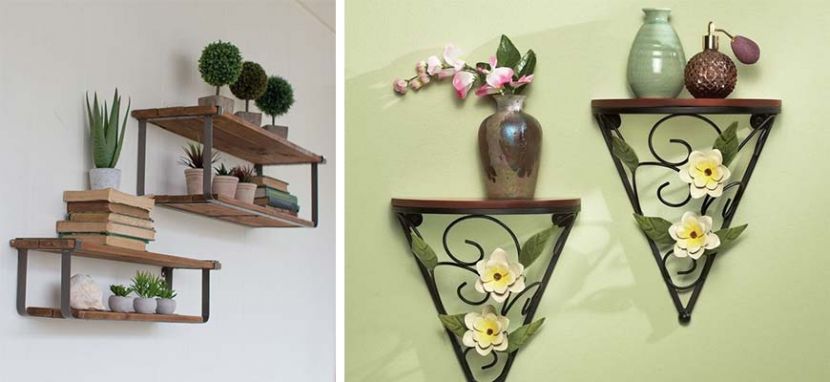
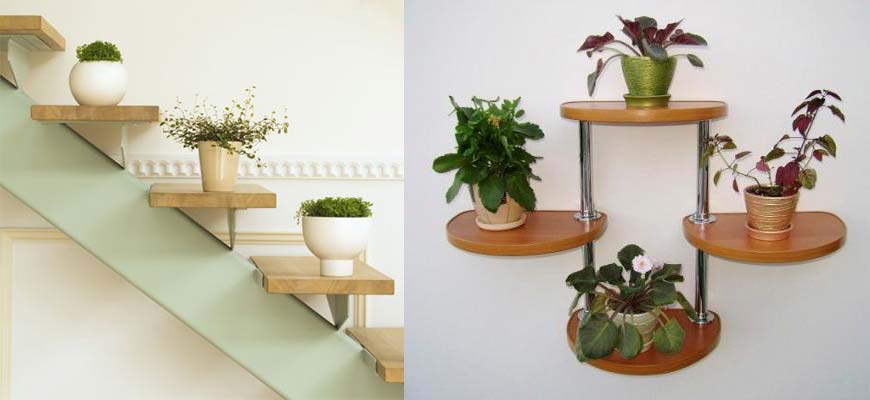
- There are no many flowers - many housewives will agree with this, and therefore they can be arranged not only on the usual window sills, but also on the shelves, which can be upholstered, floor, suspended; differ in a direct or figure shape, the number of levels and the provided places. The corner format is considered more pragmatic, since it is most effective regarding space saving. Traditionally, hanging shelves are most advantageously represented - and there are many such nuances.
- Concerning materials for floral shelves on the wall, then depending on the weight that you are going to put on it, it may be plastic, plywood, glass, Metal and, of course, a tree. The easiest material in work is, of course, a plywood suitable for cutting figures of various shapes and sizes. You need to create a drawing of your shelf in natural sizes on paper and transfer the sketch to a sheet of plywood, and then cut it. The easiest way to apply for this is the jigsaw, and then with sandpaper walk along the cut lines, cleaning them.
- So that the plywood does not pass moisture, it should be treated with a protective agent, and after drying, open it with varnish. You can create any decor using self -adhesive, paints, any natural materials and accessories. It remains to fix the structure on the wall using corners and metal brackets.
- In the same way, you can assemble a shelf to place it on the window, fixed on the slopes, such shelves can be placed Cascade on both windows and walls. The corner shelf can be created from any material by cutting out the main surface, for example, from chipboard, decorating and fixing on the wall. The most durable will be wooden shelfto which you can give any configuration and it will fix metal corners. You can use for fastening and belts fixed on the wall - in them simply put a processed board in them, thus receiving a suspended shelf for flowers.
- Glass shelves You can also place on the wall, the main condition is that the glass should be thick and hardened, To withstand the weight of flower pots. Combining materials (say, a wooden base with a forged frame), you will get an unusual and very beautiful shelf, and besides, it is quite reliable. Use natural materials - snags, tree branches, decorate with ribbons, in a word, fantasize. And in order for the regiment to be illuminated, when processing the base, pour it with polyester resins, in which the pigments that have fluorescent properties should be added.


With a do -it -yourself shelf on the wall with your own hands: design ideas, photo
- If you decide to do suspended shelf on the wall, then take care first of all about her reliability. The wall shelf is convenient for use, the angular option is often used. It is more difficult for independent execution bracketBut still, this can be mastered.
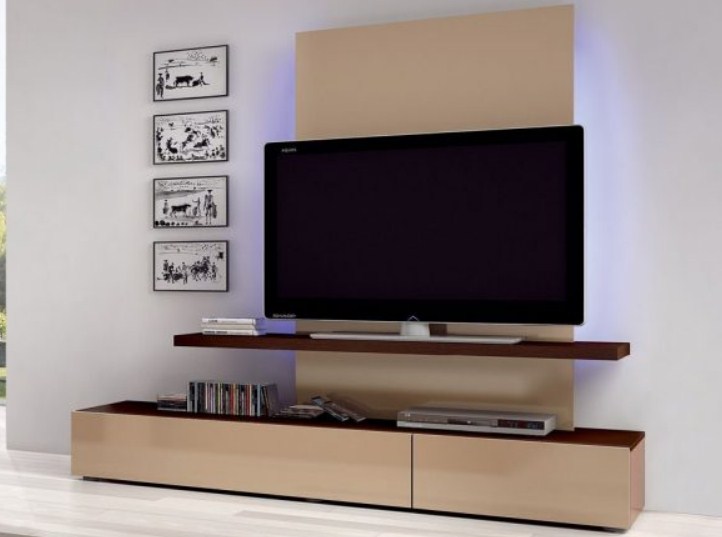
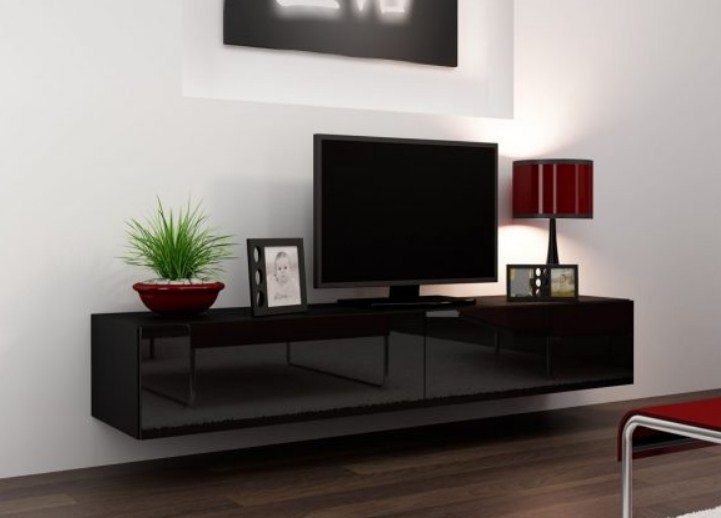
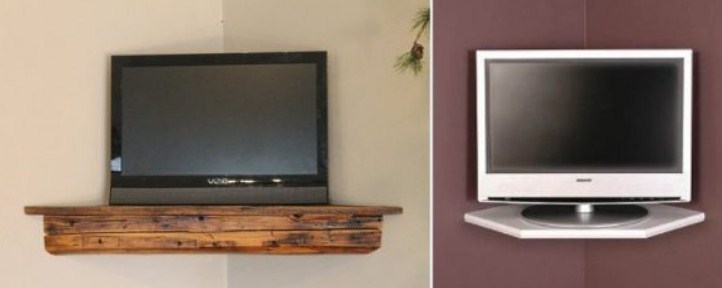
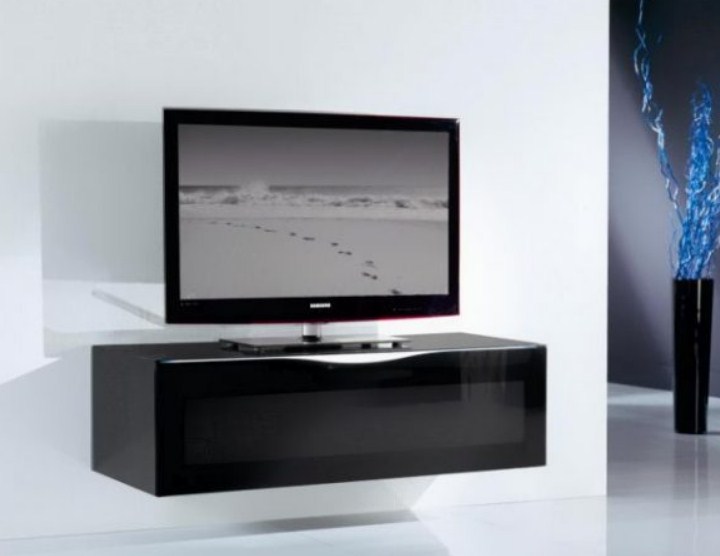
- As for other purposes, a television shelf can be multi -tiered, have a back wall. Fastards are very different: corners, hinged, brackets. It is most reliable to perform the product from wood, which not only has sufficient strength, but also environmentally friendly, and will also be harmonize with wooden furniture. Such a wall regiment will be best placed so that it is opposite the place where you usually sit down to watch TV shows: a sofa or chair. You can also use durable glass for the shelf.
- The manufacture of a shelf is similar to the above methods: Make sketches of parts of the shelf, having decided on the dimensions corresponding to the size of the TV. According to the sizes transferred to the tree, cut the necessary elements, treat them and open with varnish or paint. After drying, fasten with corners.
- Now make markings on the wall and drill holes into which the dowel will include. It remains only to fix the finished shelf with the help of brackets or corners.
- And one more advice: Do not have a shelf with a TV above the stove or fireplace, where it is likely to overheat, the same applies to places without air access and small niches.

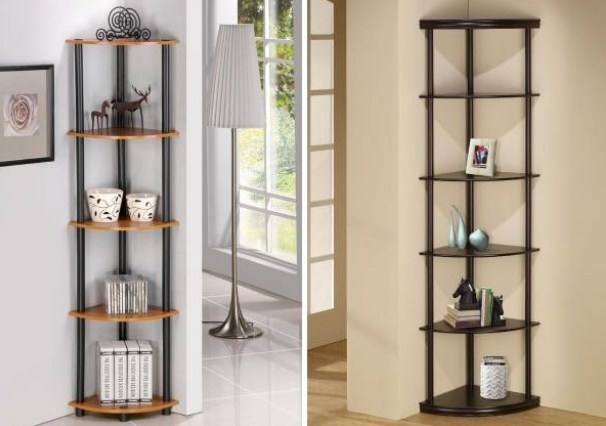
Corner shelves on the wall with your own hands: design ideas, photo
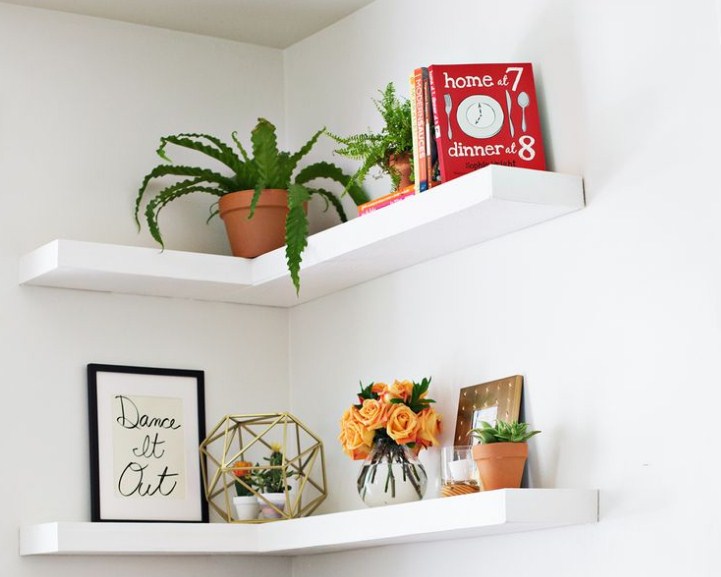
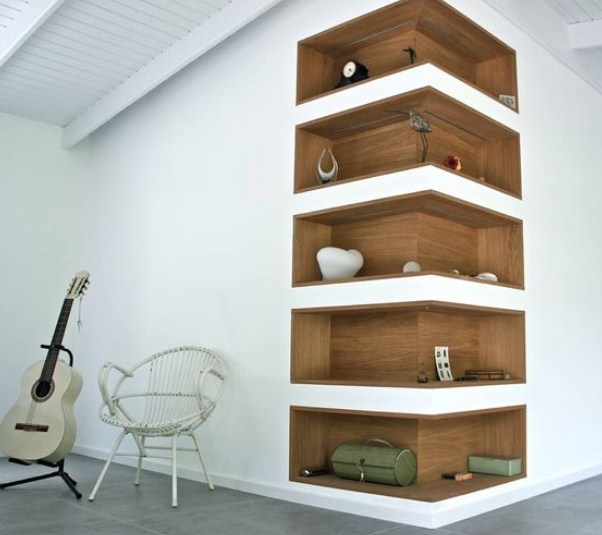
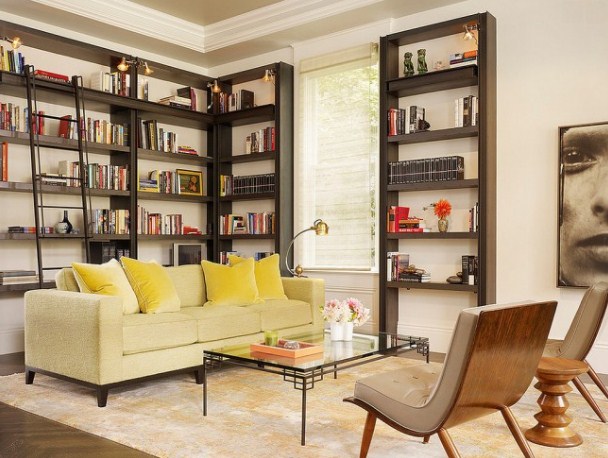
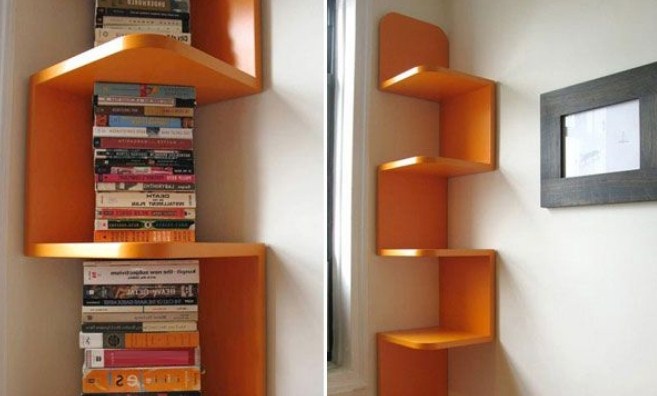
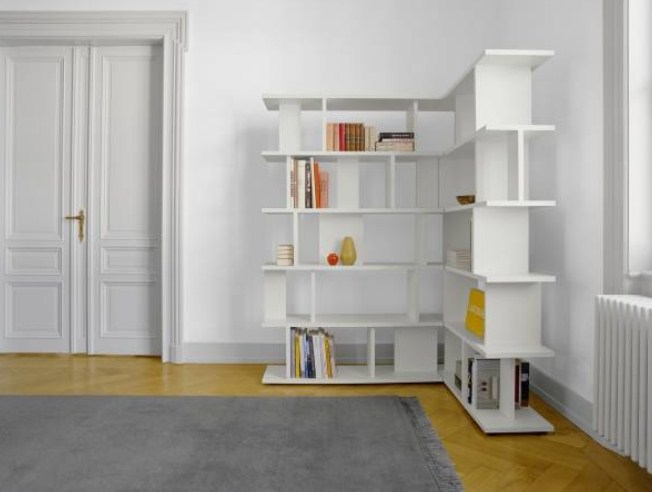
- Corner regiments The walls are very diverse in their form and design. But the more simple and specifically its purpose, the easier it makes sense to make the shelf itself. So, for example, the corner shelf in order to store dishes or seasonings on it is irrevocable intricate, since it carries a purely functional rather than decorative load. The angle can be performed in a semicircle, make a shelf suspension or in the shape of the letter "G". The decoration can be a thread, and most importantly - the obligatory presence of the rear wall is provided in the corner shelf.
- The most popular materials for manufacturing corner shelves are wood, plastic, glass, metal. All of them have their advantages and disadvantages, easy or heavy processing, have different durability and moisture resistance, Distracted according to other criteria. If you summarize all the pros and cons, then preference should still be given to such a material as a tree.
- For the shelf, you can take any board, the main thing is that it is not rotten and intact. Cut from it according to pre -prepared dimensions of the workpiece, cleaning the seats with sandpaper. Adapt the remaining pieces of wood to four racks. Now process the prepared surfaces (paint or lay it). Mark the places where there will be mounts and mark them with a pencil.
- Attack the racks to the wall with dowels, which will have a shelf, and then secure the shelf on them using glue. Corner - This is a fairly convenient place for a tight fit of the shelf, so the spacers can be avoided.
- If you do not use shelf on the wall For bulky heavy objects, such fastening quite enough. If you are going to put weights on it, then strengthen the racks and the shelf itself with metal elements.
Book shelf on the wall with your own hands: design ideas, photo
- Books can be placed not only on wooden shelves, for them the usual carton boxes, You should only give them an appropriate appearance, pasting with self -adhesive, and collect in the form of a rack that is attached to the wall. Or another option, even easier: take durable trouser belts (4 pcs.) And connecting them in pairs, fasten everyone. Thus, you will receive two peculiar rings.
- Now you need to attach the belts using screws to two polished and processed boards, first to the one that will hang below, then - higher. And finish with the consolidation of all this design on the wall. You can use.
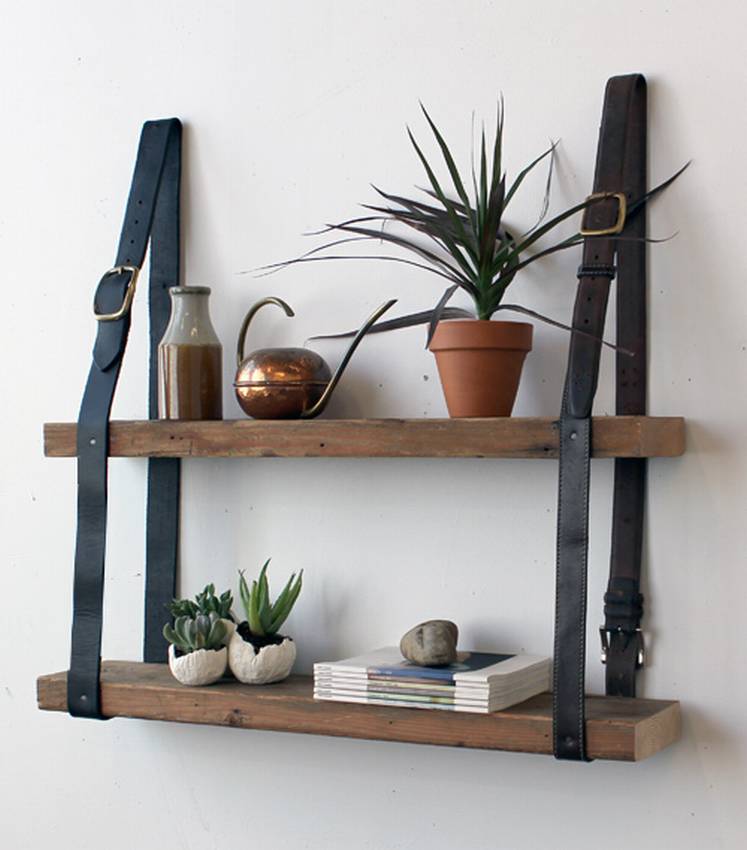
- Shelf on the wall can build from a laminate, If you have pieces left, any wood plates, plywood, plastic, glass.The main thing is to process any material so that it does not have a zazubin and protruding sharp corners. For a teenager from any light material, you can cut the hollow inside the letters that have volume, and insert books into them. And even the case of the failed guitar can be fixed on the wall, making it an original regiment for books.
- And for lovers to impress you can create the illusion of books hanging in the air, for which the basis is to make an old unnecessary book, fastening its binding so that it does not open. Having fixed this book-regiment on the wall, you can put other books on it, which will create the impression of hovering in the air.
Do -it -yourself cat shelves for cats: design ideas, photo
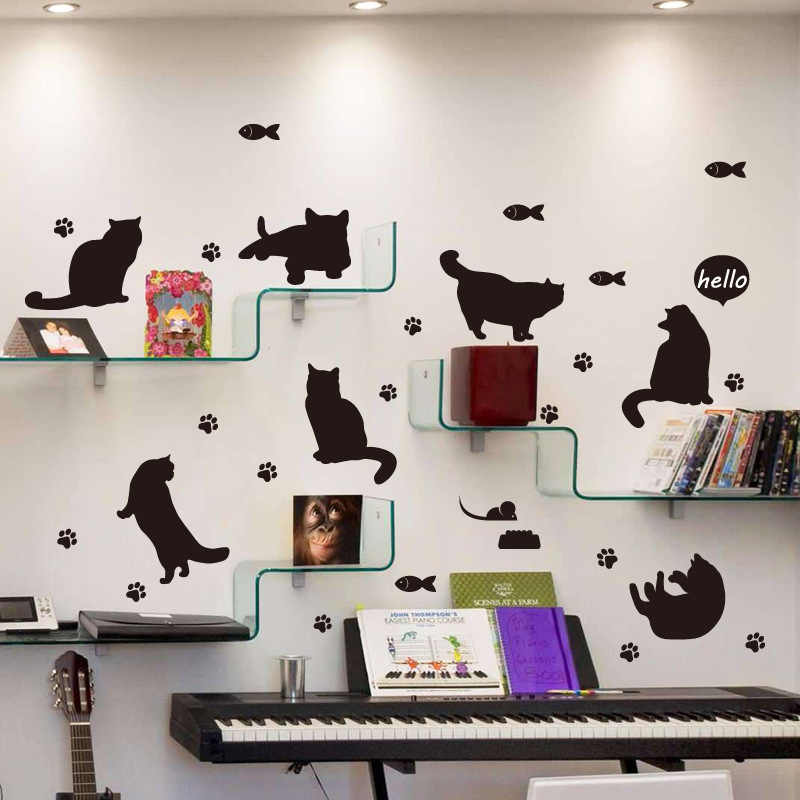
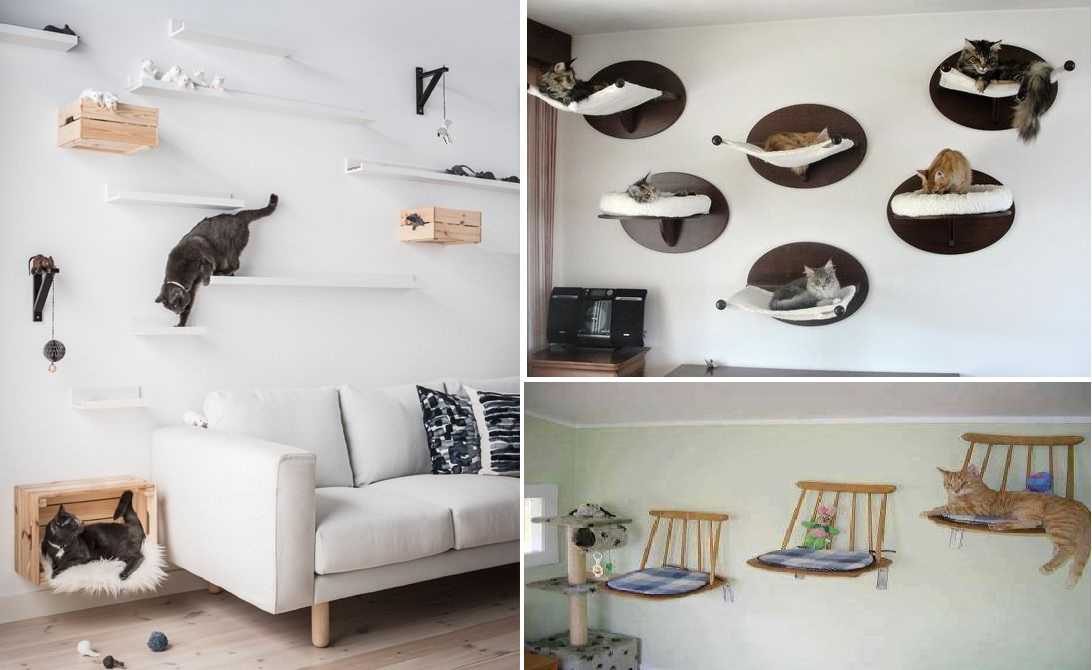
- Cats love to climb higher, Therefore, they will be happy with their own shelf, located under the very ceiling. For the cat itself is not so important the beauty of her personal shelves, How much a soft cozy place, and for the owners, the appearance matters, so try to make a carpet coating for the shelf. But you can even lay out the base of the shelf with small pads, The main thing is to fix them properly.
- If several cats live in your house, you can place on shelves in several tiers. Then there will not be a struggle for a “place in the sun” between them, and a coating from the same carpet will allow animals right at the top To sharpen the claws, not spoiling carpets, sofas and nerves of the owners.
- Shelf on a cat wall It can be built even in the form of a house. Such a structure can not only hang on the wall, but also fix it on the balcony, Where she can bask in the sun and watch what is happening on the street. And the basis for the shelf can be a hammock. Let the cat plunge for pleasure!
Hanging shelves on the wall with your own hands: design ideas, photo
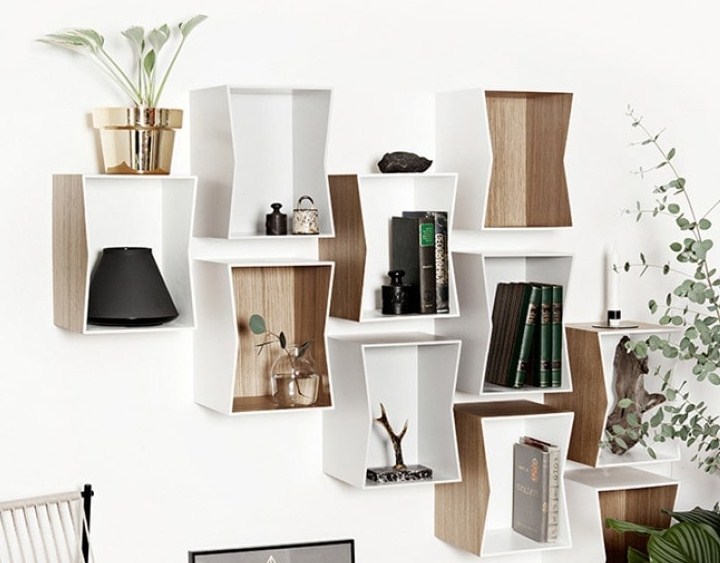
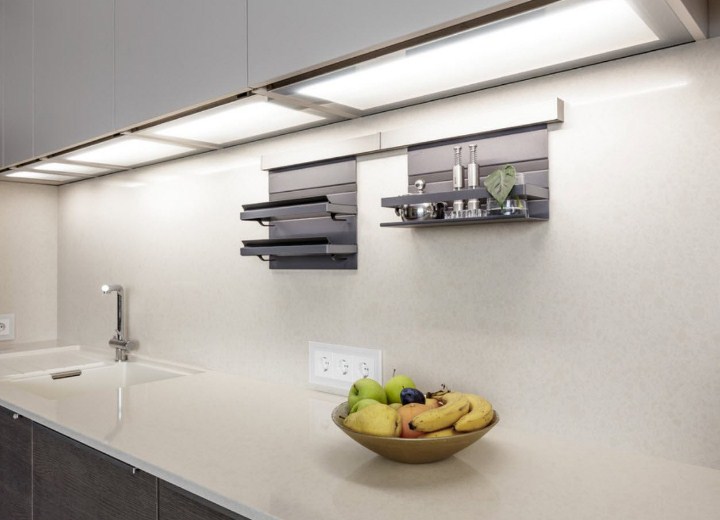
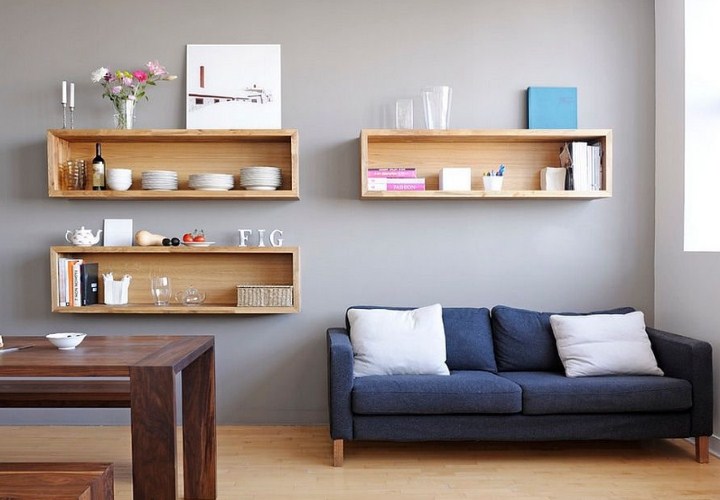
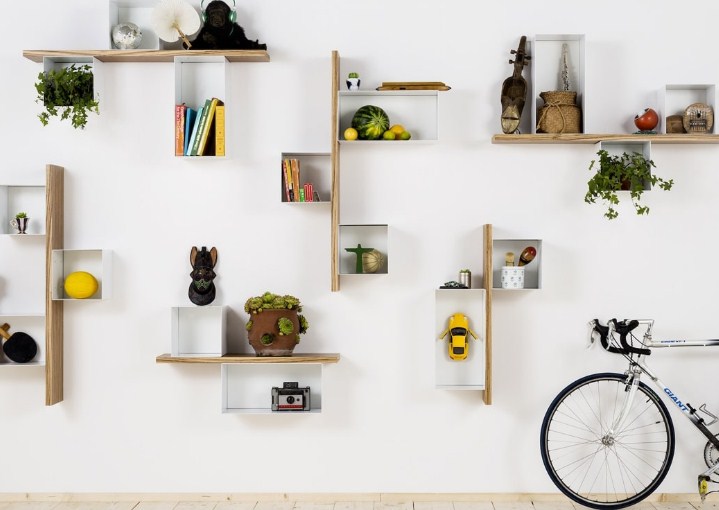
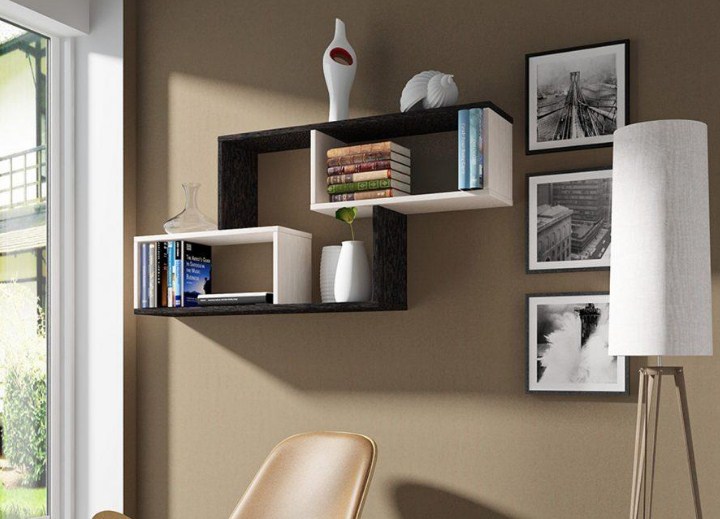
- On hinged shelves It is very convenient to store small objects that are dear to you - so they will always be in sight. In this case, they must fit in the overall interior of the room. This can be achieved due to color correspondence, as well as forms of products.
- For example, you can use not just ordinary boards as a shelf, but make them rectangular, and then combine 2-3. In addition, wooden planks should not be the basis at all, it can be any modern materials whose surfaces are glossythat will facilitate your cleaning and the shelf will give the shelf a complete beautiful view. And if you take a tree as a basis, it will fit perfectly into any style and interior and will also become a real salvation for a small room.
- The angles will be well streamlined with hinged shelves, especially if you make them small. Such shelves themselves will be an element of decor, as well as placed on them souvenirs and trinkets. The shelf in any of the rooms, including the bathroom, can be highlighted, and then it will create an additional emphasis for the entire interior. In the bedroom, a soft muffled backlight will be appropriate, in the living room - more bright.
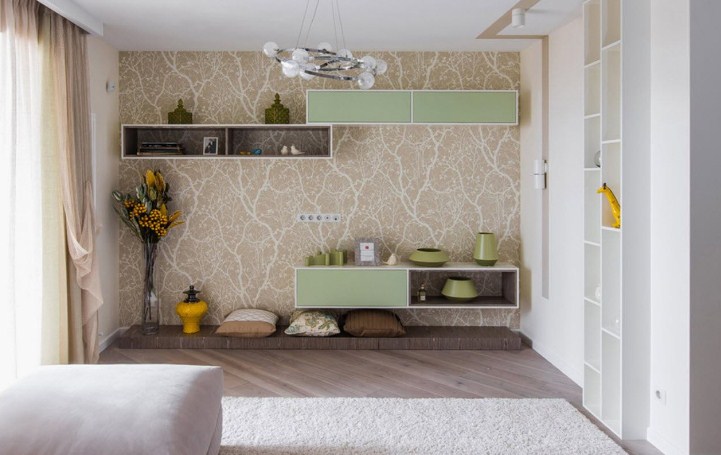
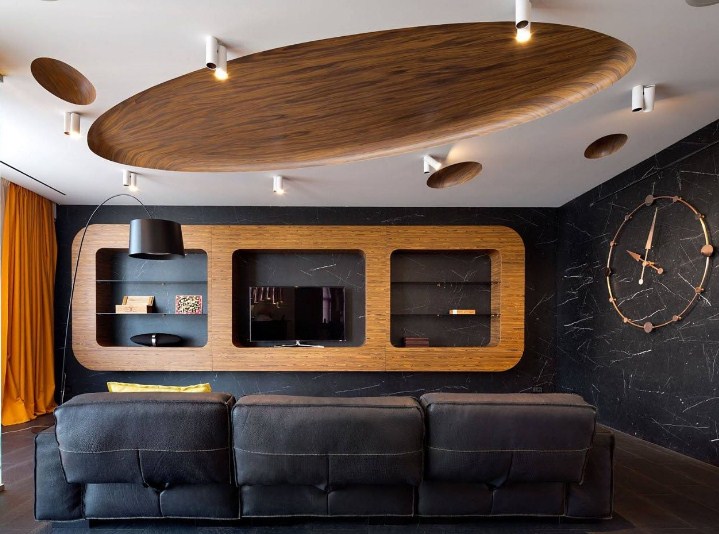
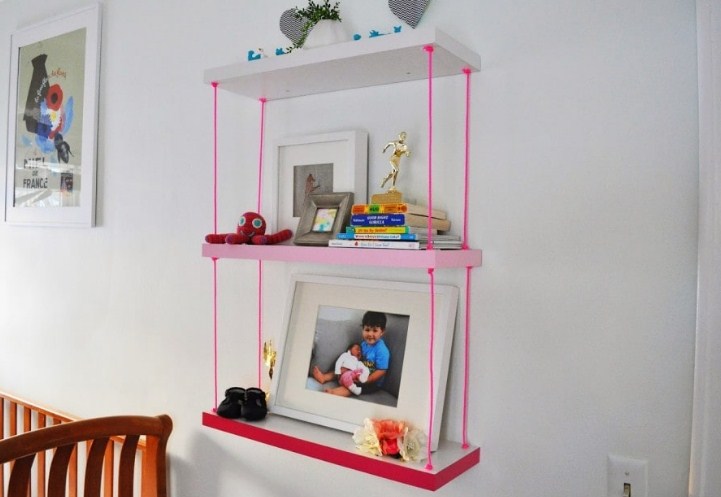
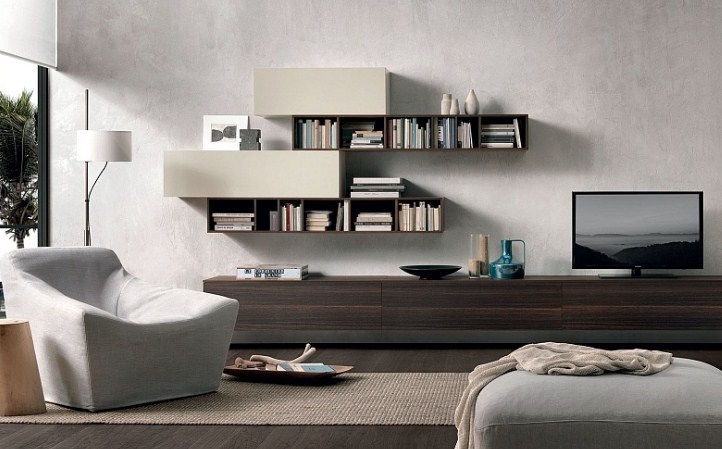
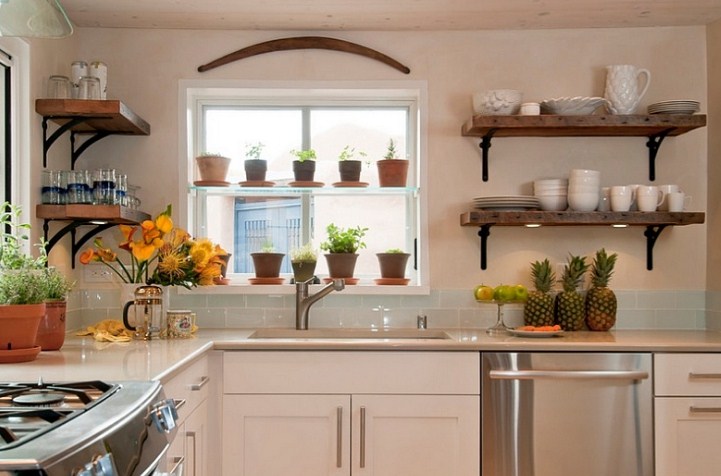
- Hinged shelves on the wall can serve to store books, they will look especially interesting if you make them convex or, conversely, concave. Standard cabinets will be successfully replaced in the bathroom, freeing space, take a place in the niche, and the most successful material for the shelf in the bathroom - This is glass. What can we say about the kitchen, where on the shelves you can successfully develop and continue the style in which it is decorated, whether it is rustic or classic. And, of course, in the children's room they are simply necessary hinged shelves for storing toys, stationery, textbooks. Here it will be most appropriate to move away from the classical style. The main thing, when creating hinged shelves with your own hands, do not forget about the need to make them strong, and fasteners - reliable.
Shelves on the wall for equipment, with your own hands: design ideas, photo
- Shelves above the computer table - A great solution for saving space in a small room. After all, they can be stored not only for documents, reference books and folders, but also all the equipment necessary for full work: a system unit, a printer and a scanner, columns, and some install on shelves and monitors. So you will “unload” the table.
- Since the technique is quite heavy, it is necessary to take care of the reliability of the base - it is best for this. wood (it is better to refuse glass and plastic in this case), and you can fix the shelf on the loops that are fixed from the sides of the product using self -tapping screws. Having measured the distance from the hole of one loop about the other, mark the mounting point on the wall and drill holes for dowels in these places. Drive nails with hats and hang a shelf into them.
- Very good with technology will be combined brackets, which, moreover, are strong enough to withstand considerable weight. A good option is shelf on a wall of steel pipes different diameters and shapes, but with your own hands you can do it only if you own the art of welding, otherwise it is better to invite specialists to the help of.
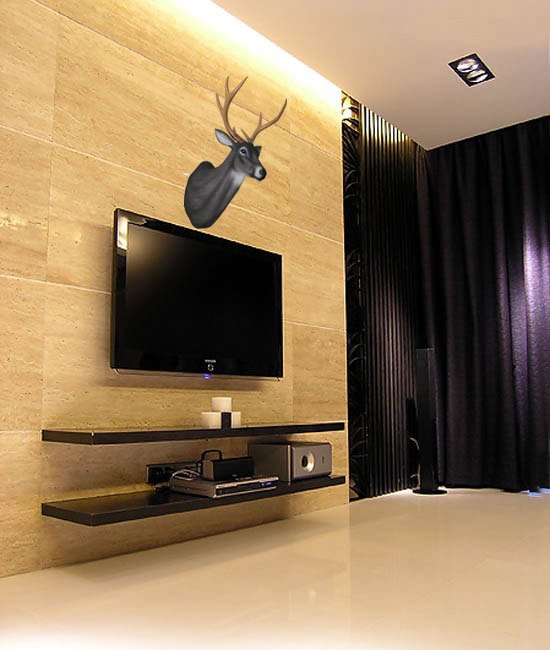

Figure shelves on the wall with your own hands: design ideas, photo
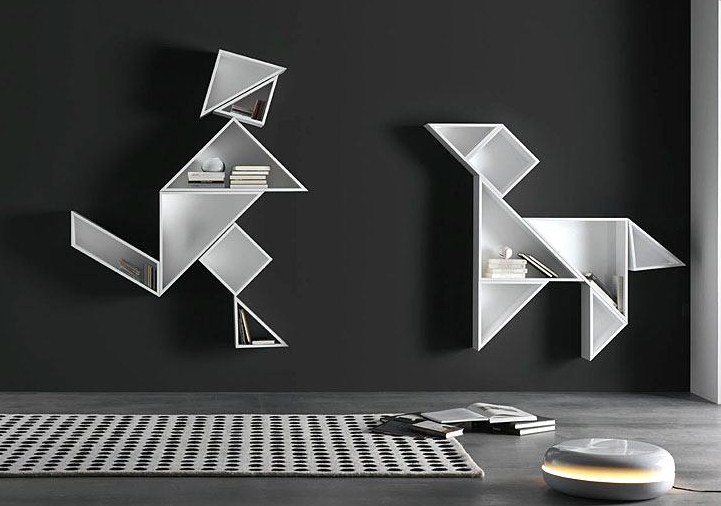
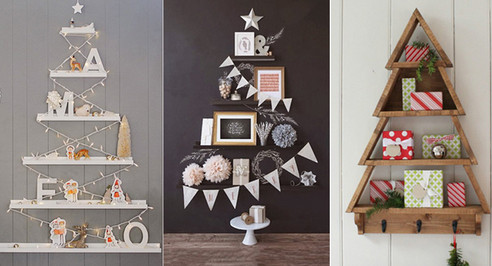
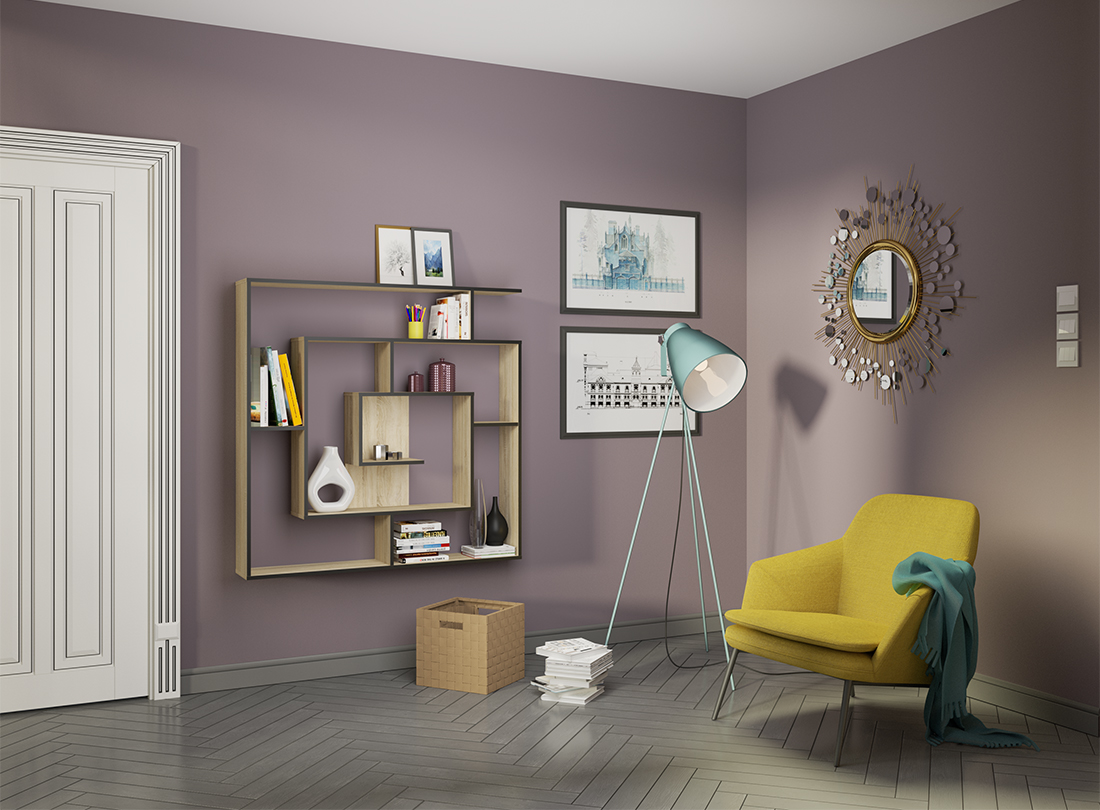
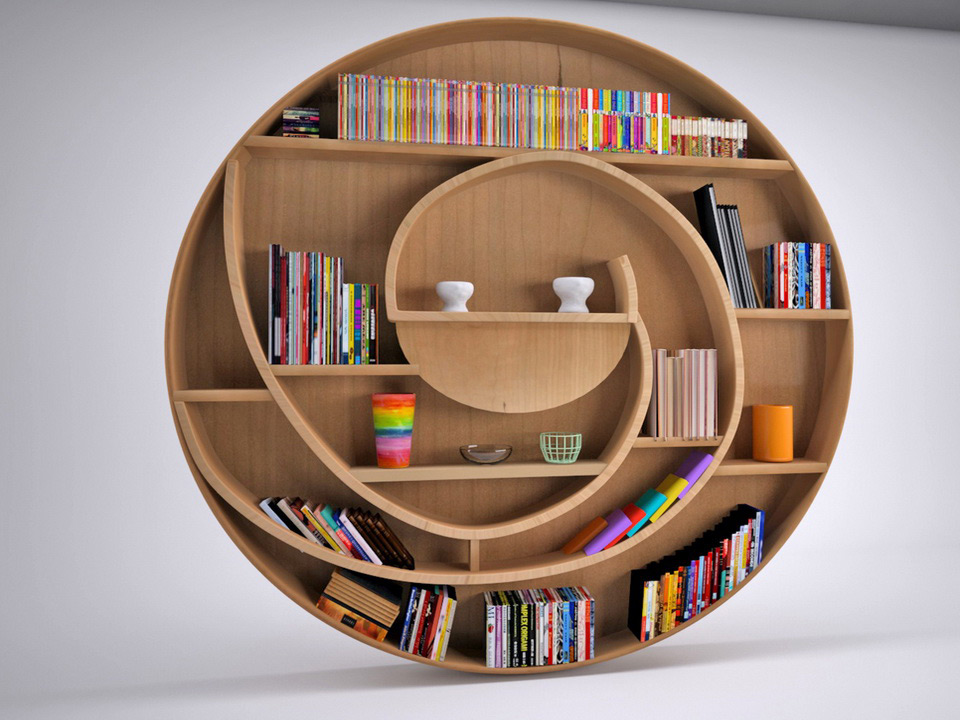
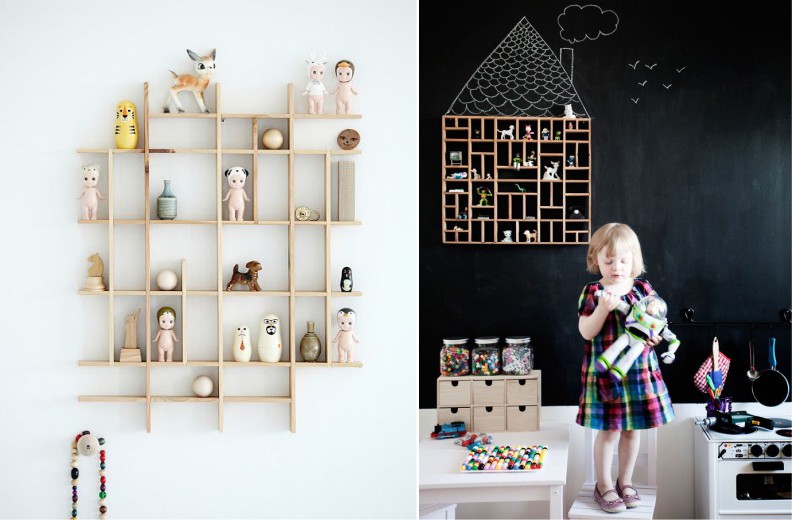
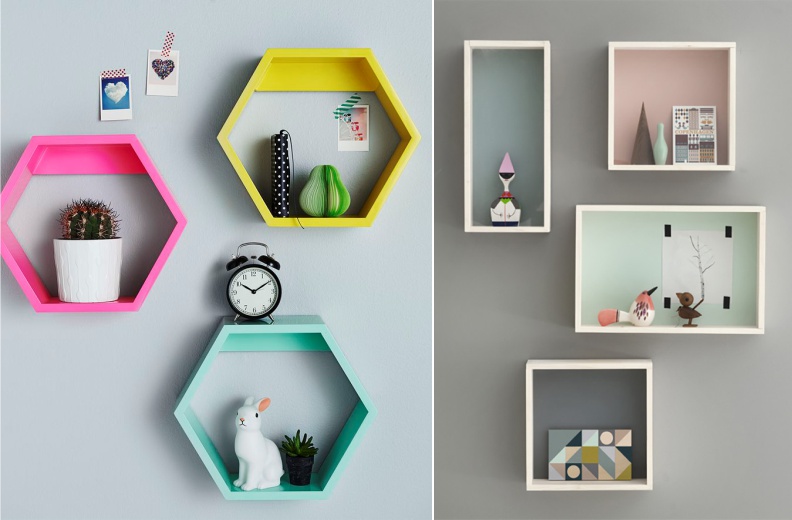
- Do you want a shelf on a non -standard wall? Try to make it in the usual way, but let the base be not rectangular, but with rounded corners. Or try to make several small rectangular or square blocks and install them one on the other, observing the chess order and fastening with metal plates.
- And as you like labyrinth regiment? It can be done as follows. Mark prepared boards according to the desired sizes and cut the ends at straight or angle of 45 degrees. Then grease the ends with glue, and for reliability, fix also with a furniture screw. Then outline the mounting places and drill places for dowels. Using self -tapping screws, fasten the shelf with brackets and hang it all on the wall.
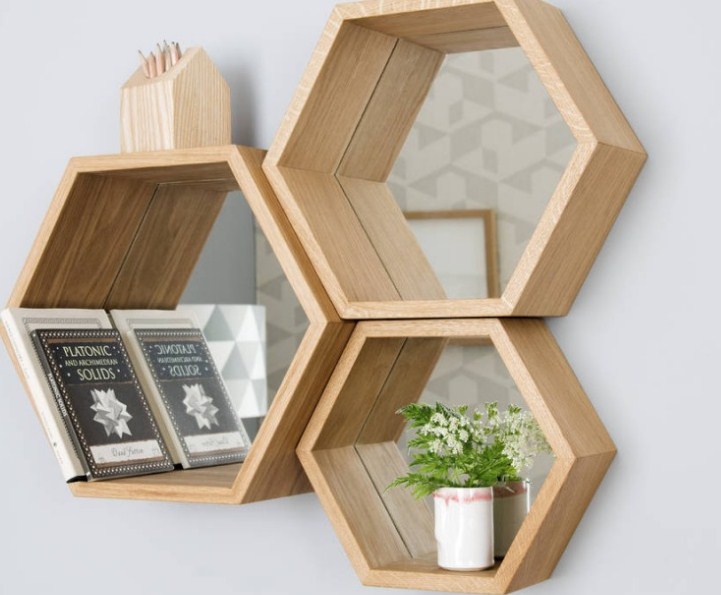
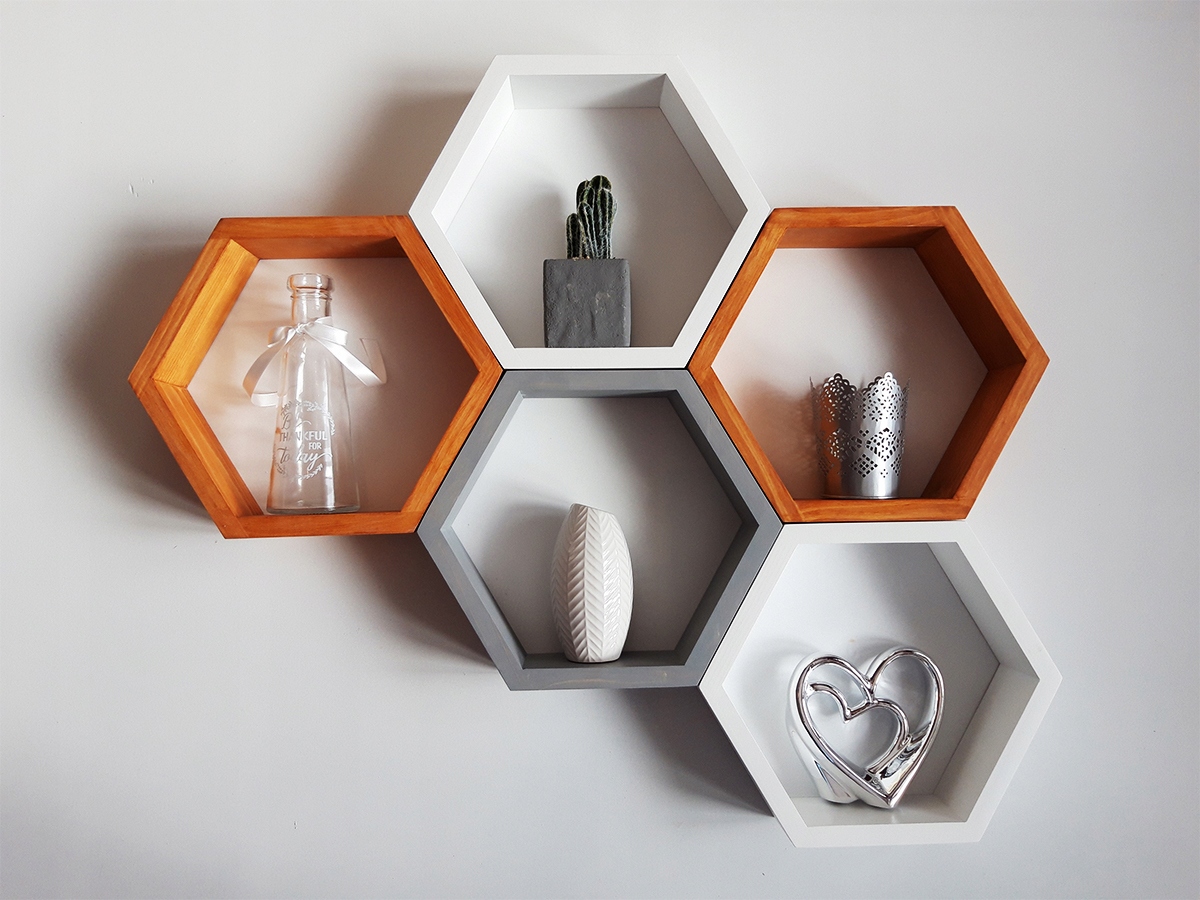
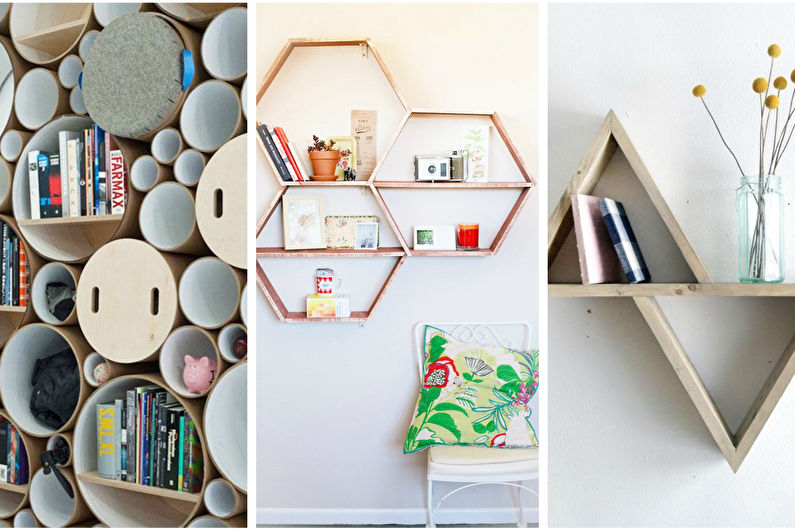
- Or, let's say, honeycomb: For them, you will need to make modules with six faces, which can be placed at your discretion. In addition, this form gives the shelf special stability. Yes, and you can collect the "honeycomb" in two ways: either attaching each separately, or first assemble them into a single design, and then attach it all. First you need to cut the boards at an angle of 30 degrees, and then glue the elements with carpentry glue, adding strength due to the screws or using the L-shaped holders. By the way, they can be painted with the same color as you will cover the regiment, and they will practically not be visible. Pierce and process the finished “honeycombs” by opening with a stain, then paint (you can in different colors, this will add unusuals already the original shelf). It remains to connect the blocks, drilling one or two holes for the screws in them.
- From the usual plywood sheet you can make shelf shelf, This, undoubtedly, is especially happy for children. As usual, throw the elements on paper, observing the size, and transfer them to a sheet of plywood. Armed with a jigsaw, cut them out, and then combine using the carpentry glue and nails. Paint or lay it, let your fir tree create a festive mood even when the New Year has long passed. In the same way, you can please the baby and a cheerful shelf for books, making it a charming pony horse. The horse itself can be taken already in the form of a ready -made template from the Internet.

Useful articles on the site:
- Why is it impossible to store money in the bedroom, things, envelope? Where you need to store money at home so that it is found: signs, Feng Shui
- How to make a beautiful volume number 1 for the first birthday to a boy and a girl with her own hands from cardboard and napkins: ideas, step -by -step instructions, photos of the best volumetric numbers
- The cool, funny scenario of the New Year's corporate party for 2021 of the metal bull: a new theme, a script for the host, where to note?
- When is it better to recall money so that it is found: signs
- Why hang red underpants on a chandelier: sign

