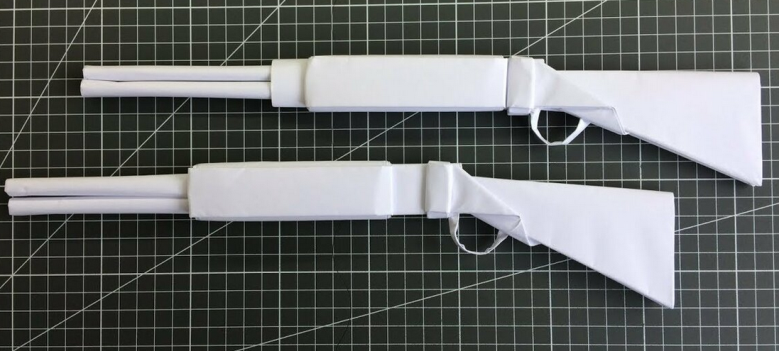
In this article you will find several ideas and instructions that will tell you how to make a paper gun.
Contents
- What can be done from paper: a toy gun, machine gun, machine gun
- How to make a pistol of rubber bands and a sheet of A4 paper with your own hands, which shoots elastic bands: instructions in stages, a pistol scheme to shoot, watch a video
- Video: The gun is completely from paper. Shoots elastic bands
- How to make a gun and a knife from the origami paper: instructions in stages, pictures
- Video: How to make a paper pistol without glue? Paper weapons
- Video: DIY - How to make a dagger with a scabbard from A4 paper with your own hands?
- Making a small paper gun: phased instruction
- Video: How to make a pocket mini-pistol of paper?
- How to make a child a simple, lightest gun of 1 paper without an elastic band: instructions, scheme
- Video: How to make a simple paper gun? Origami Pistol
- How to make a real powerful Makarov pistol of paper and cardboard: instructions in stages
- Video: Makarov Pistol from Paper: Part 1
- Video: Makarova Pistol: Part 2
- Video: Makarova Pistol: Part 3
- Video: Makarova Pistol: Part 4
- How to quickly make a toy pistol TT of paper without glue, scissors and tape: Instructions
- Video: How to make a paper pistol without glue and scissors?
- How to make weapons: machine gun, machine gun
- Video: How to make a paper gun AK47?
- How to make a steep ultrasound gun with a silencer from paper: Instructions
- Video: How easy to make shooting paper in 5 minutes?
Regardless of the fact that there are many toys on the shelves of stores and they are all varied in color and size, there is one children's rule: I want what no one has. And at this moment you can offer to make a toy yourself. "What, how and from what, if I have a boy?" - you ask. Of course, a girl can sew a soft bear or build a new dress for her beloved doll. Do not despair, but rather look for paper. Today we will make a paper pistol in different techniques, from which your baby will be delighted. This article has many interesting ideas. Read further.
What can be done from paper: a toy gun, machine gun, machine gun
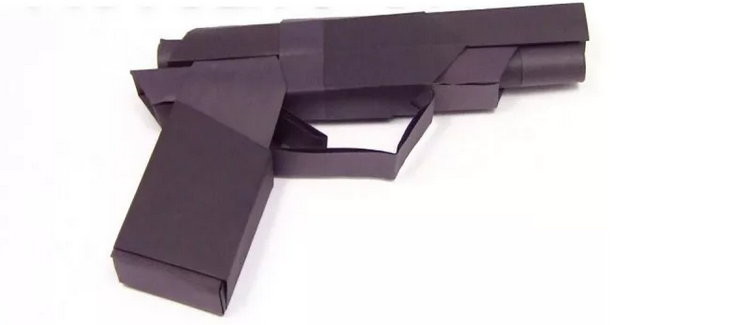
Paper modeling is not new equipment. But she became unpopular when access to a large number of toys appeared in stores. Each Soviet boy went to a circle of aircraft industry and there he was shown the basics in the formation of individual paper parts. Modern children have lost interest in such a technique, although in vain. It helps to develop thinking, muscle memory, affects speech very well. What can be done from paper? The answer is a toy pistol.
It consists of several details:
- Lever
- Trunk
- A mechanism for a shot
- Bullet
All these details can be made of paper. And the process is not very complicated. We have selected several ideas for creating a paper gun of different sizes and brands.
How to make a pistol of rubber bands and a sheet of A4 paper with your own hands, which shoots elastic bands: instructions in stages, a pistol scheme to shoot, watch a video
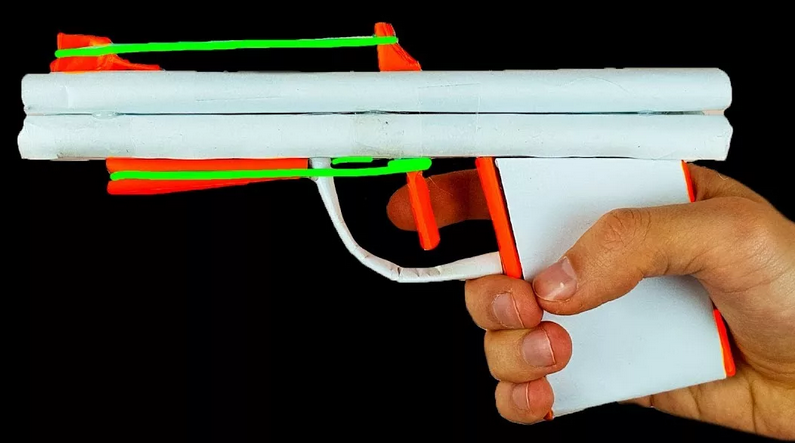
A shooting gun is one of the most beloved toys of any boy in childhood. To teach safety measures in handling him, as well as getting on the target the first time, you can very interesting: together with the child, make a gun of gum and a sheet of A4 paper with your own hands, which will shoot elastic bands. Here are the instructions in stages:
For this we need:
- 2 sheets of office and colored paper (for example, light green and white)
- Chancellery gum
- Long toothpick
- Ruler
- Scissors
- Scotch
- Glue
Pistol execution scheme to shoot:
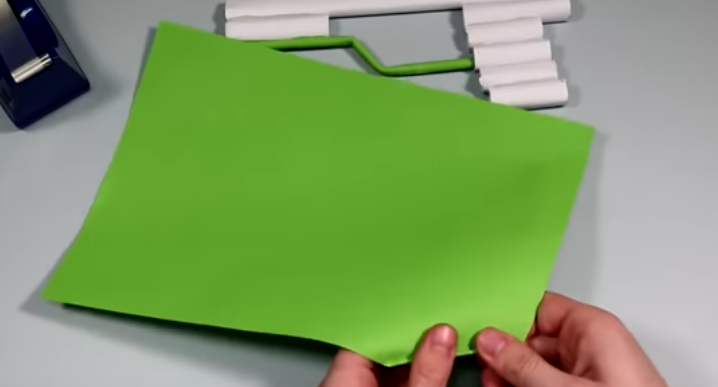
- We take colored paper and put in front of us.
- We need to get a long strip with hidden edges.
- To do this, fold the sheet in half along the short edge, unfold and bend the edges inside (along 2 times from each side).
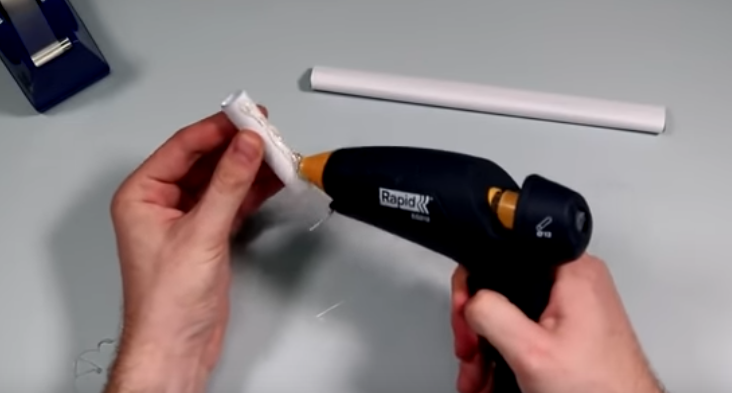
- We bend the part in half (wipe the bend well) and unfold again.
- On distance 2-3 cm From the bend inward, you need to wrap the edges in such a way that the letter d is obtained (lower the edges down each individually).
- We cut off the square from the white sheet and twist it and the pipe (preferably on a long toothpick).
- The tip is sure to glue and let it dry well.
- To make the barrel more dense, we take the segment by the length of the thick tape tube and screw the workpiece along its adhesive part. So you will succeed that you wrap the part several times with tape.
- We still have a white rectangle. We bend it in half (along a short edge) and wound it on a M-shaped part (on the side where the free edges).
- Try to fit tightly under the corner fold and make 3 wrappers.
- The rest of the rectangle is cut off, and we attach the edge to glue or tape. It will be a drum.
- You will come out so that a light green barrel peeps out of a white drum. This is superfluous and it needs to be trimmed.
- Next, we remove the white part a little and apply glue on both sides.
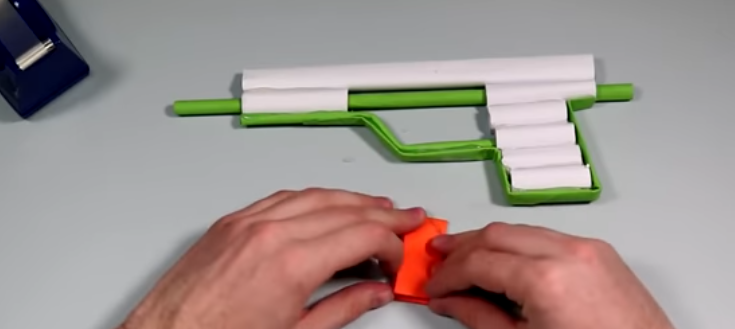
- We dress back and press with your fingers up to 30 sec.
- We take the phone and divide it in half (conditionally into 1/3 and 2/3).
- In your drum, if you press it a little from above and below, a hole forms. We drip the glue there and insert a large tube into it closer to the top. Hold until the moment the glue is grasped.
- In the lower part of the drum (closer to the fold) we make an incision in 1 cm and insert the cut off of the tube into it ( 1/3). It will be a trigger and a trigger at the same time.
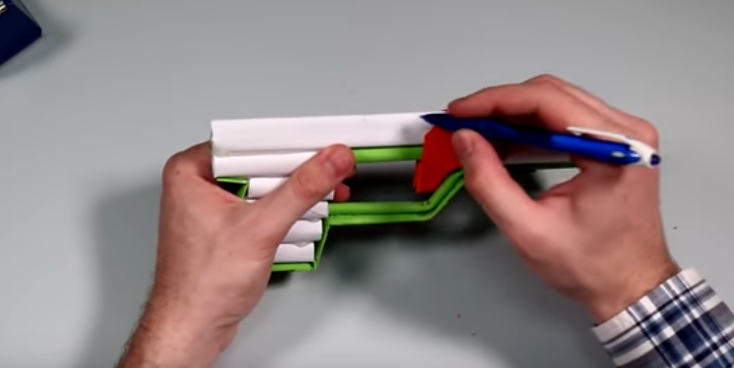
- We open the edges of the descent, and from the side of the trigger (in a beveled lighthouse handle) we make a V-shaped recess with scissors. An elastic band will cling to it.
- Make the same neckline on the trunk.
We decorate the drum:
- We cut out of the cut off of the light green barrel 2 small rectangle.
- Twist the edges.
- Glue in the center of the drum longitudinally.
So the gun is ready. Now we are testing. We lower the trigger down (so that it does not peek out) and pull the elastic on two recesses. We aim and carry out a shot, thrusting the trigger inward.
Be careful: Explain to the child that such a gun is forbidden to lean close to the face, since at the time of the shot, the elastic band flies and can injure it along the flight path.
Here you have to help the video how to make such a gun. This video shows everything in detail. It will be easier to make the product if you watch a video and make a gun, repeating behind the master.
Video: The gun is completely from paper. Shoots elastic bands
How to make a gun and a knife from the origami paper: instructions in stages, pictures
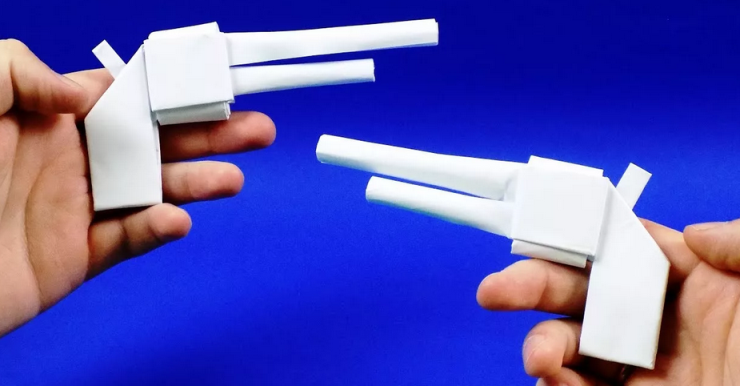
The art of origami came to us from the East, which contains the idea of \u200b\u200bcreating figures from a sheet of paper without improvised means. No need to cut the circuit or draw a sketch on paper - the origami technique is based on the bends and bends of the thin sheet. You can make a gun in this technique if you adhere to the instructions - in stages with pictures:
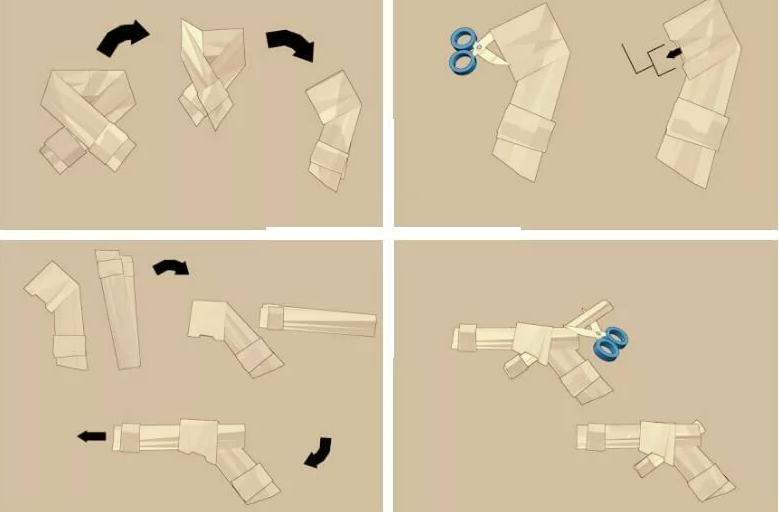
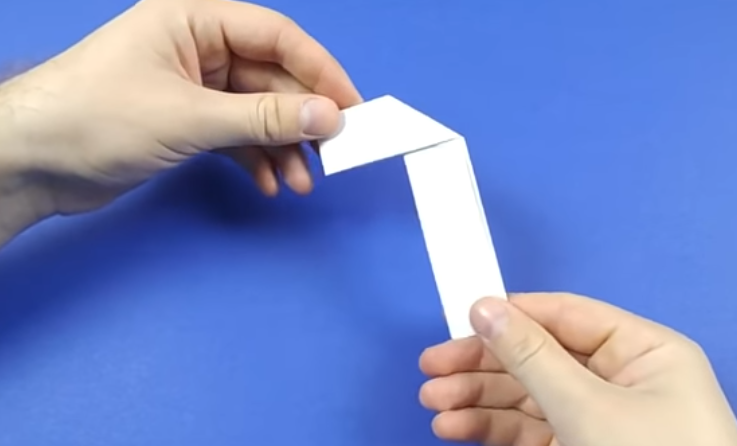
- We will need 2 sheets, one of which is folded in half and then bend the edges inward 2 times. We got a long strip, which we fold in half.
- From the middle to a few centimeters, we bend each of the halves inward, so that the angle in 90 degrees.
- Divide the second sheet in length in 4 parts And cut off 1/4 .
- 3/4 sheet We fold several times so that all the outer edges are in the middle, and the thickness of the strip is not more than 5 cm.
- We lean tightly against the place of bend and wrap the M-shaped detail (where free tails) in 2-3 full circles.
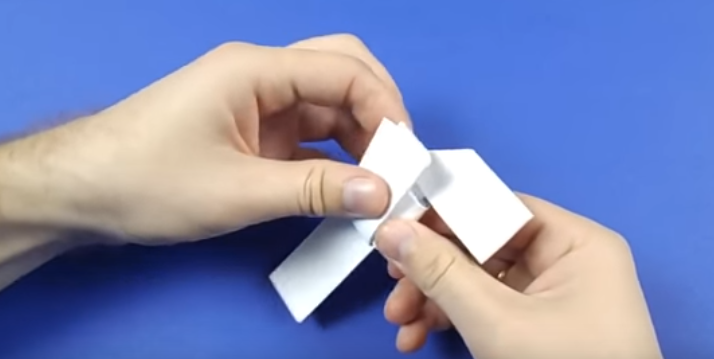
- We do not cut the remaining free edges, but wrap it on the front side of the gun and bend into the hole between the drum and the handle.
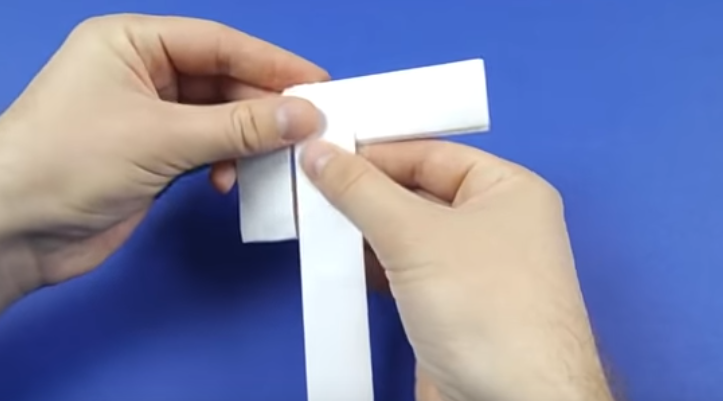
- From the remaining strip we make 3 details. We cut one part in proportion to the length 1/2 sheet, and 2 parts 1/4 sheet.
- From a large and one small segment, we make two tubes, tightly screwing it on a long knitting needle or skewer.
- We insert their drum, adjusting the length with scissors. The upper trunk should be half the lower than the lower.
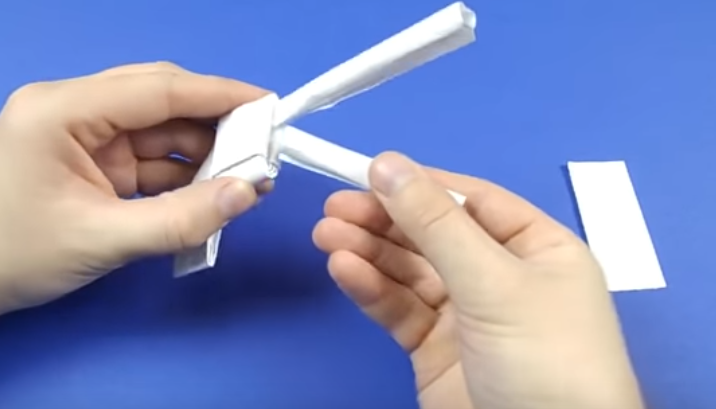
- From the latter 1/4 deeds: stack in length Five times And insert into a beveled bend.
So in the technique of origami we will get a gun for the game. So you can make a knife in a few minutes. The child will not be able to injure himself or others. For this we need:
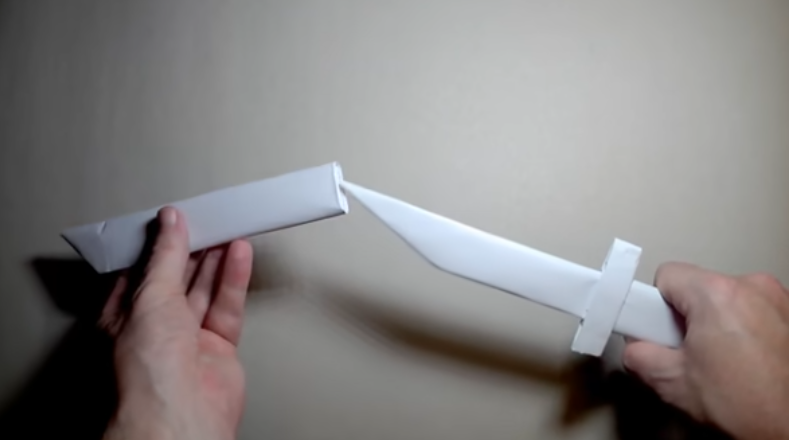
- A4 paper sheet
- Scissors and stapler (if not, then you can replace with PVA glue)
Progress:
- We bend the sheet with a short edge to a long one and make a square. Cut off the excess.
- Turn and put it in front of you.
- Start striped 5 cm Winding method.
- Next, take the scissors and cut off excess - we try to make a sharp blade with a rounded edge no more 6-7 cm, but the rest is not cut off.
- We pass through the details with a stapler so that the layers do not disheve. If there is time, it is better to glue with glue between the layers. So the knife will turn out stronger and last longer.
- Now you need to separate the blade from the handle with a limiter.
- From the rest of the piece we put a rectangle (approximately 3 to 6 cm).
- We attach brackets to the knife so that the blade is shorter on 2.5 cm From the handle.
- That's ready. Such a knife can be painted or used by two colors: for gray blades and any other for a pen and limiter. So it will be more natural.
Watch the videos of videos that clearly show how to make a gun and an origami knife:
Video: How to make a paper pistol without glue? Paper weapons
Video: DIY - How to make a dagger with a scabbard from A4 paper with your own hands?
Making a small paper gun: phased instruction
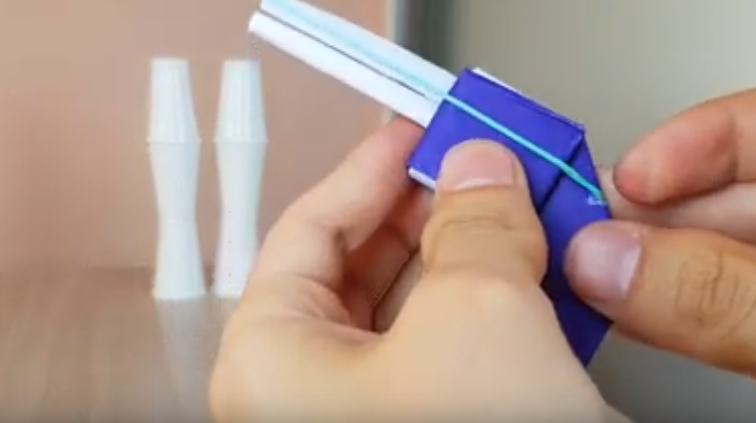
- Cowboy, pirate or sheriff? Any game image can be supplemented with a fake gun.
- To do this, you need to take paper, scissors and a pencil - you can not even hide, since we will not use it for drawing and drawing.
- Oddly enough, but at that moment the revolver comes to mind - it is very simple to make it, but it turns out very colorful. It consists of a round trunk, a drum and a handle.
- We start modeling. Below you will find a phased instruction to make a small paper pistol.
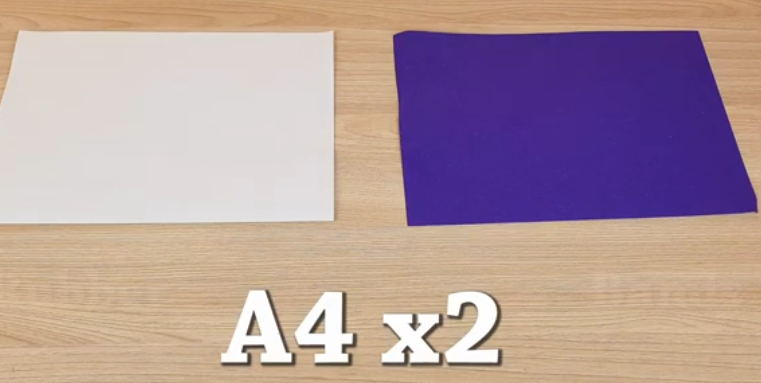
- We need to prepare 2 blanks From paper: conditionally divide the sheet into a square and a rectangle.
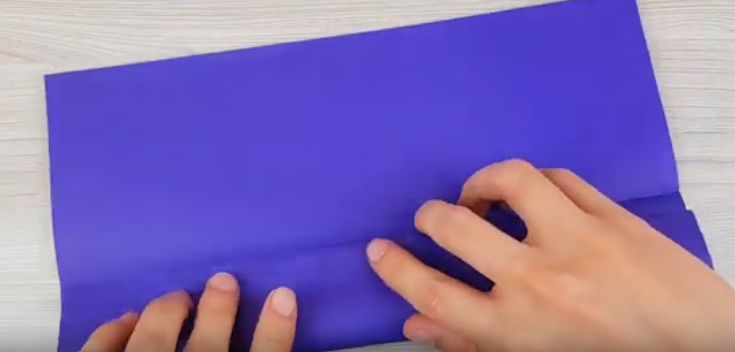
- We take a smaller part and fold in half so that a long strip is obtained. Then unfold and bend each of the edges to the bend. We put off.
- From a larger segment, we begin to twist the pipe on a pencil. Try to do tightly and, if possible, glue the edge a little. We bend the tube in half.
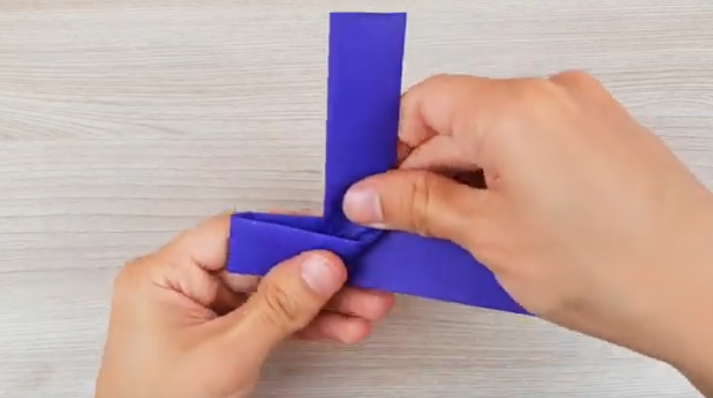
- The strip should create the illusion of the drum and handle at the same time.
- To do this, we bend the strip in half and put it on the tube so that the free edges look up, and the trunk of the revolver to the left.
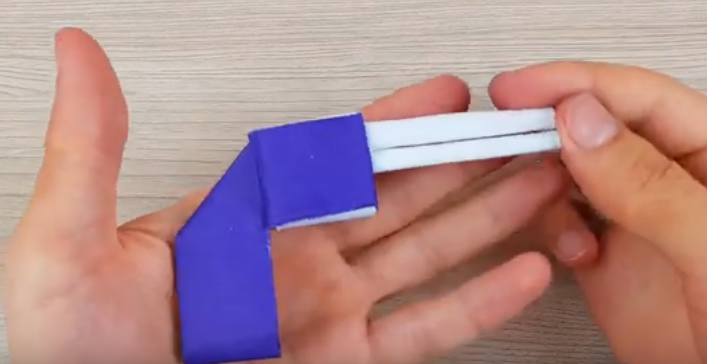
- Now we wrap each of the tubes (alternately) so that the free end of the rectangle goes through the hole that forms in the fold of the tubes.
- Do not rush and gradually tighten.
- Now with a felt -tip pen, we draw strips on the drum I simulate places for bullets.
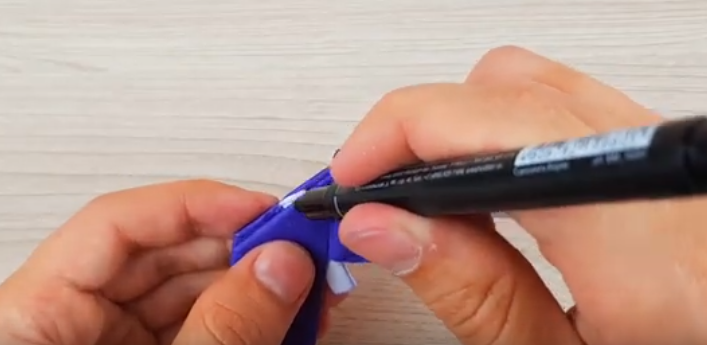
- You can make a notch and put an elastic band that will shoot a gun.
- He will serve the child for a long time, and the baby will be able to play without danger to his health.
More details on the description of this instruction, watch in the video. The master clearly shows what to do with paper and how to till the sheet at each stage.
Video: How to make a pocket mini-pistol of paper?
How to make a child a simple, lightest gun of 1 paper without an elastic band: instructions, scheme
- The training with a little boy remains important in the game with a little boy.
- Teach it to make toys yourself for yourself.
- The phased instruction will help to create a paper pistol.
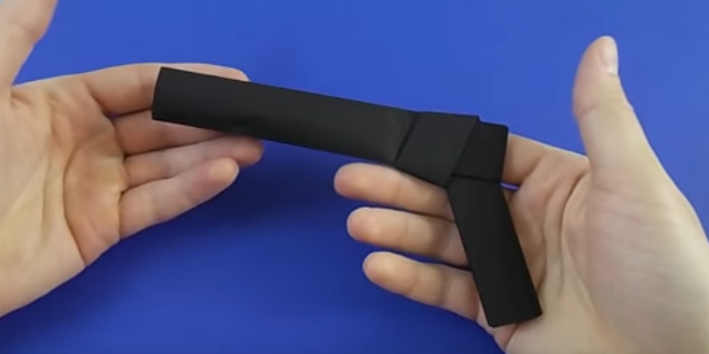
- To do this, we need only a square sheet of paper (no more 18/18 cm).
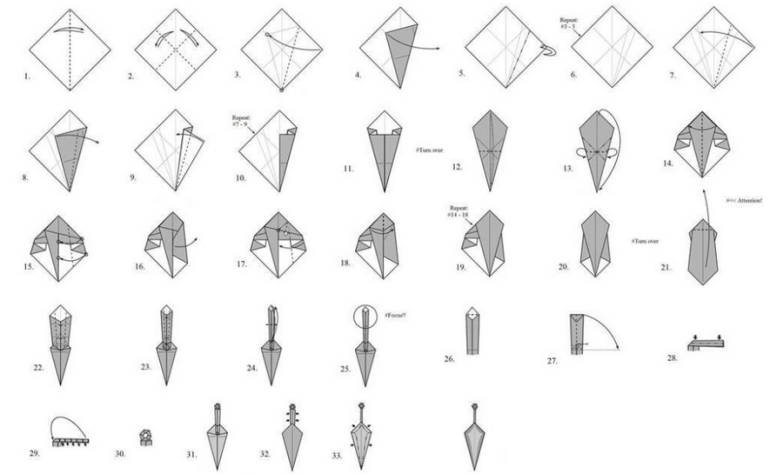
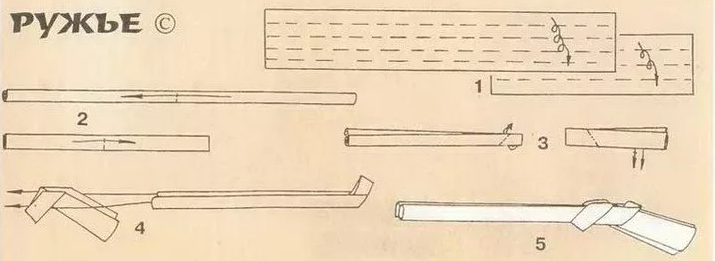
- Here's a scheme:

Here is an instruction that will help to make the child a simple, lightest gun from 1 papers Without elastic band:
- Fold the workpiece in half, open and lay both edges to the middle.
- Take the edges again.
- Turn over so that the fold is from below. We take one free edge and bend to the bottom to make the “holder”.
- We turn over and do it, too, with the other part.
- We pass along the resulting seams several times with our fingers and get a ready -made gun.
- Such an easy option for assembling a pistol will delight any child.
- It can also be painted or scheduled with stickers with your favorite cartoons.
This video tells in detail how to make such a simple toy.
Video: How to make a simple paper gun? Origami Pistol
How to make a real powerful Makarov pistol of paper and cardboard: instructions in stages
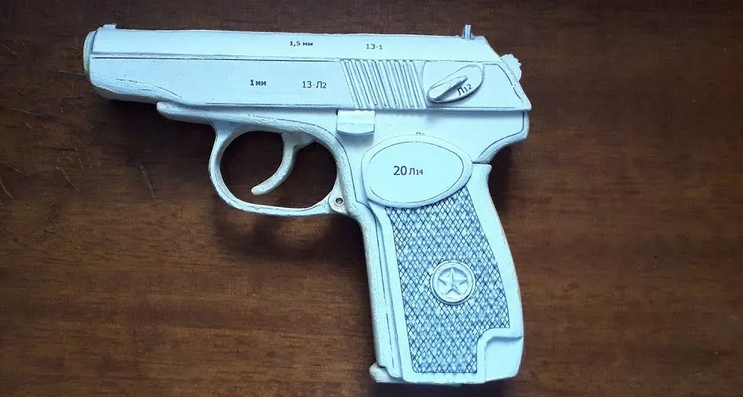
Makarov’s pistol is a serious weapon, but it can be made of paper and cardboard. The model turns out to be heavy and visually very similar to the original. The idea of \u200b\u200bbuilding is a multi -layer gluing of a large number of cardboard blanks. So we get the necessary thickness and weightiness of the finished product.
Preparatory work will take much more time, but the result will pleasantly surprise you. Here is the Makarov pistol template from cardboard:
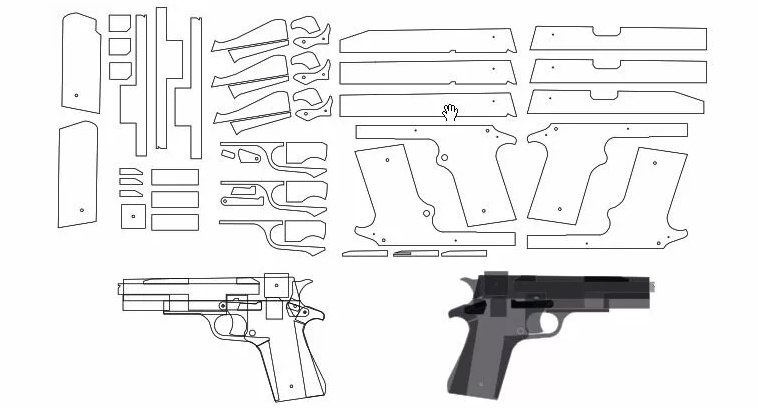
We print pictures without changes in scale. Do not be alarmed that there are many small elements. We need to get a pattern from such a drawing. Cut everything along the contour. Here are the instructions in stages how to make a real powerful Makarov pistol of paper and cardboard:
We take the cardboard and cut out:
- Handle - 6 pcs. - a ledge on the handle on each side
- Layers - 36 pcs. - circle the pattern without a descent mechanism and trigger
- The basis is 20 pcs. - completely on the pattern
Then we glue each of the cardboard layers gradually according to this principle:
- First the basis.
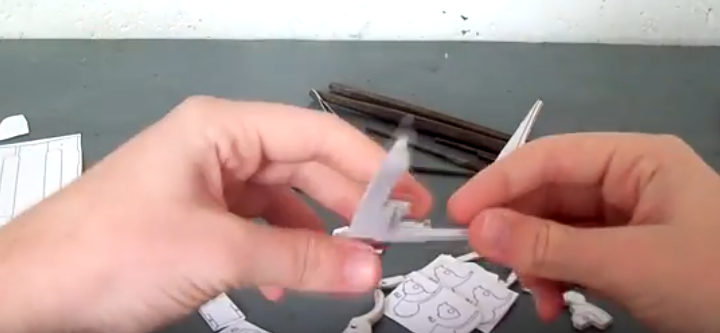
- Then 18 linings on each side and 3 handles also on both sides.
- We put under the press and let it dry well.
- Next, we pass with sandpaper along the edges and grind all the irregularities.
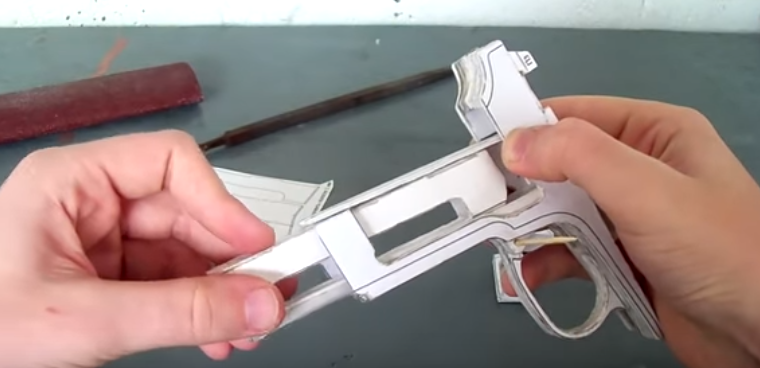
- In the center of the handle (according to the original model) there is a star. For more similarity, it can also be cut out of cardboard (4 pcs.) Two glued together and attach to the right place.
- On the trunk (at the beginning) there are 10 notches made under a small slope. They can be imitated by scratching with a knife under the line of several upper layers of the pad.
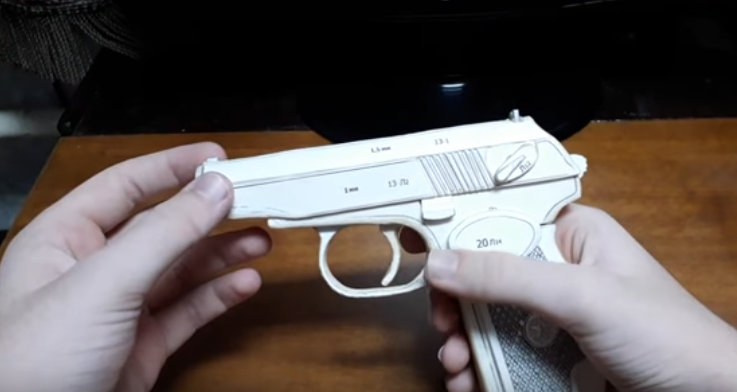
- We proceed to staining: use black and brown (shade of chocolate) color. Such a gamut is characteristic of Makarov’s pistol.
Watch the video how the master makes such a gun. Everything is simple, you just need to prepare the base first, gluing layers of paper.
Video: Makarov Pistol from Paper: Part 1
Video: Makarova Pistol: Part 2
Video: Makarova Pistol: Part 3
Video: Makarova Pistol: Part 4
How to quickly make a toy pistol TT of paper without glue, scissors and tape: Instructions
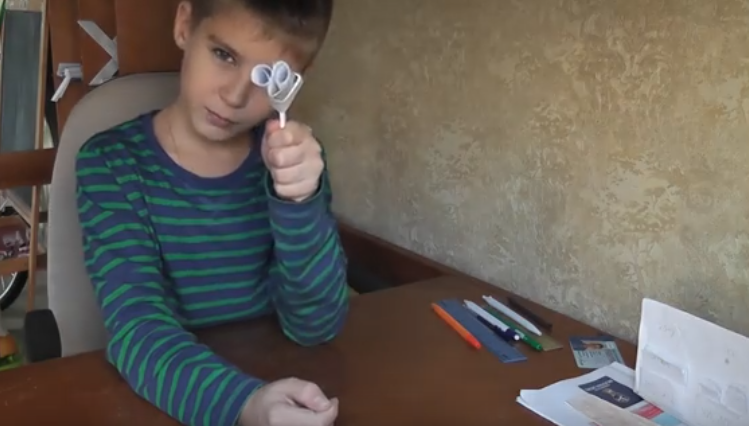
TT toy pistol is produced in Russia for a very long time. Many of the boys ask for this model to their collection. Let's put it from paper, while we will not use glue, tape and scissors. Here's an instruction on how to quickly make a toy pistol TT of paper:
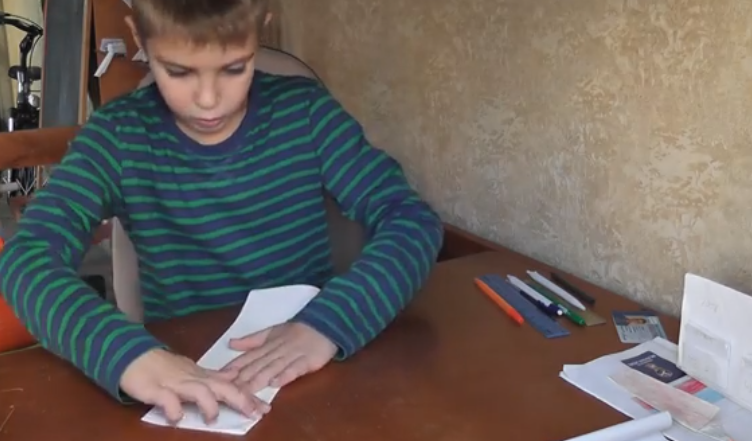
- To begin with, we make a square blank blank.
- We put in front of us and bend in the middle, tightly ironing all the lines.
- We open the square and bend each of the halves once again in half towards the fold.
- Thus, we have an eight -layer strip, which we bend across. We put off this part aside.
- When a square was cut out, a strip with a trimmed edge turned out.
- We take it and carry out similar actions with it: first we bend 2 times longitudinally (the main thing is to hide the uneven edge), and then across 1 time.
- We got 2 details that look like tweezers.
- We combine them: from the bending side of the thick part we put on a thin part. A right angle formed to the bend will come out.
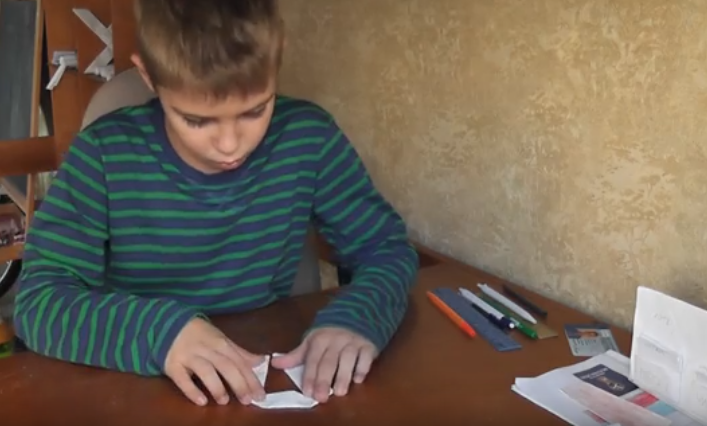
- We take a large workpiece and open it in a long line.
- At a distance from the central fold (approximately 2 cm), we make a bend in one direction so that the free end looks down.
- We carry out the procedure with the second side in a mirror display. We bend the workpiece in its original position.
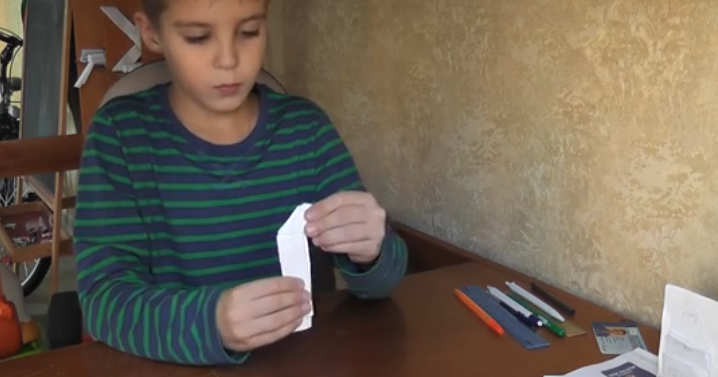
- It should be a part in the form of the letter "G".
- We take the second part and carefully try to put in the resulting hole.
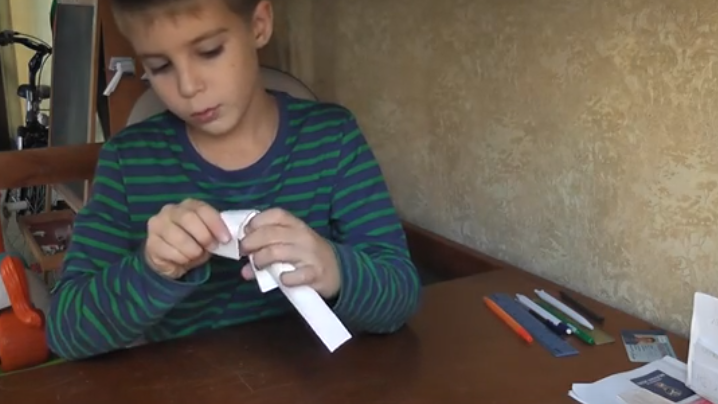
- Do carefully so as not to break.
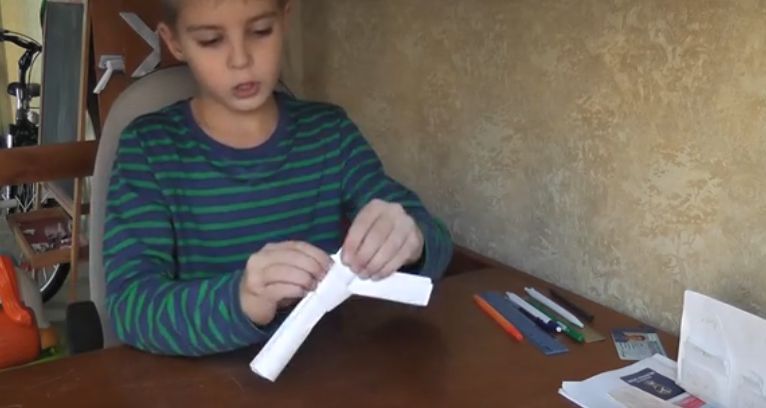
Watch the video how the boy independently makes such a gun.
Video: How to make a paper pistol without glue and scissors?
How to make weapons: machine gun, machine gun
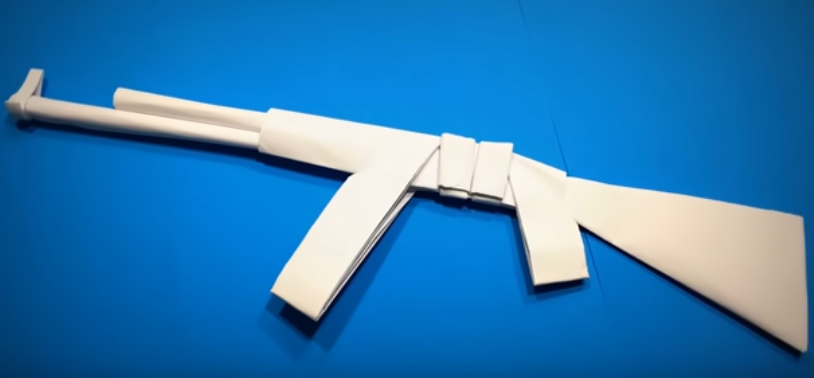
Large weapon of a machine gun, a machine gun, is very tempting for any boy. And you do not need to buy a new model every time. It can be made from cardboard or paper yourself. There are several techniques:
- Origami (stack from several sheets of paper). The main disadvantage is the complexity of actions and fragility.
- Modeling, where we print the blanks and glue each other. For a child, this is an easier option, but it breaks quickly.
- We prepare a frame of cardboard, and glue with paper.
The last idea seduces very strongly, especially those who want to make an automaton or much more - a machine gun. For these purposes, you need to take cardboard of different densities. For example, for a protective shield of a machine gun, the basics and wheels, use a dense one, and for the barrel - thin. First, we make all the details separately (twist into the tubes), and then only collect.
The easiest way is origami. To make such an automaton simply if you follow the instructions:
Like this, higher in the text, we described how to make an origami pistol. This is the easiest way. If you want to tinker, and there is a desire to make a more believable weapon, then create an AK-47 assault rifle. Here's the instruction:
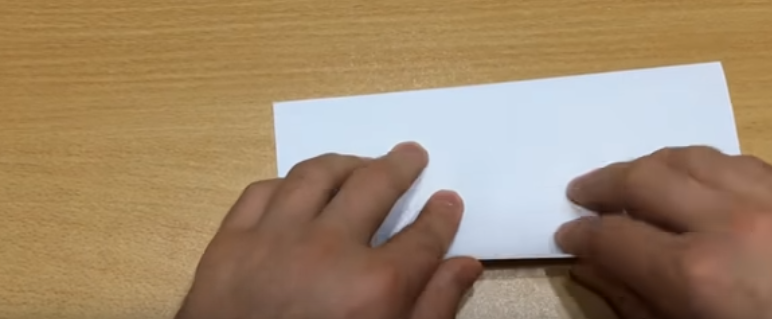
- Take a sheet of A4 paper and fold in half in length.
- Then fold again in half and again.
- Bend to get a M-shaped detail.
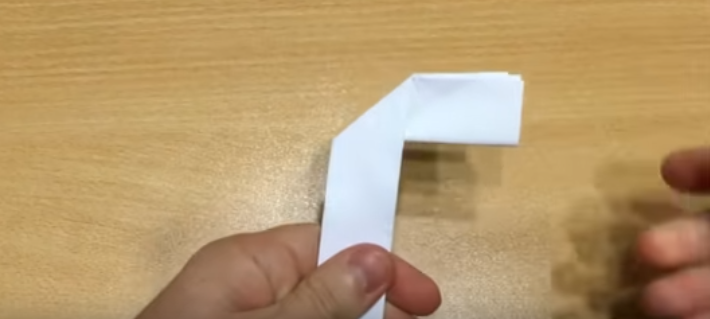
- Now make parts for the handle out of sections of small paper.
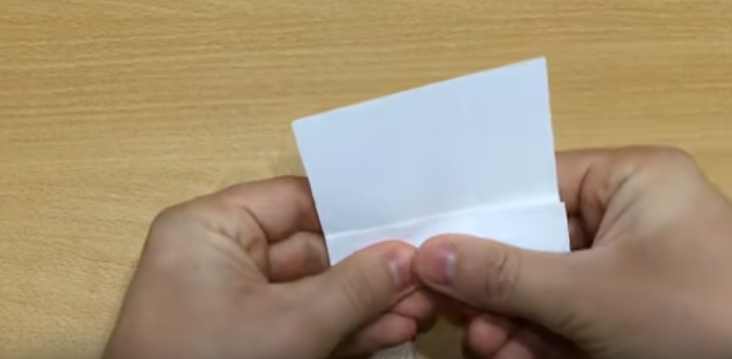
- Now fold the butt from another sheet A4.
- Turn the ends of the paper to each other, turn over and bend it again.
- Turn again and season the resulting triangle inward.
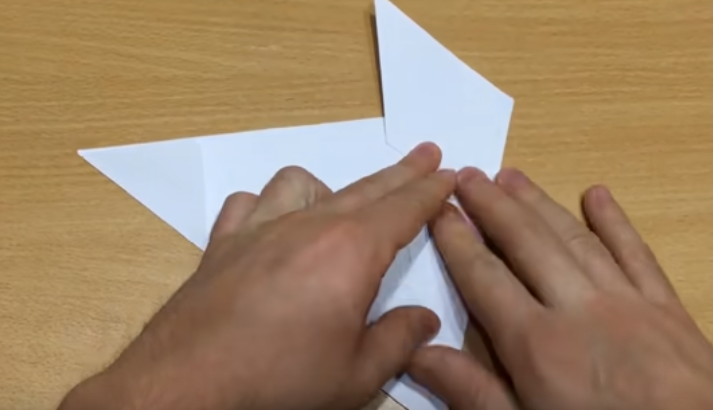
- The handle turned out. Insert it the basis of the machine.
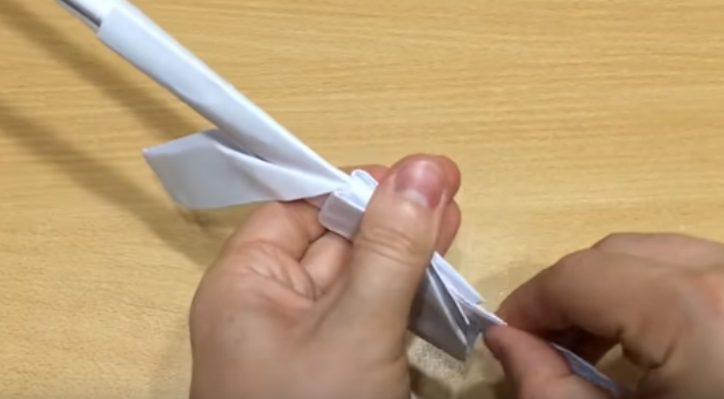
If you do not understand how to assemble this weapon, then here is a video instruction, how to make such an automaton:
Video: How to make a paper gun AK47?
How to make a steep ultrasound gun with a silencer from paper: Instructions
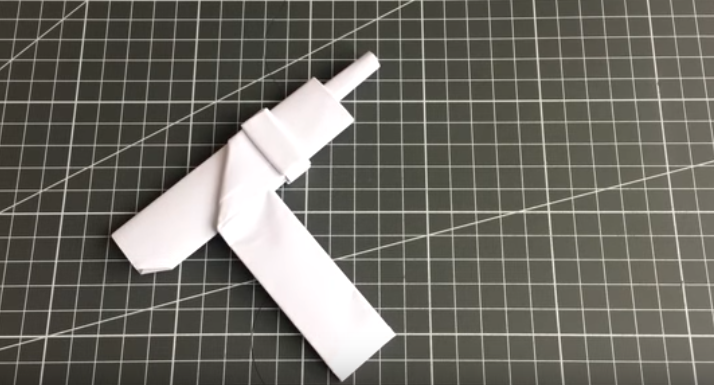
Modern children are very fond of making a variety of crafts from paper, cardboard. A boy with a silencer will want to construct a steep ultrasound gun with a silencer: offer him a phased instruction, and he will easily do everything himself. The presence of a long handle distinguishes this brand of a pistol from others. Here are the instructions on how to make a cool ultrasound pistol with a silencer from paper:
- We need to model this model 2 sheets A4.
- We take the sheet and bend in the middle along the short side. We bend the bottom half more 2 timesand then “wind up” the rest of the sheet.
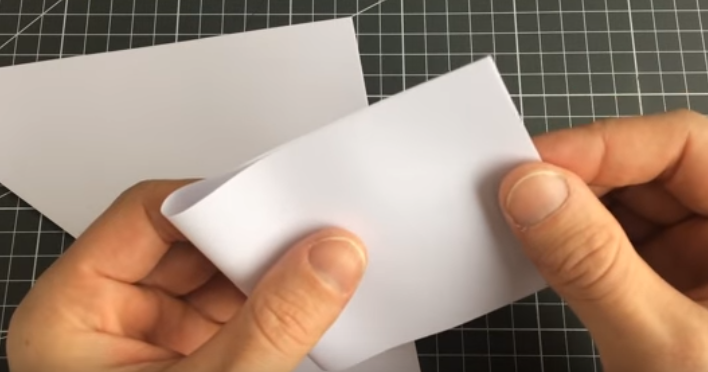
- Bend it in the middle and at a distance 10 cm From the bend we are bending the free edges: one inward, and the second - outside.
- You should get a M-shaped part on a long leg.
- We make a square from the second sheet, cut it off and put it off.
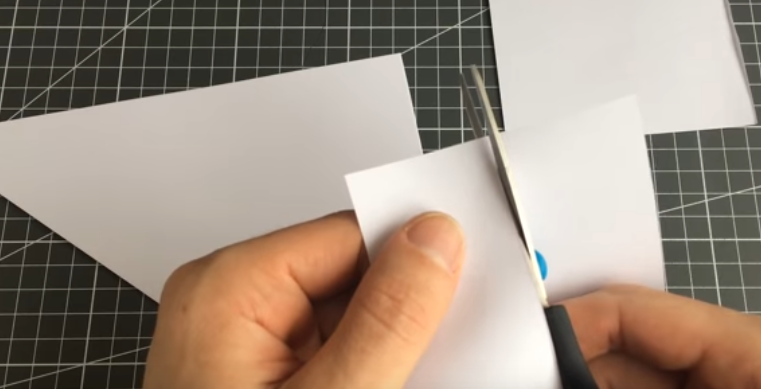
- We take a rectangle, bend it in the middle (in length), cut it in half and another part is also in the middle.
- We work from 1/4: bend in the middle in four edges inward.
- The short “nose” of the Mr.-shaped blank with a long strip is obtained.
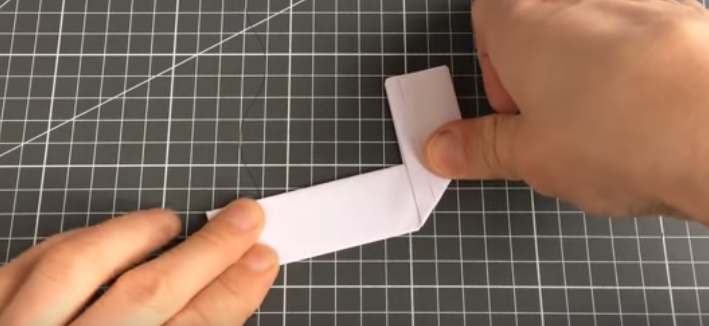
- We bend the free edges out of the resulting strip.
- We make the basis of the gun of the square: bend it in half and twist it along the long edge 1/8 width.
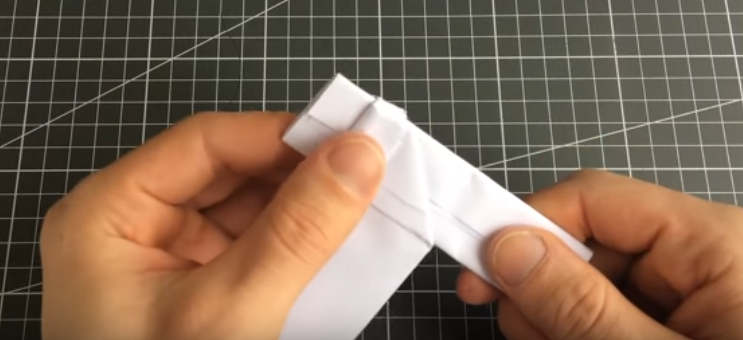
- We bend one of the edges inward and put in the short edge of the Mr. 3/4 strips It turned out to be behind the handle, and the concentrated edge was below.
- We twist the barrel for a pistol from half a rectangle and insert the basis. We place it according to the middle of the opening.
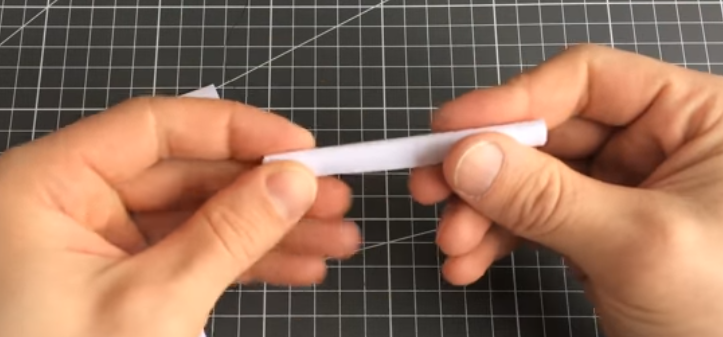
- We have a small piece left. We fold - a long thin strip should be obtained, which will perform the function of the trigger.
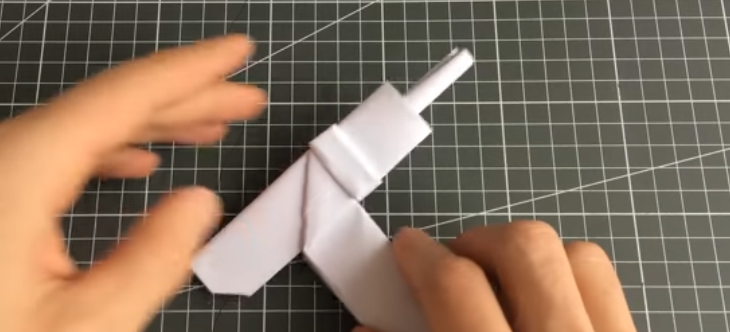
- At an angle, we put it in the handle under the fastener.
- Such an ultrasound pistol can be painted black and play it after modeling.
Do not be afraid to create and model weapons for the child. In childhood, the main thing is to teach and show the baby how to treat him correctly, what it consists of and what is the idea of \u200b\u200bwork. Believe me, all family members will like such ideas and they will want to make one or another model of the pistol themselves.

