Want to draw a beautiful snowflake on paper? Learn to make sketches beautifully, the article will help.
Contents
- Three types of drawn snowflakes: simple, colored pencils, paints
- How to draw a drawing - a beautiful snowflake on paper with a pencil is easy: instructions, video
- Video: How to draw a snowflake?
- How to draw small snowflakes: in stages, video
- Video: how to draw a snowflake - light drawings
- How to draw a snowflake on the window: a template on your own to cut
- How to draw a snowflake: pencil and triangle
- How to draw a snowflake with paints: gouache
- Step by step we draw a snowflake with a brush: instructions, video
- Video: How to draw a snowflake is simple for beginners?
- We draw a snowflake according to the template: Description
- A painted postcard with a snowflake - how to make: instruction
- How to draw an elza snowflake from a cold heart: Instructions
- How to draw a snowflake, sky, earth in the technique of “one smear” with paints: instructions, video
- Video: drawing "one smear." Lesson 1
- How to draw a girl-jacket: instructions, video
- Video: How to quickly learn to draw a girl snowflake?
- How to draw a snowflake in the illustrator: Instructions, video
- Video: How to quickly draw a snowflake in Illustrator?
- How to draw a snowflake on the nail?
- Video: snowflakes on nails
- How to draw a snowflake through a stencil: templates, instructions
- Download painted snowflakes with a child: pictures of simple drawn snowflakes for a girl
- Video: How to draw a beautiful snowflake?
Snowflake is an unchanging symbol of winter, and, accordingly, the New Year. On the eve of this wonderful, fabulous holiday, small children in kindergarten, preschoolers and schoolchildren, and sometimes even students - all without exception are accepted for crafts on winter themes. No one bypasses the snowflakes. This article will consider all the most interesting options on how to draw a snowflake. Read further.
Three types of drawn snowflakes: simple, colored pencils, paints
Each artist - beginner or experienced, has its own preferences in the types of drawing. Someone writes paintings with a simple pencil, others use colored pencils and felt-tip pens, and others use paints. It is worth noting that if you are going to draw with a small child, it is better to choose pencils or felt -tip pens. With their help it will be easier to work. Adults, but beginners, can also use pencils, but you can draw paints. Choose what you like.
It is worth noting that there are three types of drawn snowflakes:
- A simple pencil
- Colored pencils
- Paints
Many parallel with pencils are also used by felt -tip pens.
How to draw a drawing - a beautiful snowflake on paper with a pencil is easy: instructions, video
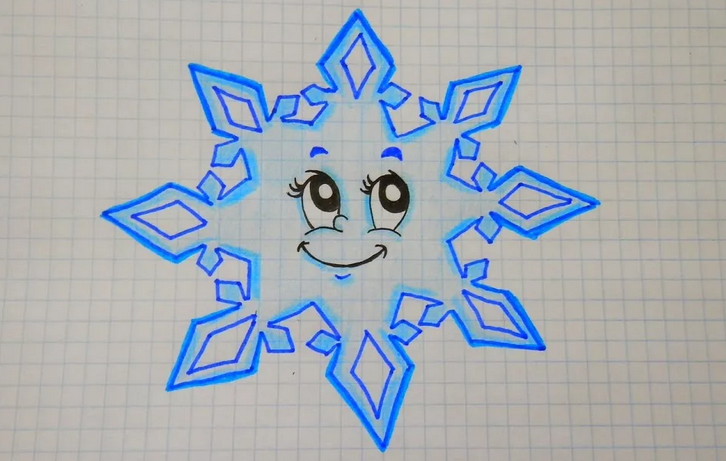
This is the simplest snowflake, for drawing which you will not need any additional items - only a pencil or a felt -tip pen. How can you draw such a drawing? Here are the instructions for drawing a beautiful snowflake on paper with a pencil is easy:
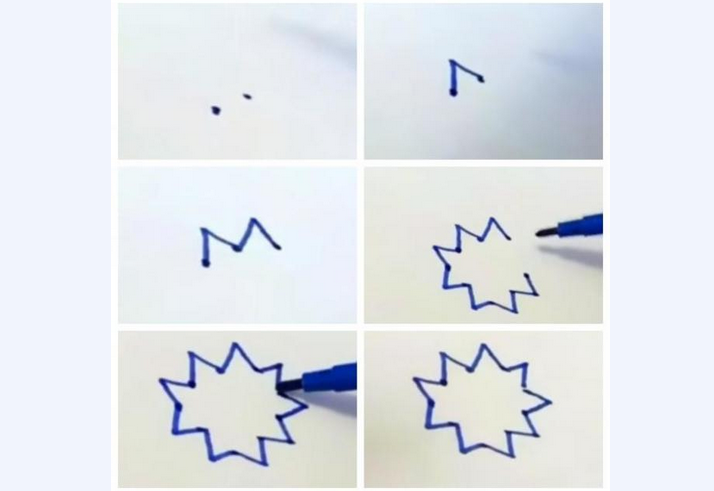
- First you need a kind of star. It is necessary to put in a circle of points and connect them with each other with a “fence”. It will turn out a pointed star with many peaks. If you can’t draw evenly, then you can draw a circle with a pencil - it will be easier to create a neat star.
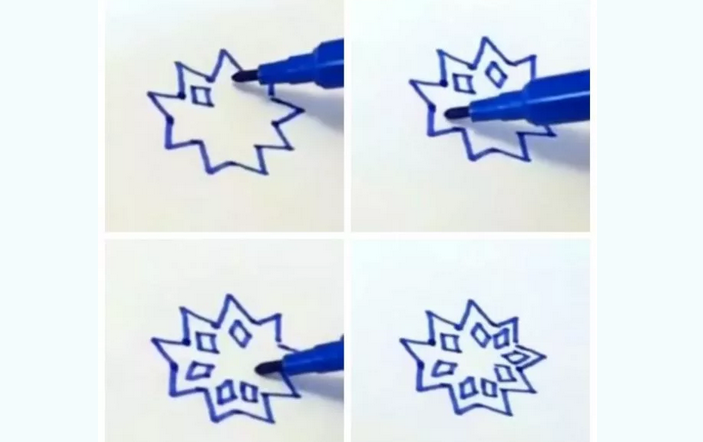
- Next, under each corner you need to draw a rhombic angle into a corner. If it turns out not very smooth, it’s not scary - as a result, the snowflake will still look beautiful.
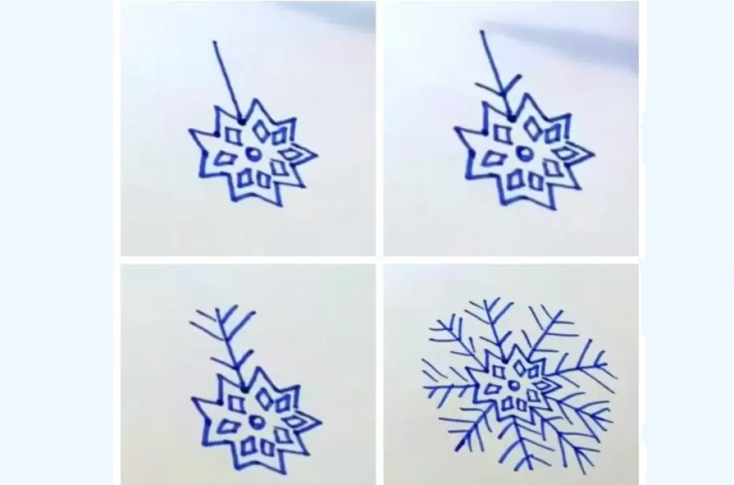
- In the center we draw a circle.
- Now you need to draw rays from each inner point of the element that was painted first.
- Three small lines on each side are drawn from these rays. From below and from above, the beam is short lines, and in the middle - a little longer. Ready!
It turned out a beautiful snowflake, looking at which it seems that it is difficult to draw it. But in fact, everything is simple.
Video: How to draw a snowflake?
How to draw small snowflakes: in stages, video
Another simple drawing option. You can make a snowflake large, but in a miniature size, it will look more interesting. So, we draw small snowflakes in stages:
- First, the center of the snowflake is drawn - a small circle.
- Now without touching the circle, it is necessary to draw a small ray from him, branched into two “twigs” at the end. It turns out a "slingshot".
- Next to the "slingshot" of small size, draw exactly the same, but a little larger. Thus alternate this pattern around the center of the snowflake.
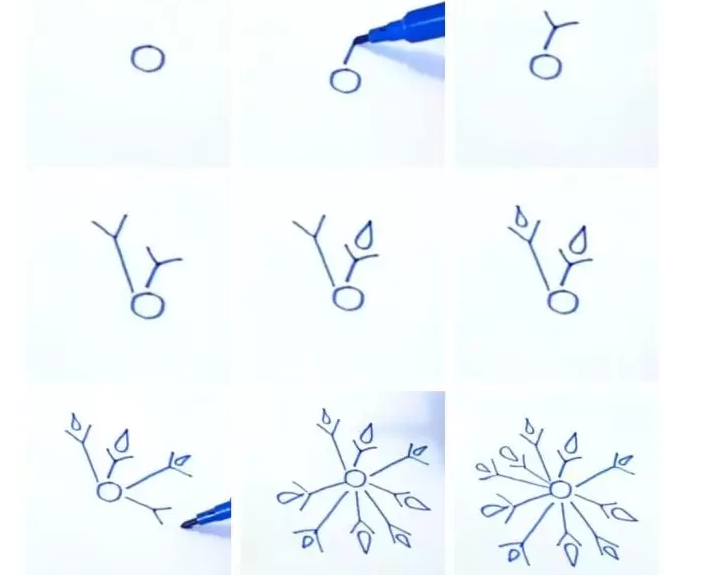
- Further, a medium -sized drops are drawn over small “slingshots”, and lower drops above large drops.
- To give the volume lines, the following is made. “Slingshots” need to be circled several times so that they turn out a little more fat. Drops are painted over.
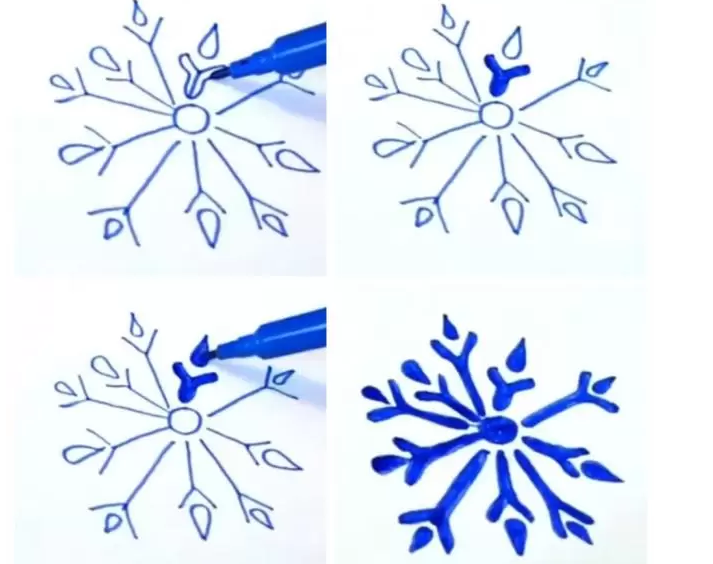
For a variety, you can try to experiment with patterns - not completely painted up drops, or come up with another way, as in the figure above. Here is a video how it is still easy to draw this winter attribute of the New Year:
Video: how to draw a snowflake - light drawings
How to draw a snowflake on the window: a template on your own to cut
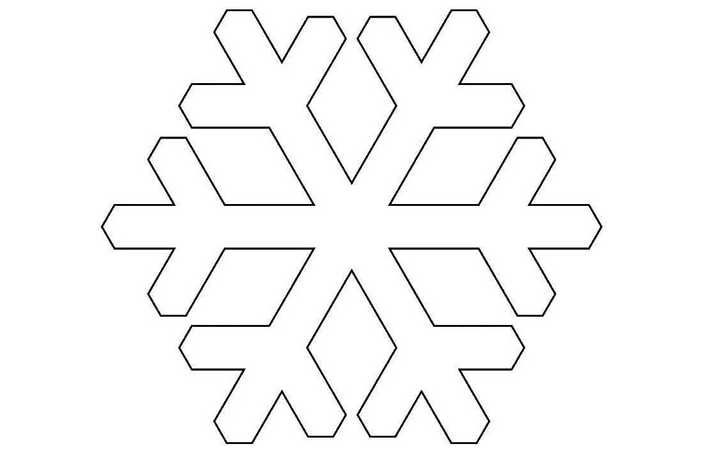
Many really like to decorate window glass with snow -white snowflakes. This seasonal design helps to create a magic aura, adds a festive mood and immerses in a winter fairy tale. How to draw a snowflake on the window? Here is the process of creating a template independently for cutting:

- Draw two parallel dashes, repeat in a circle. If this is done for the first time, you can first draw a pencil with a pencil and, deciding on it, draw dashes. Then you need to erase the circle.
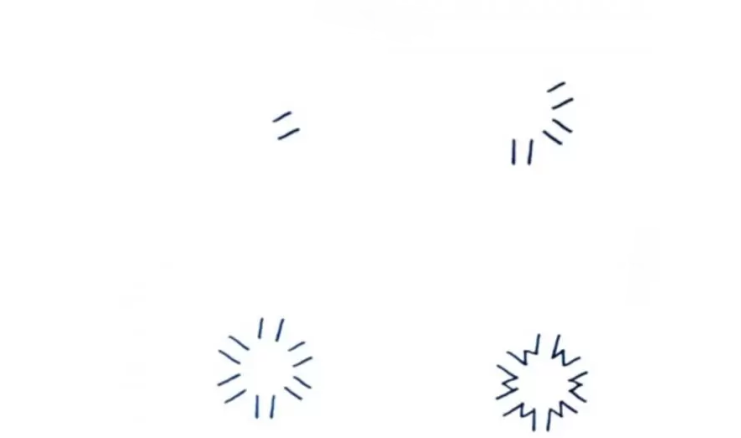
- Now, adjacent segments from the inside must be connected with a checkmark, which looks parallel to the dashes. It can be not only a checkmark, but also a rounded line.
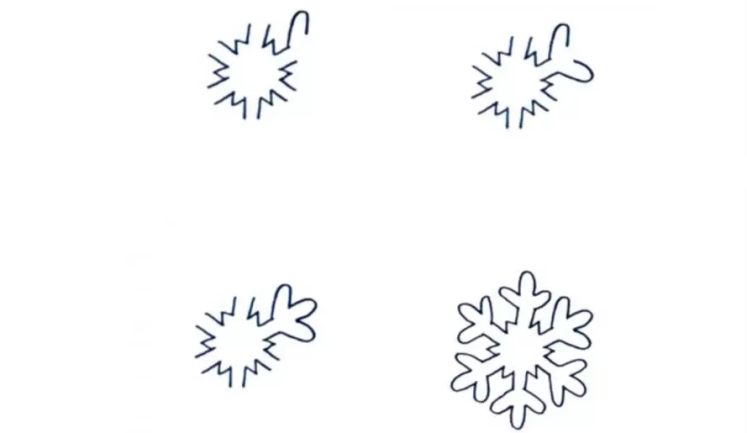
- Next, you need to concentrate. Drawn in paragraph two dashes must be connected by an intricate pattern - in the form of a triliary, etc.
- The snowflake is ready.
It is recommended to use a simple pencil for drawing - so that it is possible to adjust the imperfect lines.
How to draw a snowflake: pencil and triangle
When creating this snowflake, you can use both a drawing tool and simply a triangle cut from cardboard. We draw with a pencil and a simple geometric figure.
The algorithm for creating a snowflake with a triangle:
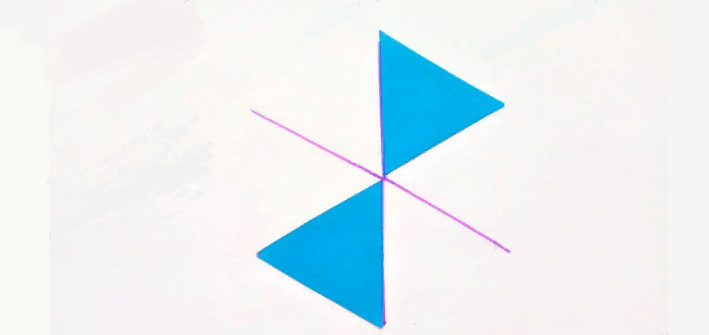
- First you need to draw the basis for the snowflakes. To do this, put the two triangles with peaks to each other, and then draw the lines on the left and right sides of the triangles. As a result, there should be three equal lines intersecting in the center.
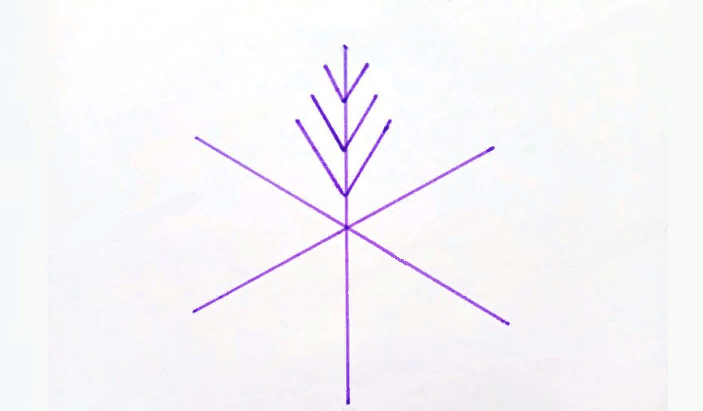
- Now you need to pay attention to the upper ray (from the center to the end). It draws three branches on each side. The closer the "twig" to the center, the longer it is.
- Then turn the sheet of paper so that the next ray (without branches) is at the top. Repeat the same manipulations. So draw every ray.
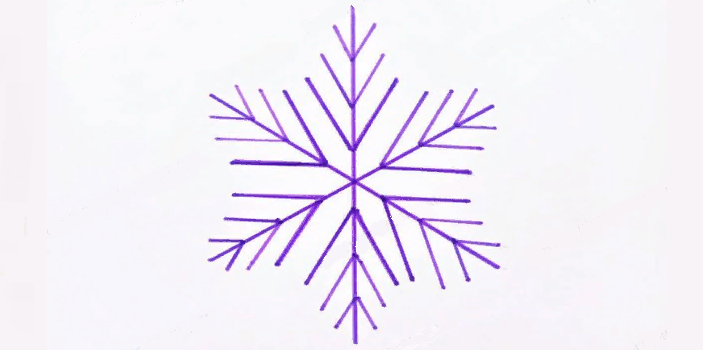
- The result is a simple snowflake drawn with a triangle.
If it was difficult for the child to draw for the first time, then the adult should help him with the first two points. It can be difficult for children to create equal and symmetrical geometric rays and segments.
How to draw a snowflake with paints: gouache
Schoolchildren usually like to draw with paints - watercolors or gouache. In this section, we consider the option of drawing snowflakes using guache. If the child is still small, you can use cotton sticks instead of a brush - this will help the baby create a more neat pattern the first time.
The algorithm of actions:
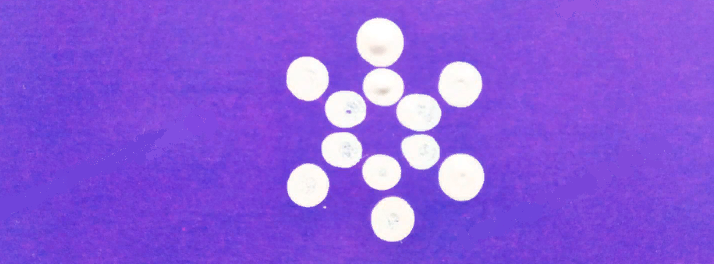
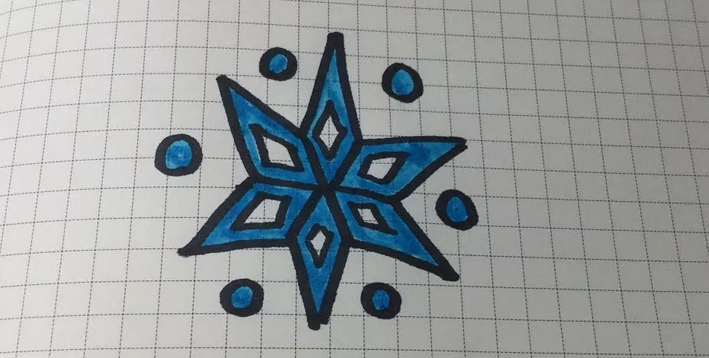
- To put the start of the creation of a snowflake, you need to put six circles in a circle.
- Then mentally draw from each starting point along the ray - according to the principle of drawing the sun. And according to these rays, put the points in the direction upward.
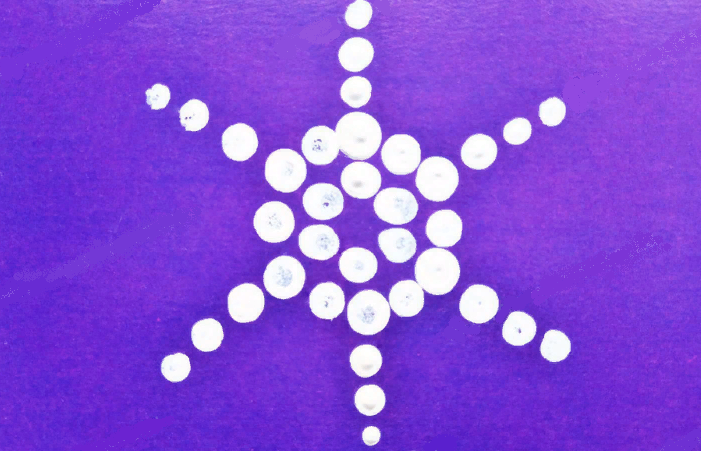
- In the intervals between the rays, place a few more points. It should be remembered that the size of the point depends on the strength of pressure with a stick or brush on paper.
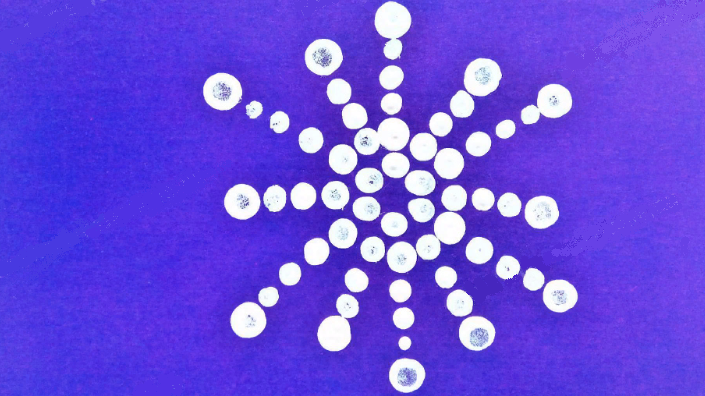
When all the rays are finalized and decorated, you can put a point on the tip of each beam, corresponding to the size of the point at the base. This will visually complete the drawing.
Step by step we draw a snowflake with a brush: instructions, video
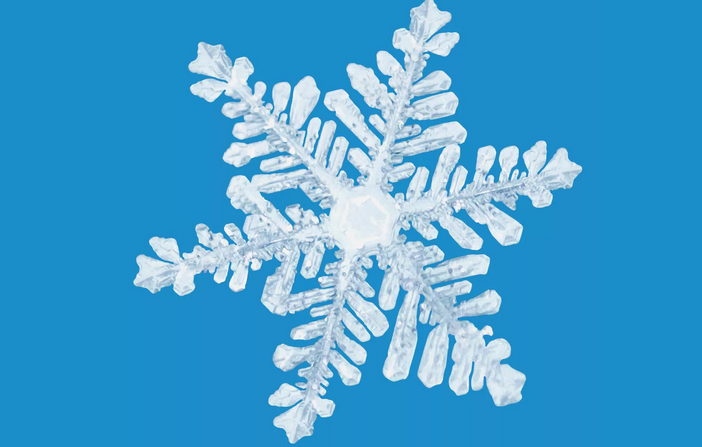
Children of the older age group can recommend a picture more difficult. Below you will find instructions that will help to play a snowflake with a brush with a brush.
The algorithm of actions will be like this:
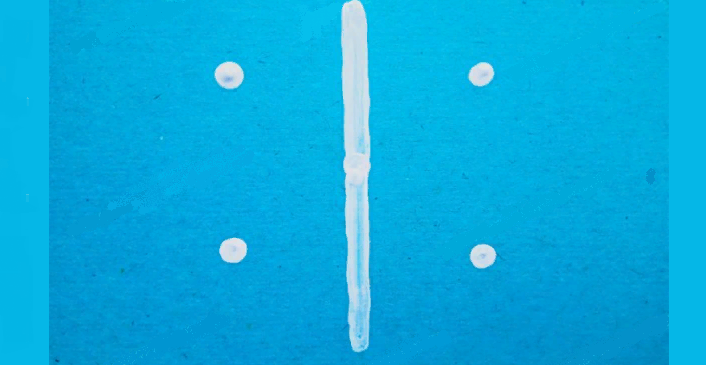
- First, a vertical line is drawn in the center. In the middle of this line you need to put an end.
- Put two points on both sides of the line. They should be located exactly opposite each other.
- Now draw two rays connecting these points among themselves. The result is three lines intersecting among themselves in the center.
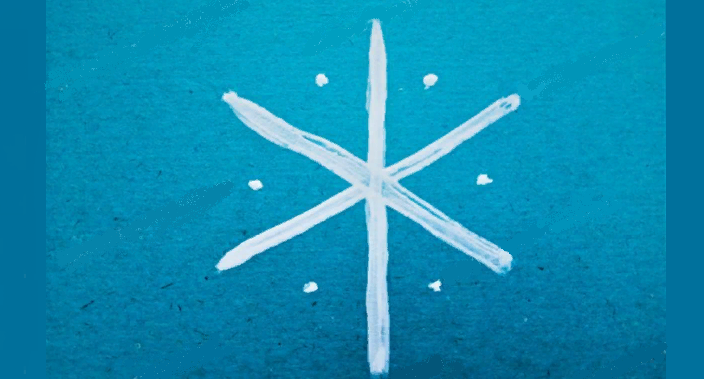
- In the resulting six corners, points are placed in the middle.
- From the points received, draw segments to the main rays. The result is six rhombuses adjacent to the original workpiece.
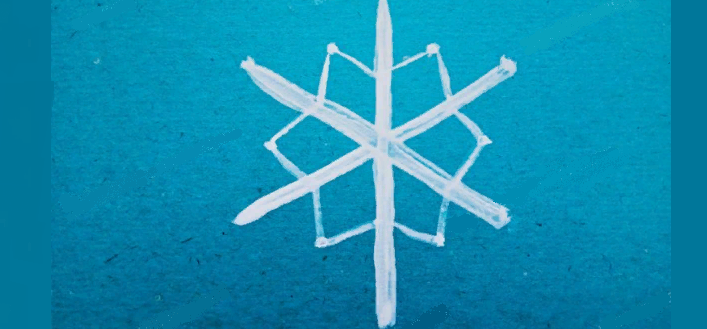
- At the ends of the long rays, draw two dashes on each side. Snowflake acquires its usual appearance.

Next, invite the child to connect his imagination and diversify the snowflake pattern at his discretion. Look in the video how you can easily and quickly, and most importantly, beautifully, draw a snowflake.
Video: How to draw a snowflake is simple for beginners?
We draw a snowflake according to the template: Description
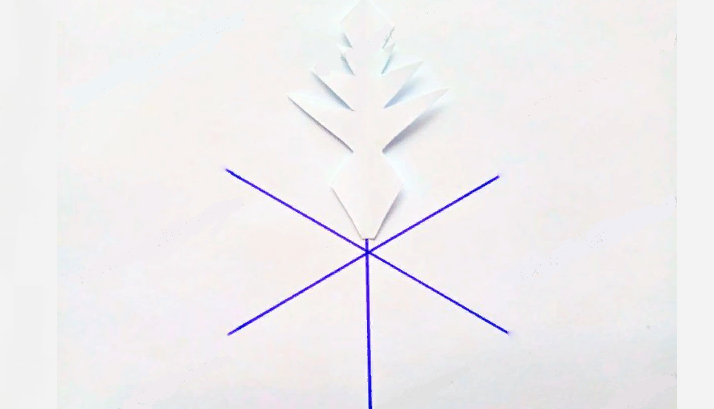
Children, students in elementary school, already have an idea of \u200b\u200bhow to draw a blank of snowflakes from three crossed lines. It is with it that you need to start the drawing according to the template. Here's a description of the work:
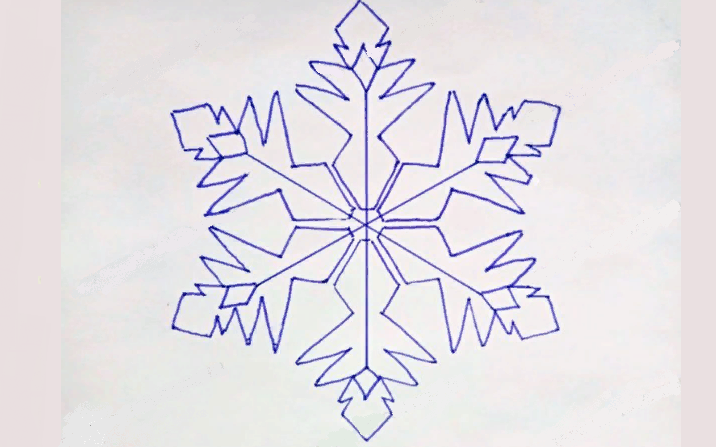
- A template is made of paper folded in half. The simplest patterns are considered to be made of several triangles of different sizes.
- Apply the finished template to the beam of the snowflakes and carefully circle it.
- Repeat these manipulations with each beam.
The result should be a beautiful and unusual snowflake. It is worth inviting the child to finish other details on his own, this will develop a fantasy and captivate the baby.
A painted postcard with a snowflake - how to make: instruction
There is an advantage in this method - the child learns to simultaneously demonstrate drawing and application skills. This method is suitable on average for children of the first or second class. How to make a drawn card with a snowflake? Here's the instruction:
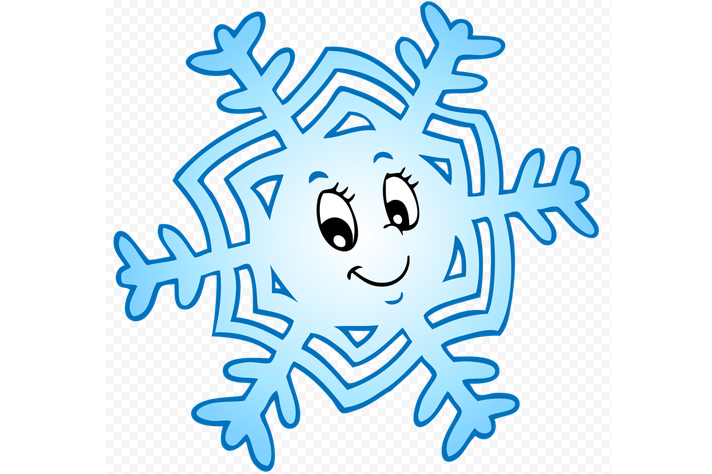
- On a sheet of paper, you need to depict a circle. Depending on the skills of the child, you can use the circul or template. Mark the resulting circle to six equal parts - like pizza.
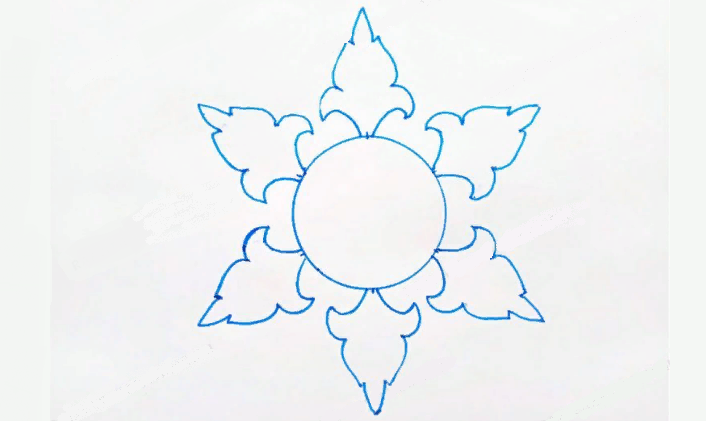
- At this stage, you will need two templates - more and less, with a beautiful pattern. Attach a large template to the upper markup and carefully circle.
- Also do with the next five marks.
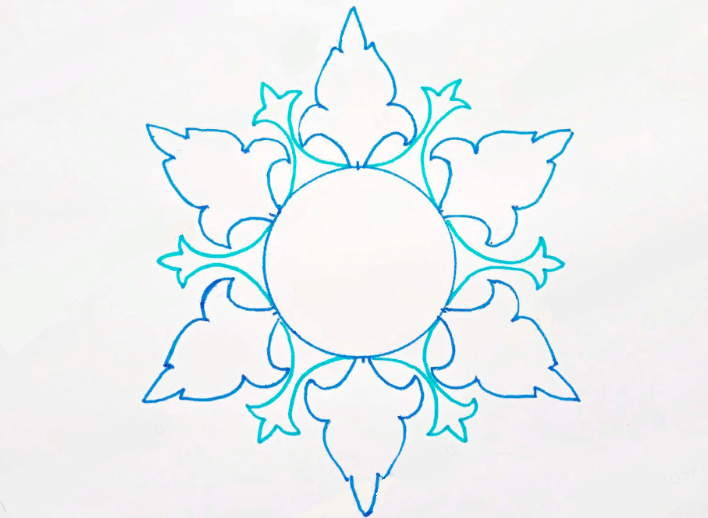
- Between large details, place the details less, circle in the same way.
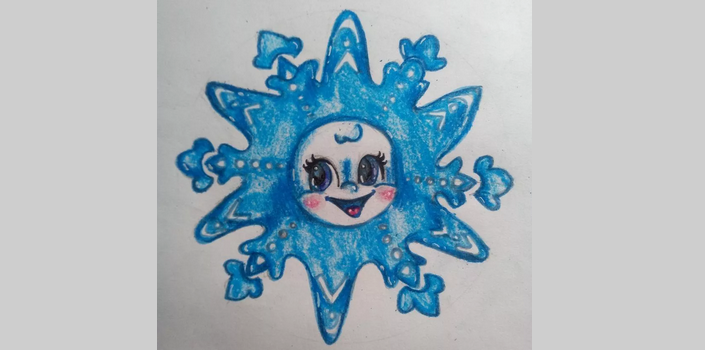
- In the center of the received snowflake you can draw a hero from your favorite cartoon.
- It remains only to color the snowflake with colored pencils and circle the contour lines with a felt -tip pen - this will add a drawing of completeness.
Ready, on the back of the child to write a congratulation and give someone.
How to draw an elza snowflake from a cold heart: Instructions
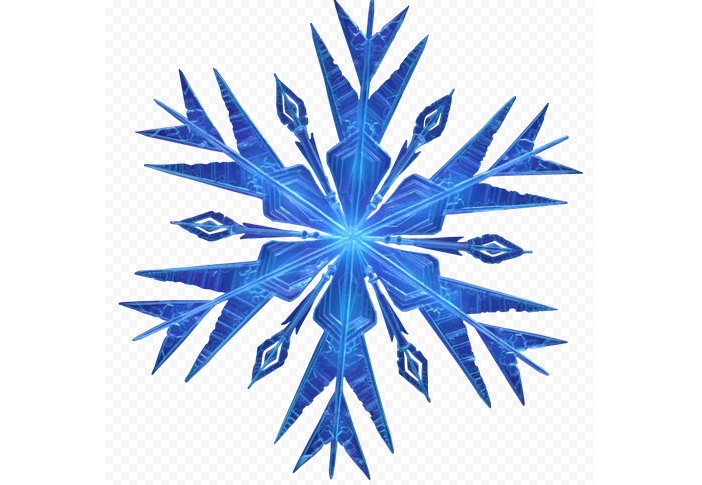
This colorful and interesting cartoon was seen by many children and adults. Can you draw a snowflake from such an animated story?
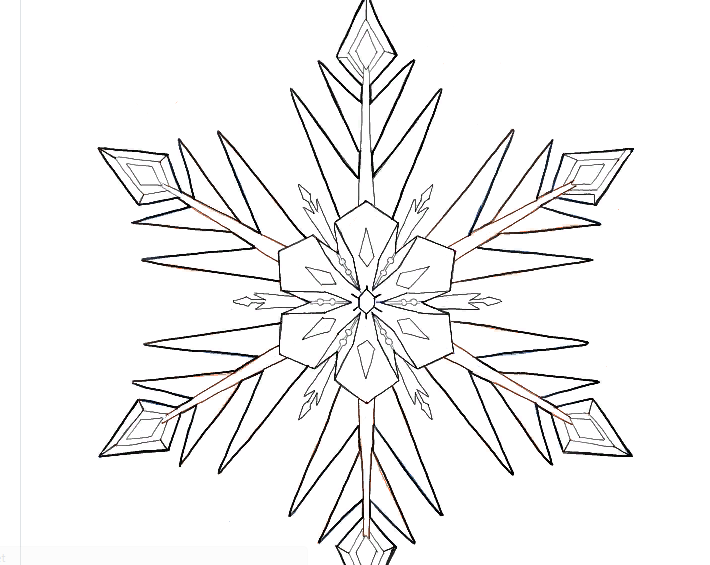
How to draw a snowflake of Elsa from a cold heart? Here's the instruction:
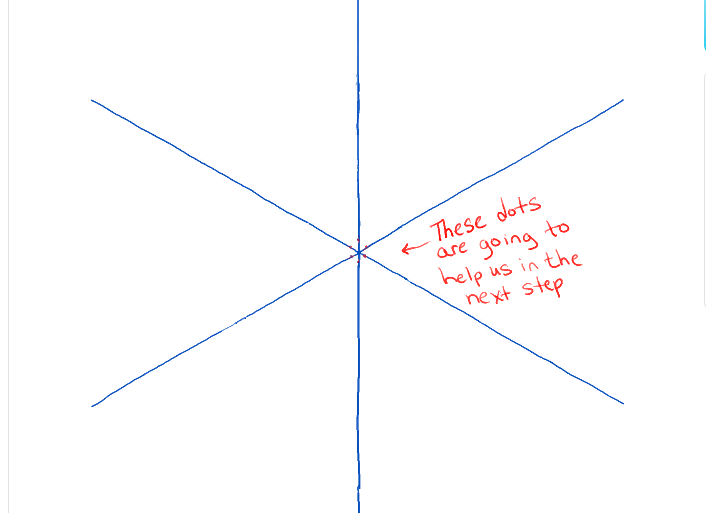
- First, put a point in the middle of the sheet. Now, through it, spend two diagonals.
- Next, we draw another line through the central point - vertical. It turned out the basis - the workpiece for the future snowflake from the cartoon "Cold Heart".
- Now put the points on each ray, retreating from the central point about a centimeter. These points will help in the following stages of creating a picture.
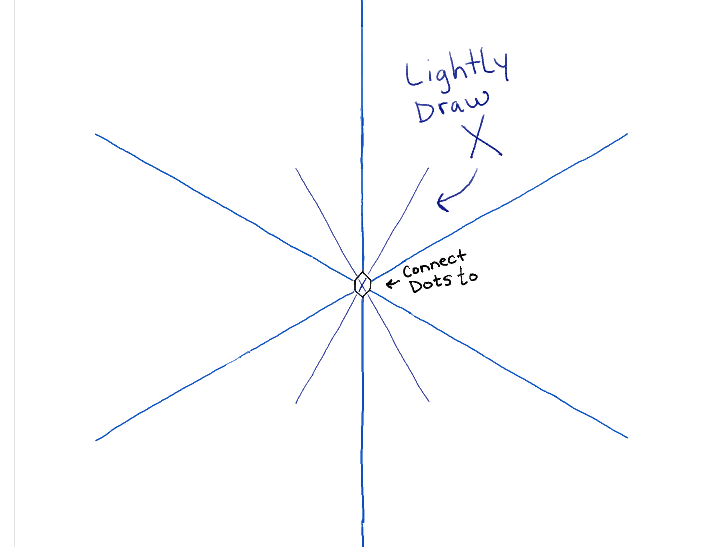
- Then draw two more lines of the cross, passing through the center of the snowflakes. They should be half the main ones. In total, at this stage it turns out: six long rays and four short rays.
- Next is the horizontal line, also through the center.
- Now put the points on the short rays, retreating a couple of centimeters from the center, and on the long ones, retreating four centimeters.
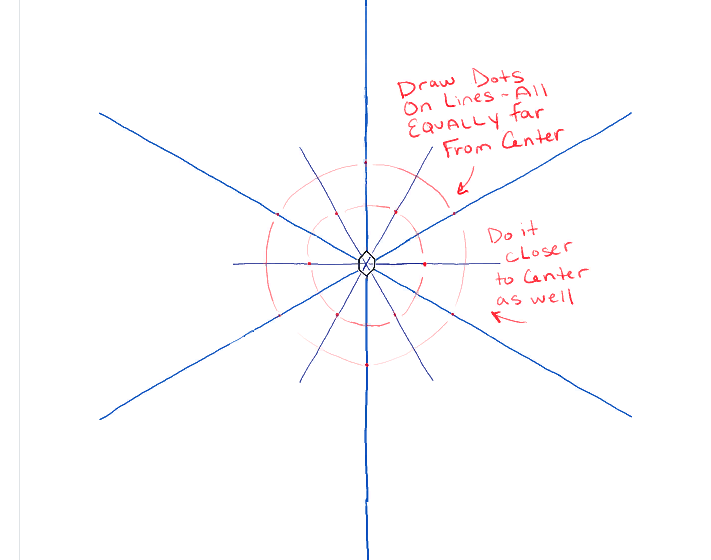
- Next, you need to draw English the letter V.Take it the point is based on short rays.
- Now connect them with dots on long rays, slightly under the slope.
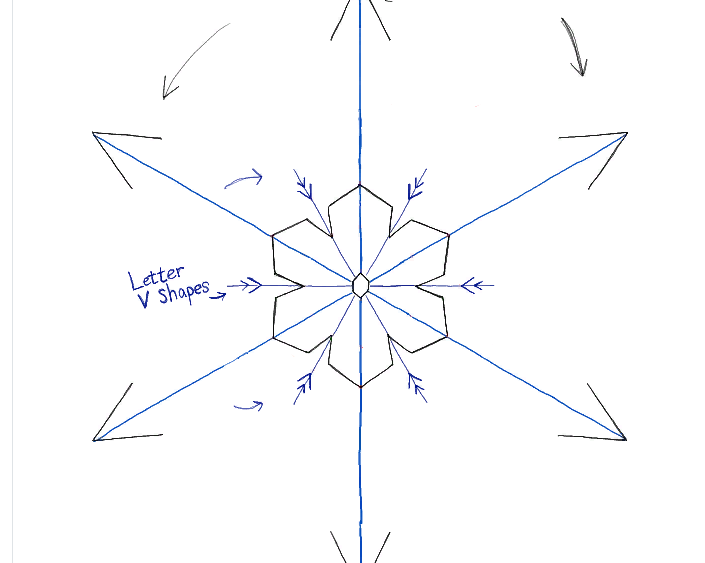
- Then, on the ends of the long rays, rhombus is drawn, the lower corner of which is slightly dumber than the upper one.
- Now, retreating a small segment from the lower corner of the rhombus, are held V-shaped lines. At the base, such lines are also drawn, only a little longer.
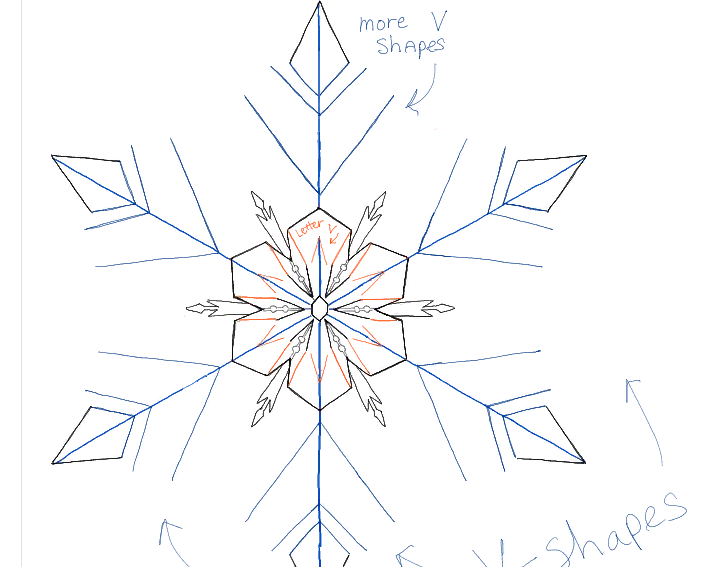
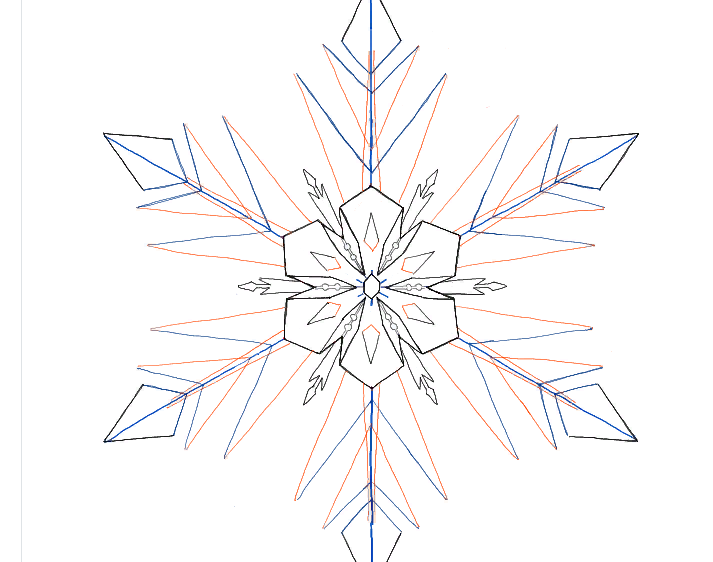
- Further, the snowflake is decorated with the necessary pattern, in accordance with the image. If desired, you can paint a snowflake with any flowers.
How to draw a snowflake, sky, earth in the technique of “one smear” with paints: instructions, video

The “one smear” technique was brought out by one American artist when she got acquainted with Petrikovskaya and Khokhloma painting. Using this technique, you can depict any landscape. For drawing with such a technique you will need a flat brush, paints. Below you will find instructions for performing work.
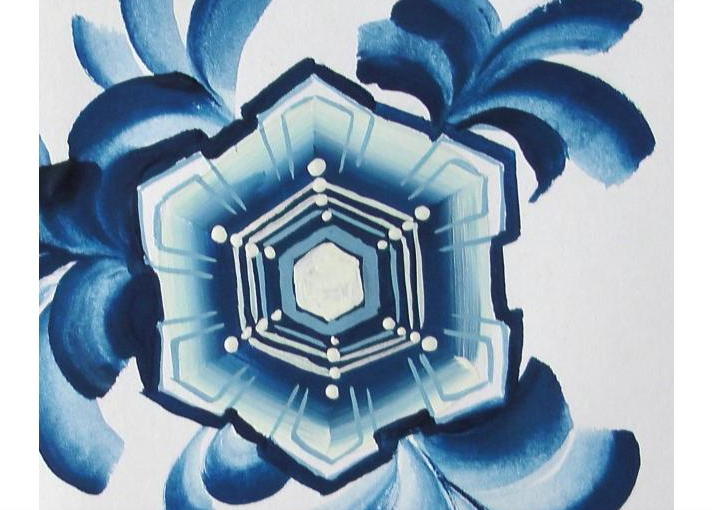
To draw a snowflake, and for example, the sky, the earth in the technique of one smear with paints needs:
- Choose white and blue paint. Dip one tip of the brush into blue paint, the other into white.
- Now draw a simple strip, up and down in a palette several times in the palette. This is necessary so that the paint is evenly located along the entire length of the brush.
- Next, tightly pressing the brush to the paper, draw the rays of the snowflakes.
- Now you can connect imagination by decorating a snowflake with a pattern in this technique at your discretion.
To draw a sky or earth in this technique, new skills are not required. It is only necessary to replace the colors in the palette with more suitable in the subject. For example, drawing the Earth, you can choose several shades of green color - it will turn out very impressive.
Watch the video how the artist draws in this technique. She tells in detail how to make smears correctly.
Video: drawing "one smear." Lesson 1
How to draw a girl-jacket: instructions, video
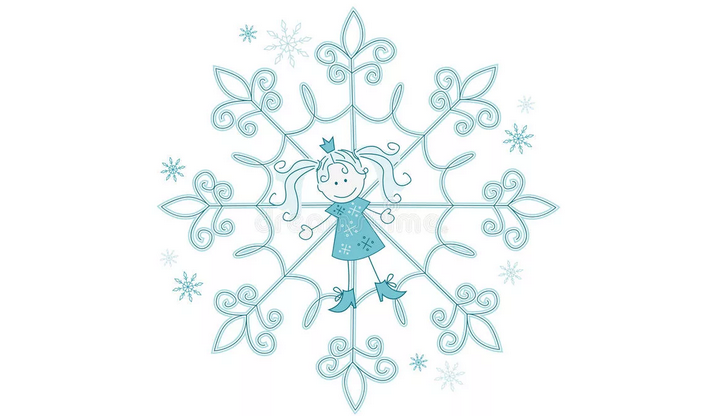
In general, the process of creating a picture of a girl-jerk does not differ from drawing just girls and snowflakes. The only difference is that the girl-snow will be made in cold colors-blue, blue. But this is not necessarily - it is quite possible to give the scope of your imagination. Below you will find instructions on how to draw a similar drawing.
So, to draw a girl you need:
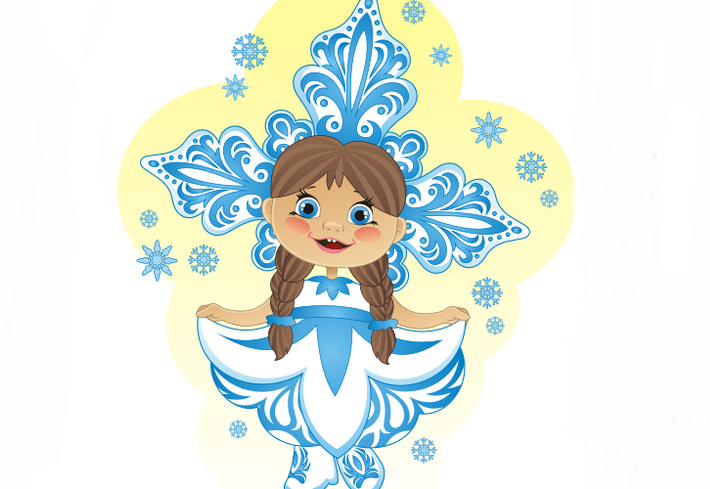
- Start with your head. Circulation is drawn - this will be the girl's head. Details can be drawn in the final stage - when the body and outfit of snowflakes will already be ready.
- The neck and body are carried out from the head. For convenience, outline where the arms and legs will be. It is not necessary to draw a complete likeness of human limbs - if there is no artistic skill, then the snowflake can be dressed in a spacious peler with wide sleeves.
- From the waist, a wide skirt is drawn.
- The legs can be drawn in any position-a snowflake-girl can be in skates, pointe, boots.
- Now take care of the suit. If it is a Pelerin, then wide sleeves should sag a slightly at the elbows.
- Now the wrists and fingers are drawn.
- The final stage allows you to work on the details - the face, shoes and jewelry in the outfit.
- You can draw a carved kokoshnik, a diadem or a crown on the head of a girl-snare-this will be complemented by the image of a girl.
- Now you can decorate the drawing with colored pencils.
- By the way, it will be very beautiful and traditionally if you draw a little girl for a long brush a braid, thrown over her shoulder or two tails from her hair.
Ready, a girl-girl is a symbol of the winter holiday, and will surely please adults and children. More details are described in the video below.
Video: How to quickly learn to draw a girl snowflake?
How to draw a snowflake in the illustrator: Instructions, video
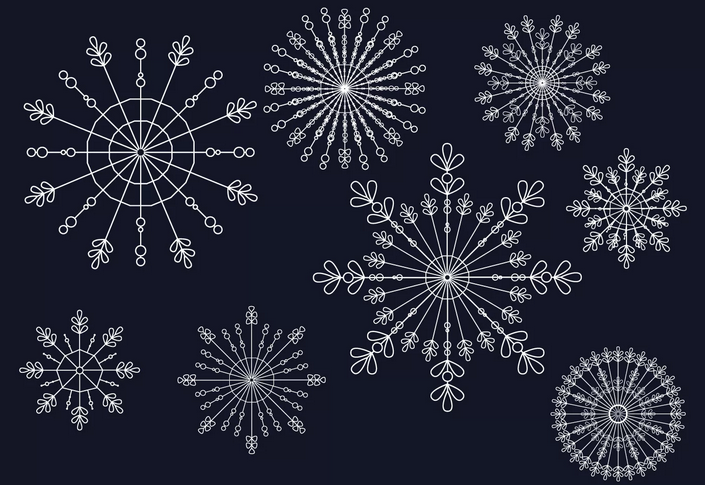
To draw a snowflake in the illustrator, you will not need any special skills. All that can come in handy is fantasy and patience. Detailed instructions will help to do it quickly and easy.
So, after the program is open and a clean sheet is on the screen, you can start:
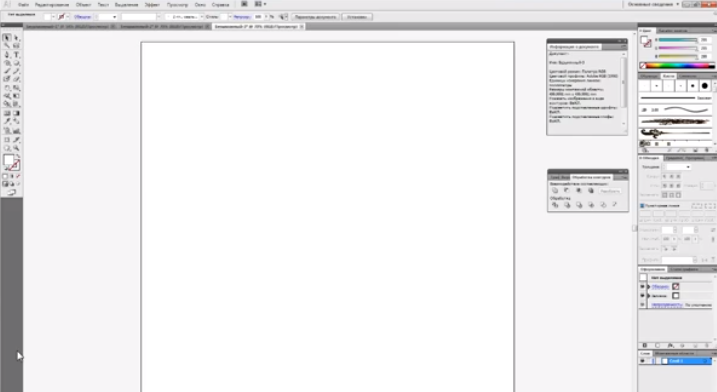
- On the left is the toolbar, with which the snowflake will be drawn.
- Select the tool on the handle "Rectangle" And create a figure - vertically located, narrow, it will be like a strip.
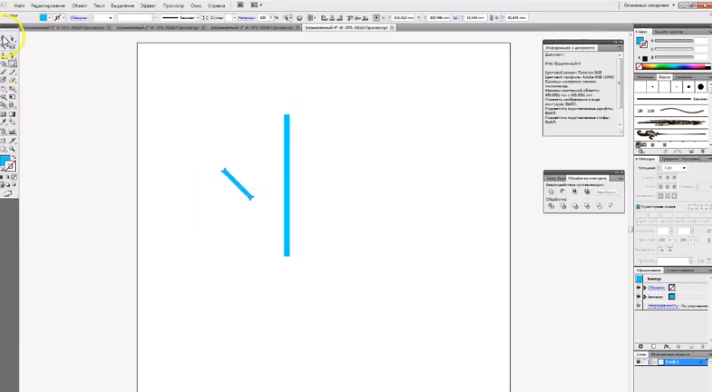
- Now paint her. The palette is on the right, in it you need to choose the appropriate color and press on the inner region of the figure.
- Further, parallel to the main rectangle, draw the same, only shorter. Next, you need to turn the rectangle. To do this, click on the figure on the figure, select from the drop -down list "Transform" and "Turn".
- In the newly emerging window, in the column "Corner" Enter 45. Now click OK.
- Then, on the toolbar, select a black arrow, and drag the turned figure to the main figure.
- Place it on the left side, retreating about a quarter from the upper point.
- Next, you need to create the same figure, but only in a mirror display.
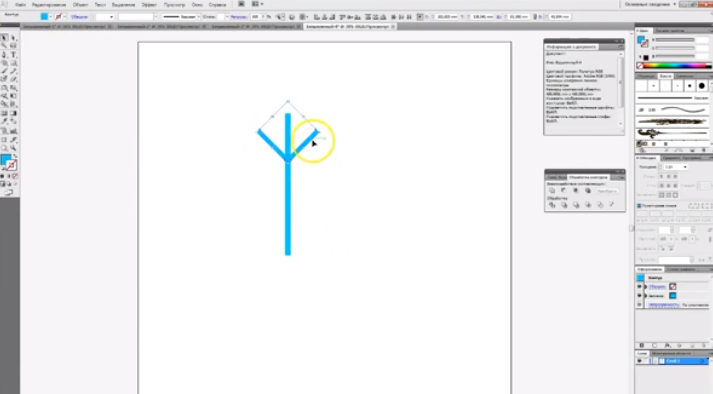
- To do this, contact the toolbar again: find the icon "Mirror reflection". Now click alt key And choose the middle of the main part. In the window that appears, you need to click "Vertical" and "Copy".
- Now return the arrow and select two short rectangles.
- A small panel will be located on the right, with which these two rectangles must be combined. This function is in the tab "Contour processing".
- In the next step, click alt key And drag down, exactly in the center, the resulting part.
- Subsequently, you can clamp the combination ctrl and D keysto copy the part.
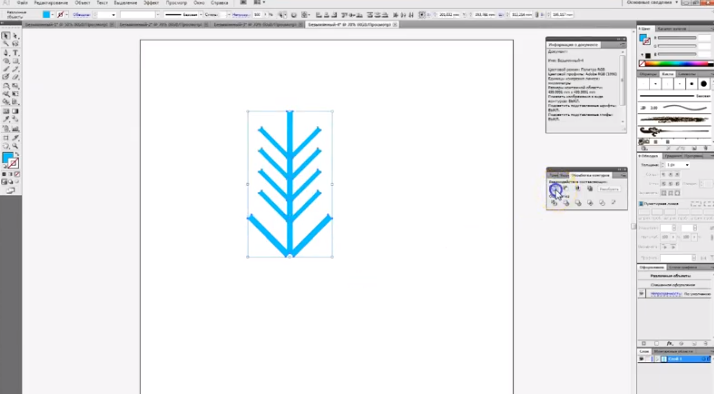
- Create a Christmas tree, only with needles up. The lower part is best lengthened.
- Then highlight the entire resulting part with a black arrow, and combine the already familiar function.
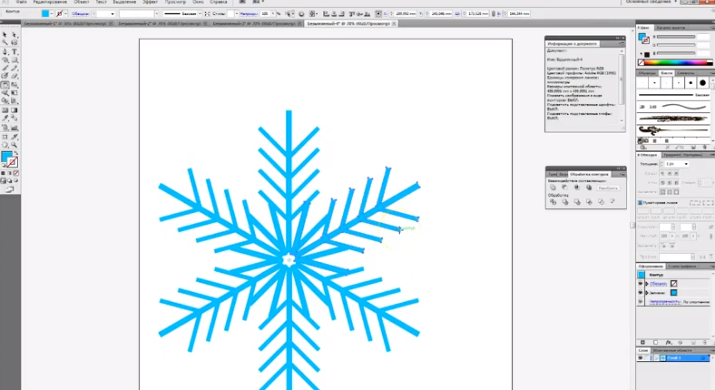
- Then create five more such details, and place them in a circle to get a snowflake. To do this, you need to return to the previous points and repeat all the manipulations, with "Mirror display."
When all six details are located, you get a beautiful and symmetrical snowflake. Watch more in the video:
Video: How to quickly draw a snowflake in Illustrator?
How to draw a snowflake on the nail?

This popular idea for manicure in the winter creates a wonderful pre -holiday mood. To draw a snowflake on the nail you need:
- Prepare the necessary tools - a thin brush and a white gel, if the pattern is located on a nail covered with dark varnish. So, you can start.
- The snowflake will be located in the upper right of the nail. First you need to draw a cross, which will be the basis for the snowflake.
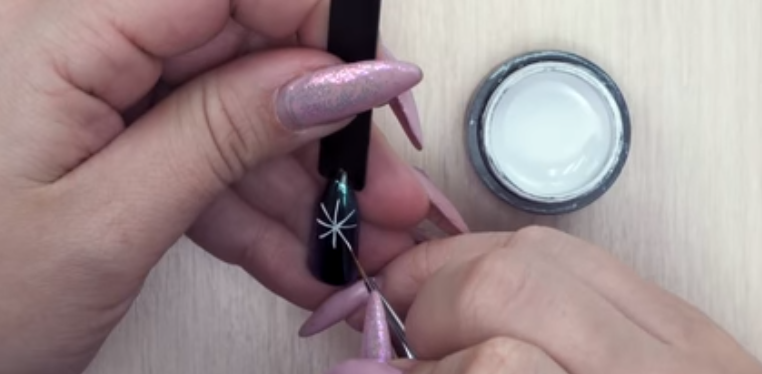
- Then draw two more lines, also intersecting in the center. This is a workpiece for a future snowflake.
- When the base is ready to connect imagination, and draw any pattern that will like.
- The main pattern consisting of peculiar Christmas trees is considered the main one.
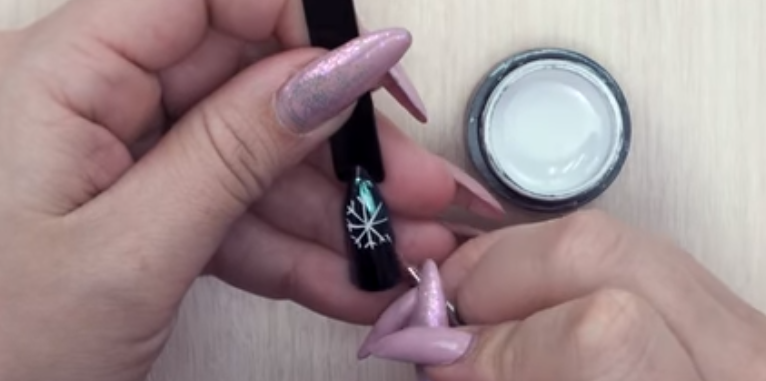
- To do this, you need to depict throughout the entire segment V-shaped dashesWatching upward.
- At the tip of each beam, you can put on a large point (but do not overdo it) so that the snowflake looks complete.
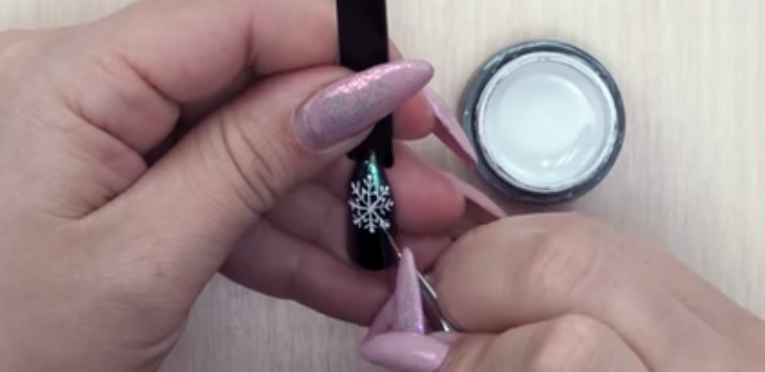
- Then you need to fill the interior of the snowflake, with the same Christmas tree pattern.
- Ready. The remaining empty nail plate field can be filled with simpler snowflakes, which will consist simply of the lines intersecting in the center.
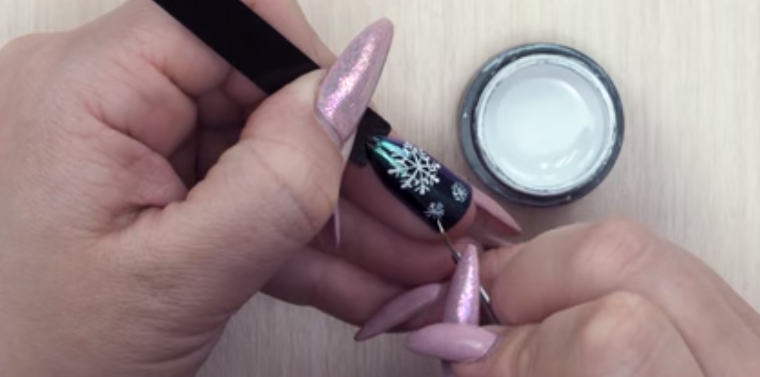
Such a design will look successfully on one nail, do not fill all ten nails with this pattern. In the end, you can supplement the design with sparkles, which first sprinkle the nail, then gently shake off. It will turn out very interesting.

More details the master explains in the video below:
Video: snowflakes on nails
How to draw a snowflake through a stencil: templates, instructions
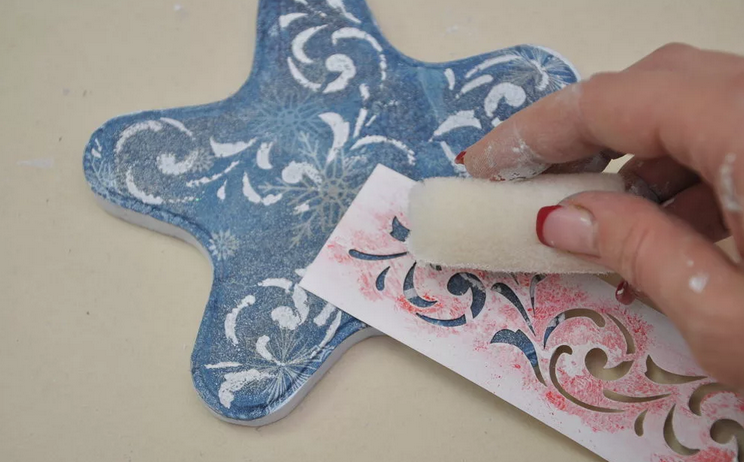
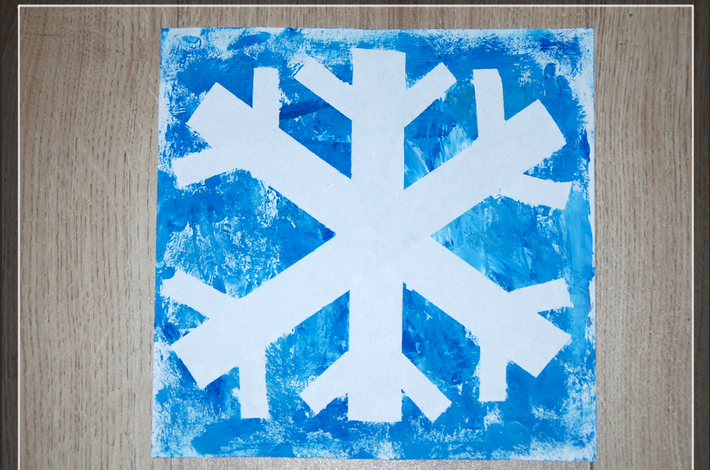
For this method, a template is used doubled, and then three times. First -graders study this method already in the first grade. In addition to the template, you will need two shades of Guasha, foam rubber. Here's the instruction on how to draw a snowflake through a stencil:
- In the center of the clean sheet (paper, cardboard), you need to create a pattern of the template. The consistency of the paint should be thick.
- After the first imprint dries, you can do the next. The second imprint needs to be created by shifting a template a little - so that the rays of the snowflakes are located in the intervals, and not on each other.
Ready. Such a snowflake can decorate the window glass, card or cut to decorate the Christmas tree. Here are examples of stencils for cutting snowflakes:
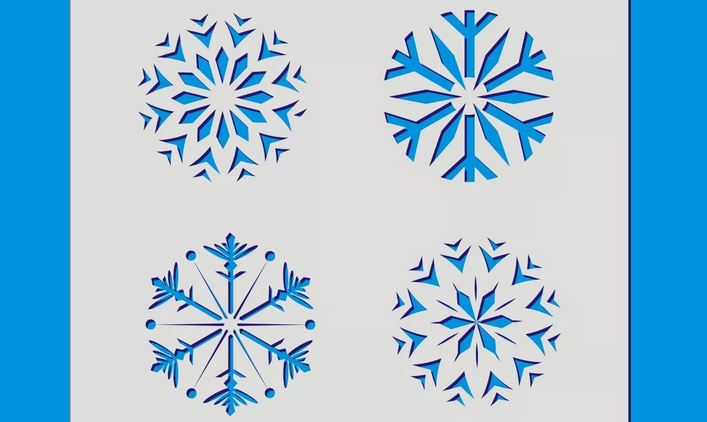
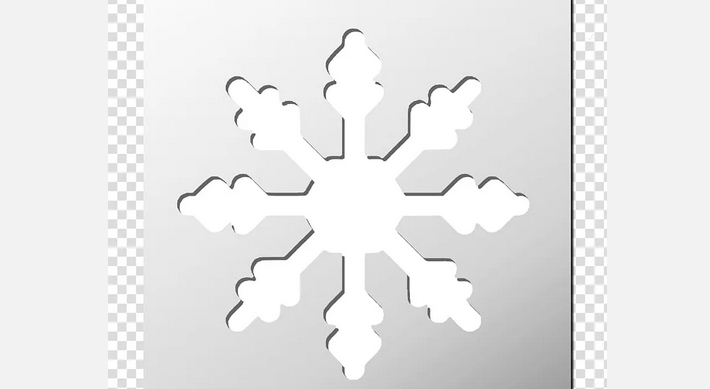
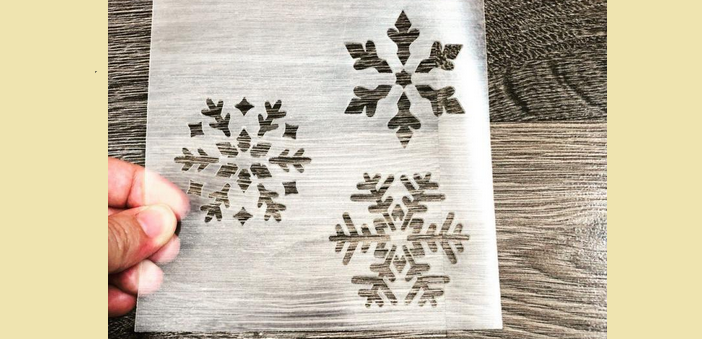
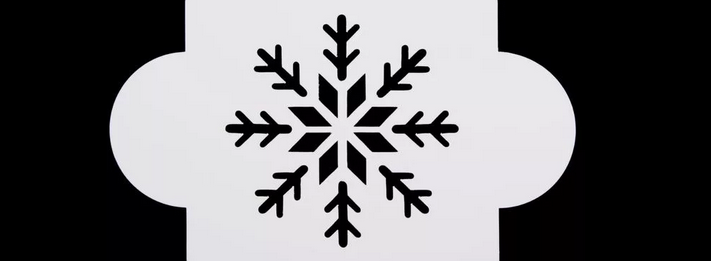
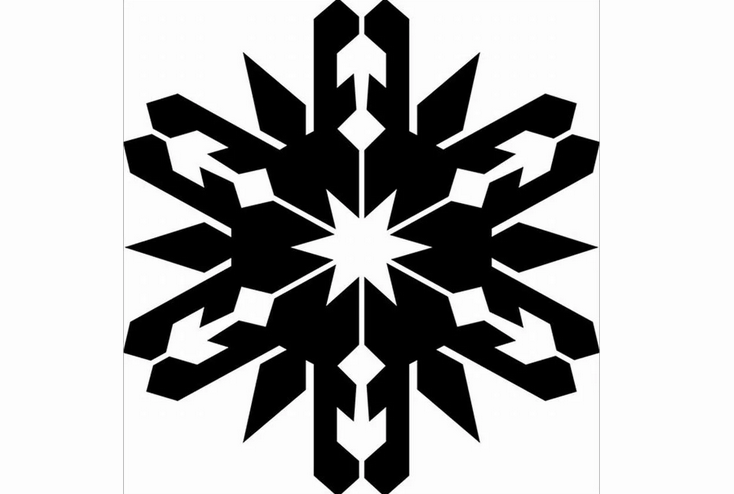
Here are the templates of snowflakes for sketching:
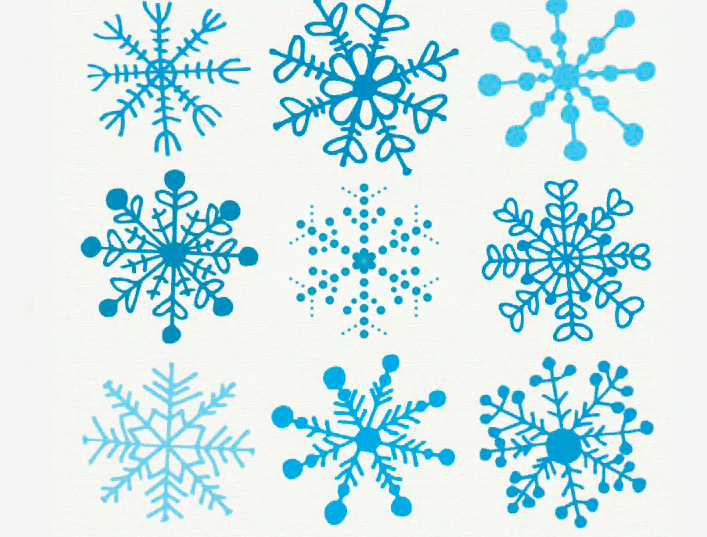
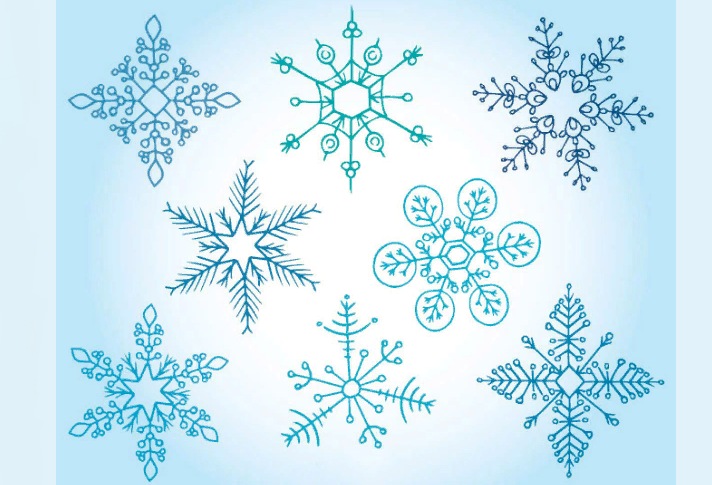
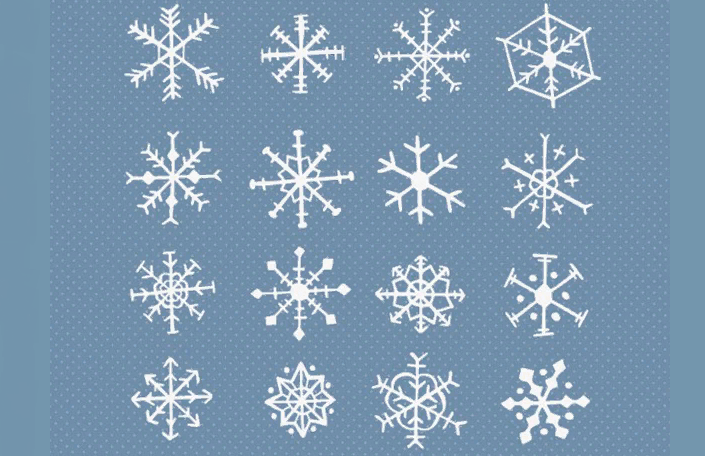
Download painted snowflakes with a child: pictures of simple drawn snowflakes for a girl
If you do not want to learn and draw yourself, then you can download ready -made snowflakes that are painted by a child, and just circle them through the window. You will get a drawing that remains only to paint with paints. Here are pictures of simple drawn snowflakes for a girl: 